We are going to Disneyland! We are going to Disneyland! I am so excited, can you tell? So yeah we are taking our 4 and 2 year olds to Disneyland this year! I have been working on a few projects to make our trip fun and in character! I really want this to be a memorable trip for at least my 4 year old, not sure the 2 year old will remember though.
In thinking about the trip and what all we want to do/discover, I knew that we had to do a princess breakfast or lunch – and of course would then need autograph books among other “goodies” for the trip. So I decided to make “Goodie bags” for each of my kids to hold all of their goodies, snacks, treasures or whatever while we were at the parks.
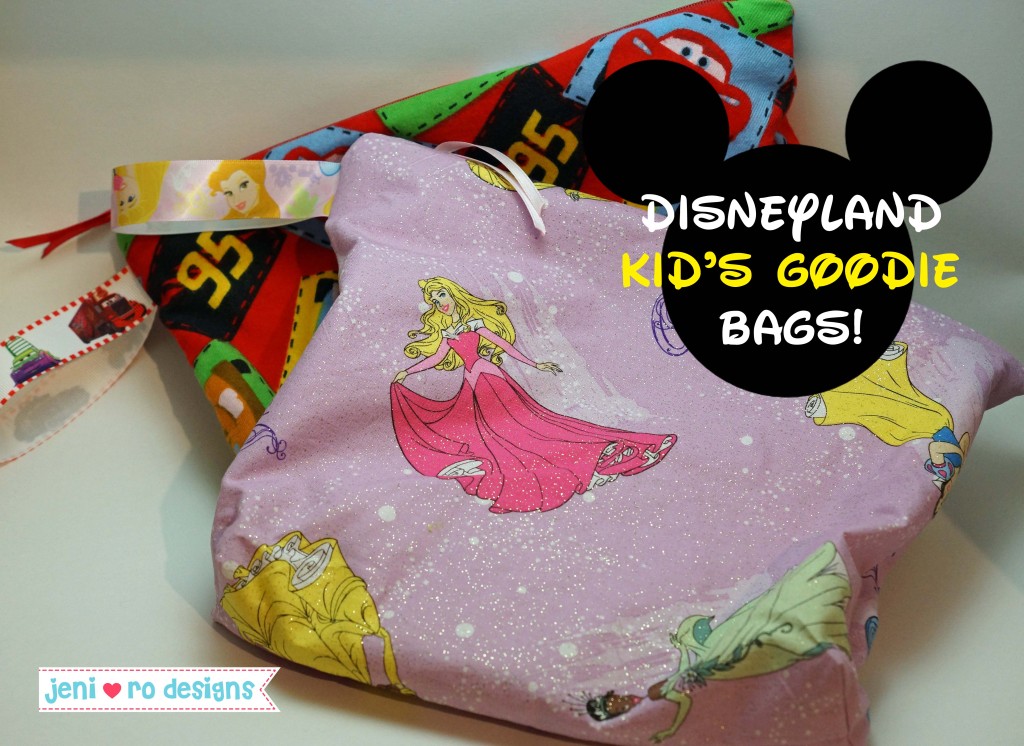 My daughter is all of about the princesses (I kind of love them too, so I indulge). I found this cute Disney princess sparkly fabric at Joann’s for her bag, etc. My son is a cars boy, and Joann’s had the cutest patchwork Disney Cars fabric that was perfect! The idea behind the bag is to hold their autograph book, pens for the characters to sign with and other items they may bring and get along the way. I made them big enough to hold the autograph book and then some but still be a decent size that I could put them into the bag I would be carrying.
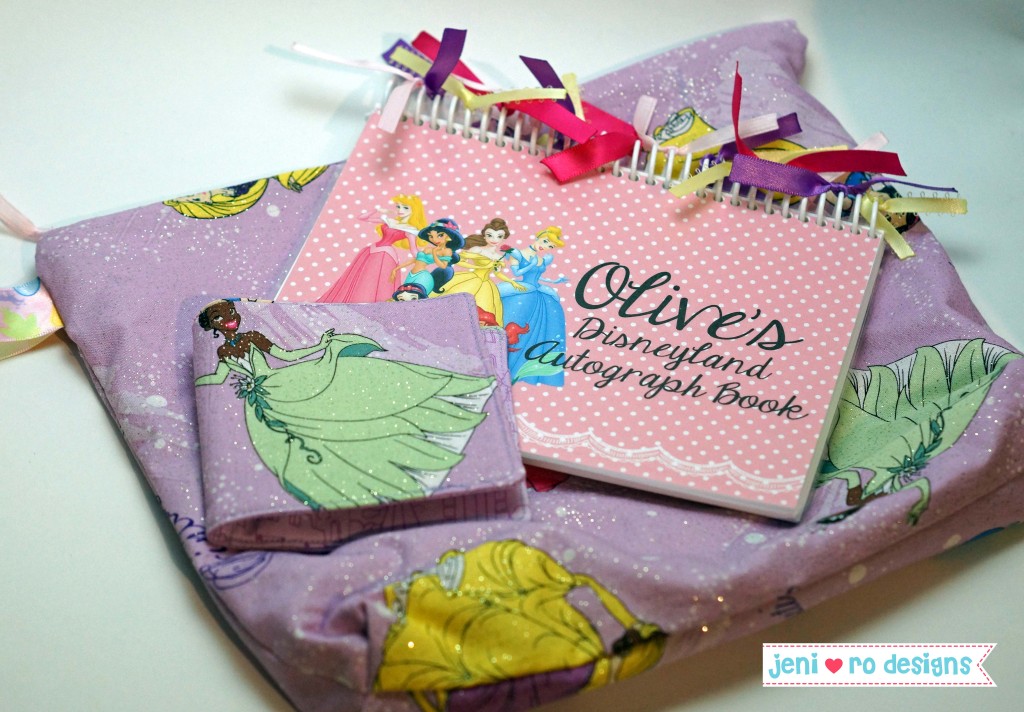
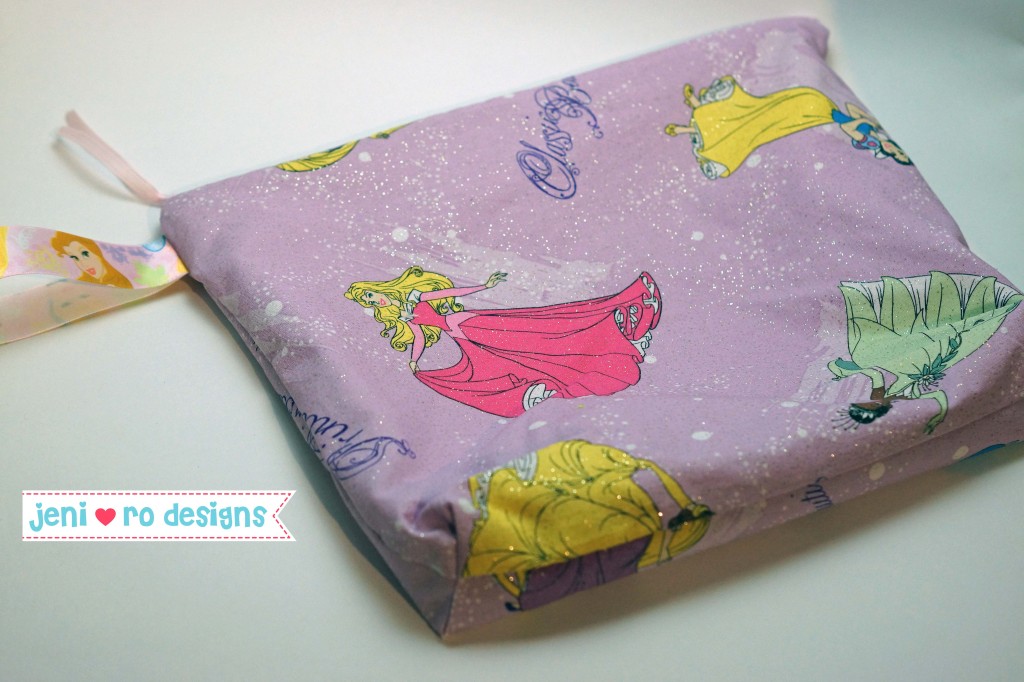 Here is Miss O’s sparkly princess bag. I added a ribbon “handle” to each bag thinking it might make it easier for me to pull out of my bag, but we will see.
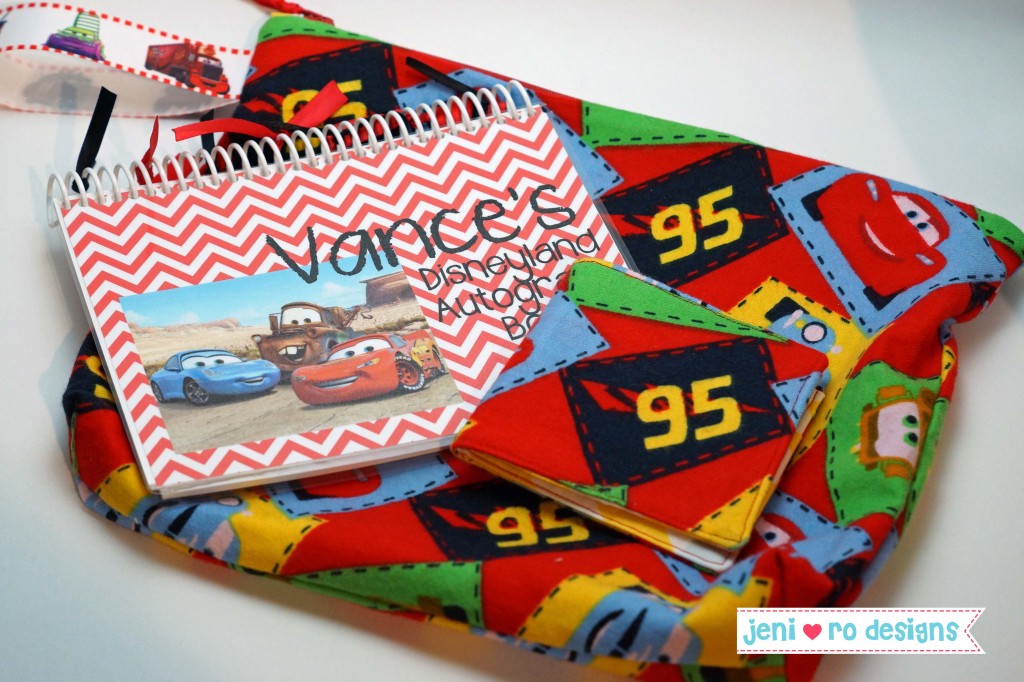
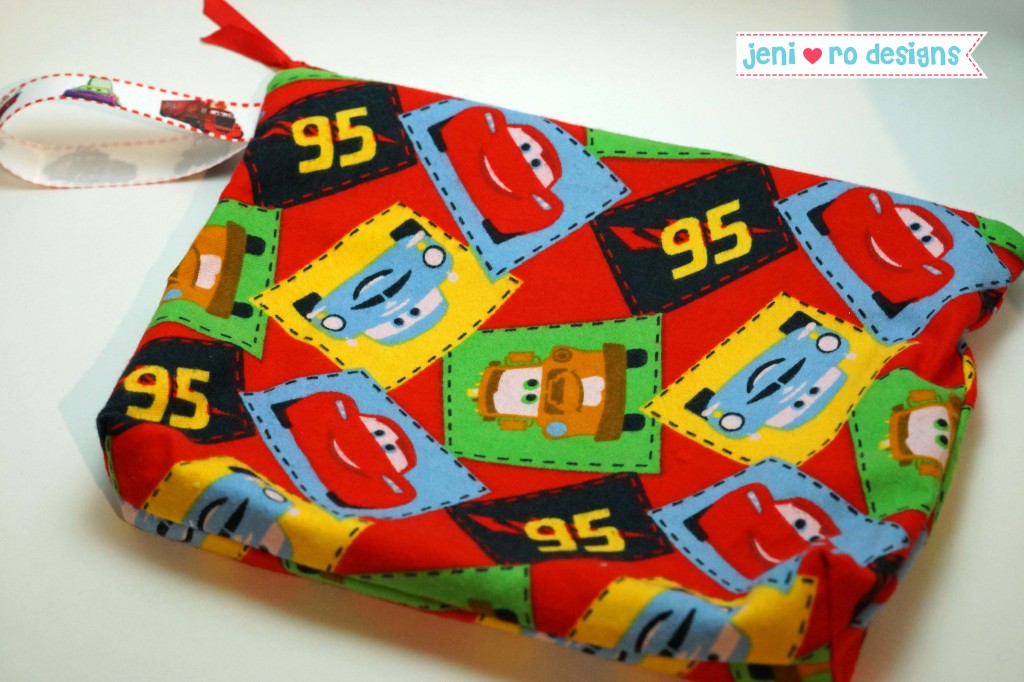 Here is Mr. V’s Cars bag. The bottoms of the bags are squared off so they should be able to hold plenty and maybe even stand on their own with enough stuff in it! I used a tutorial from Make It and Love It that I got when I signed up for her newsletter, but you can find the instructions on how to make a flat bottom zipper pouch pretty much anywhere on the www. I just adjusted the size of the bag but followed her directions for the construction. She did have a pretty cool zipper trick in the tutorial though!
So for what goes inside… well the autograph book really is the most important right!
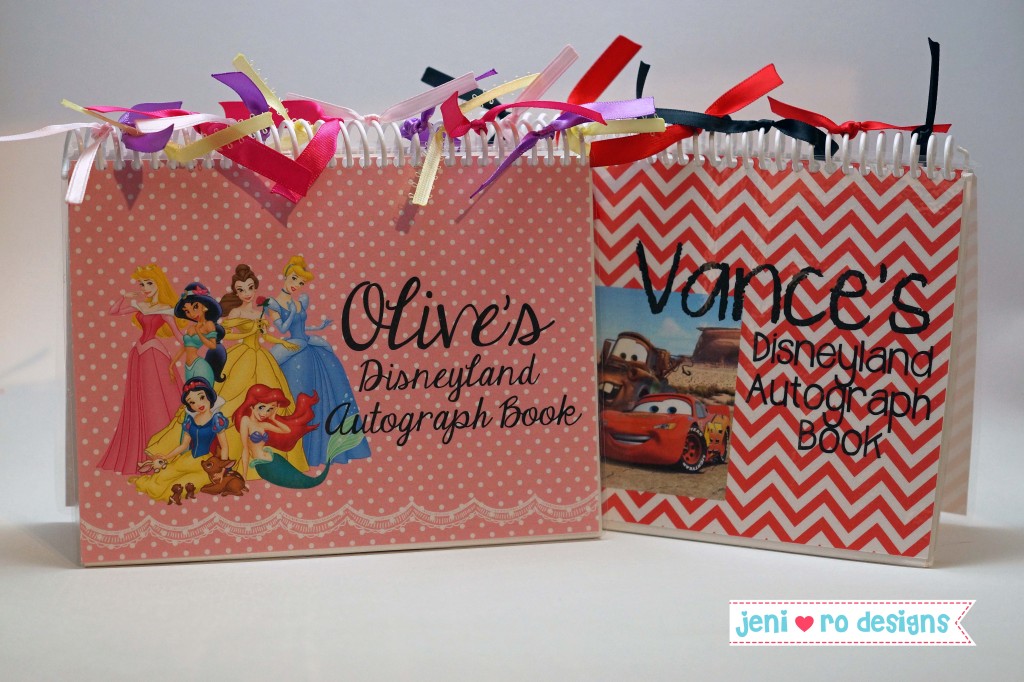 I designed the front and back covers of the autograph books at home with my Photoshop Elements program (I love that program!). I laminated the covers at home and had the book coil bound with blank white pages in the middle, at Office Depot.
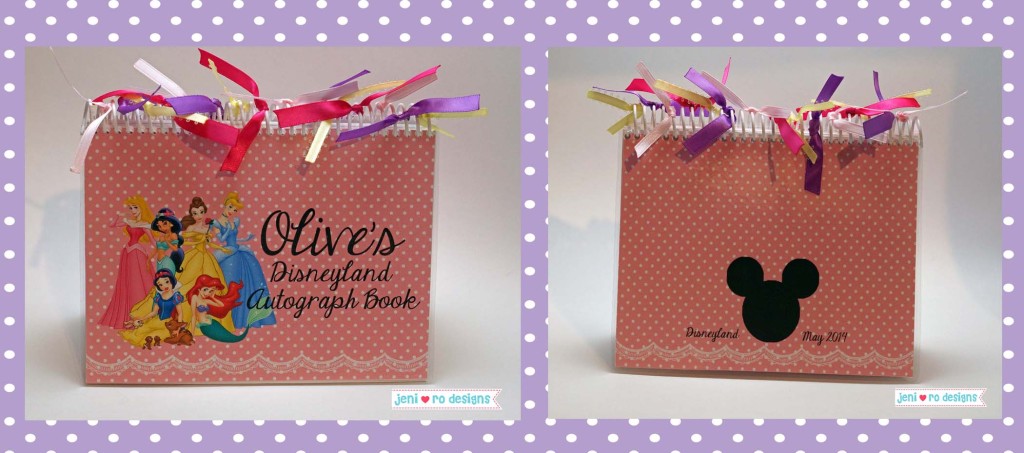 There are a lot of ideas for autograph books on Pinterest – some with characters printed on each page, etc. I decided to leave the pages inside blank so we aren’t having to search for the specific characters page when we wanted to get an autograph. I do plan on trying to get the characters to sign every other page so we can add a picture next to the signature, we will see if I am successful with that one. I might have to handwrite “picture” on pages so they don’t get signed on.
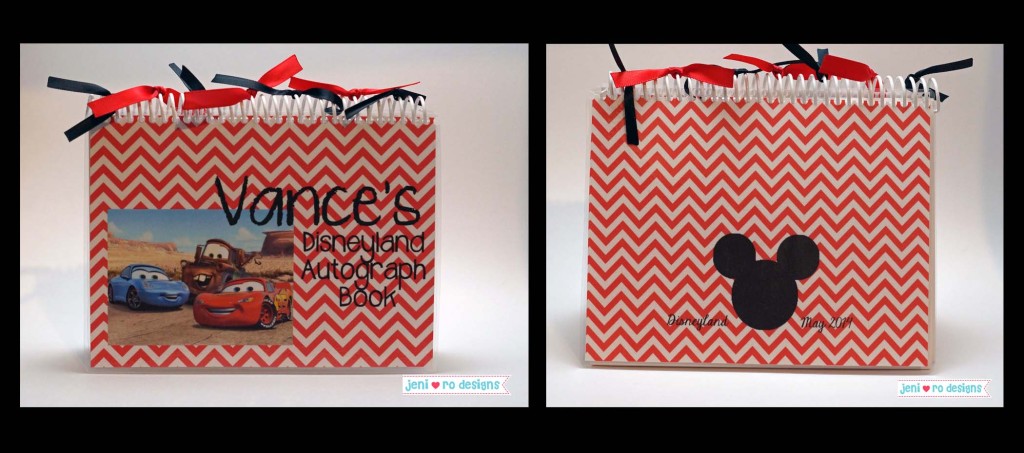 To dress them up a bit, I added a few ribbons tied to the coils. The books are a good size, 7-1/2″ x 5-1/2″ with about 40ish pages each, so there will be plenty of room for the characters with big hands to sign!
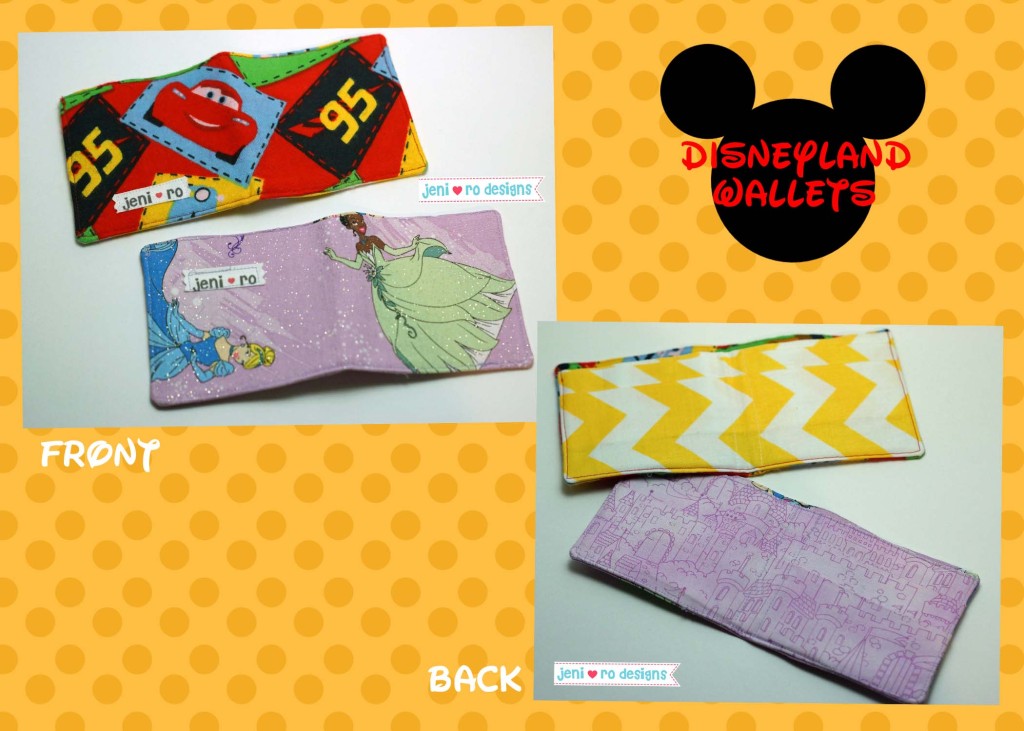
The bags also include a cute little wallet for each of the kids. We have been doing a Disney star chart as a way for the kids to earn spending money for the trip as well as curb some of the undesirable 4 and 2 year old behavior. I’ts working “okay”. So since they are earning “money” I made them each a little wallet to hold their “money”.
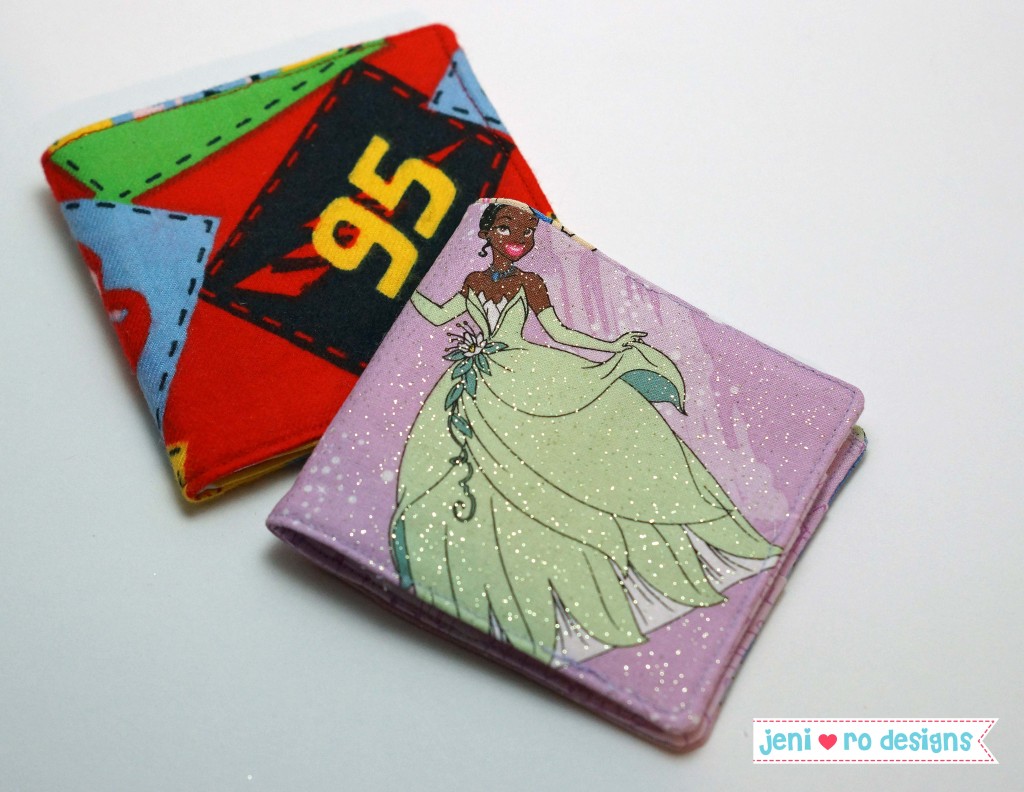 I found THIS tutorial for a fabric boy’s wallet by Noodlehead. It was a pretty quick sew and they turned out really cute. I think they will come in handy during the trip.
 Everything should tuck into the bags nicely!
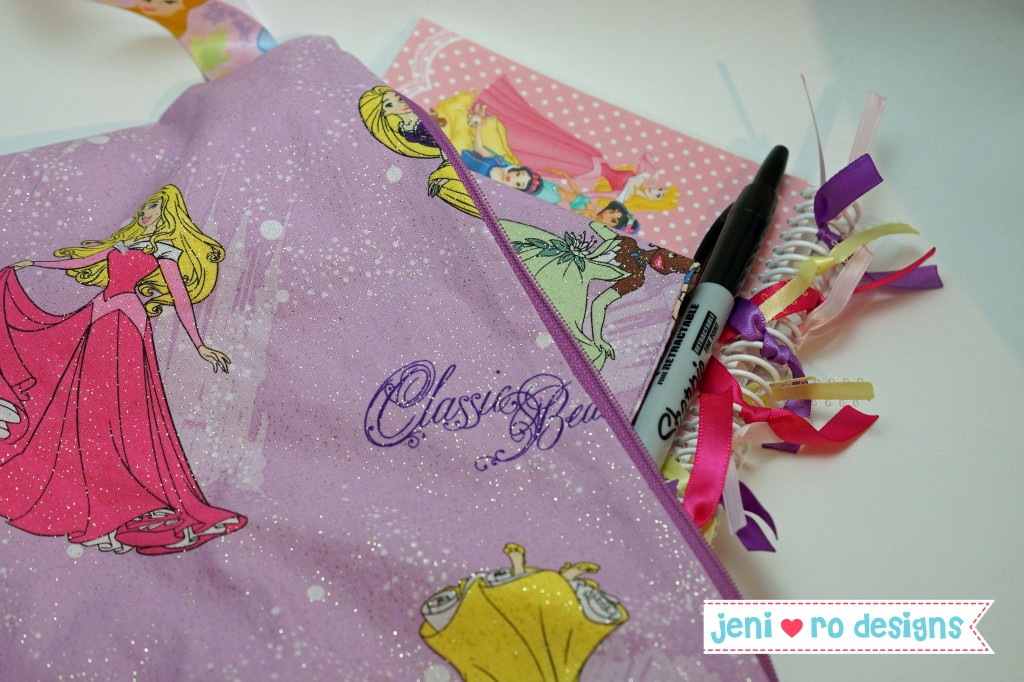 And be a safe place for all of their Disneyland “goodies”!
 Next up: What should a little princess wear to the happiest place on earth? Check back next week for the adorable answer!

