I feel like I have been slacking a bit on the homemade gifts lately – okay I don’t just feel like it – I have!! But you know some things take time – which I don’t have a lot of extra of! Well I finally got my 1st little sister’s (I have 2 little sisters) birthday present done. Only 3 weeks after her birthday!
I made her my favorite thing to give the adult ladies in my life – a picnic blanket! They always turn out so cute and they are very practical, especially when you have kids. And even if you didn’t, it’s still nice to have a dry spot to sit in a park for a picnic, or watch ball game, etc.
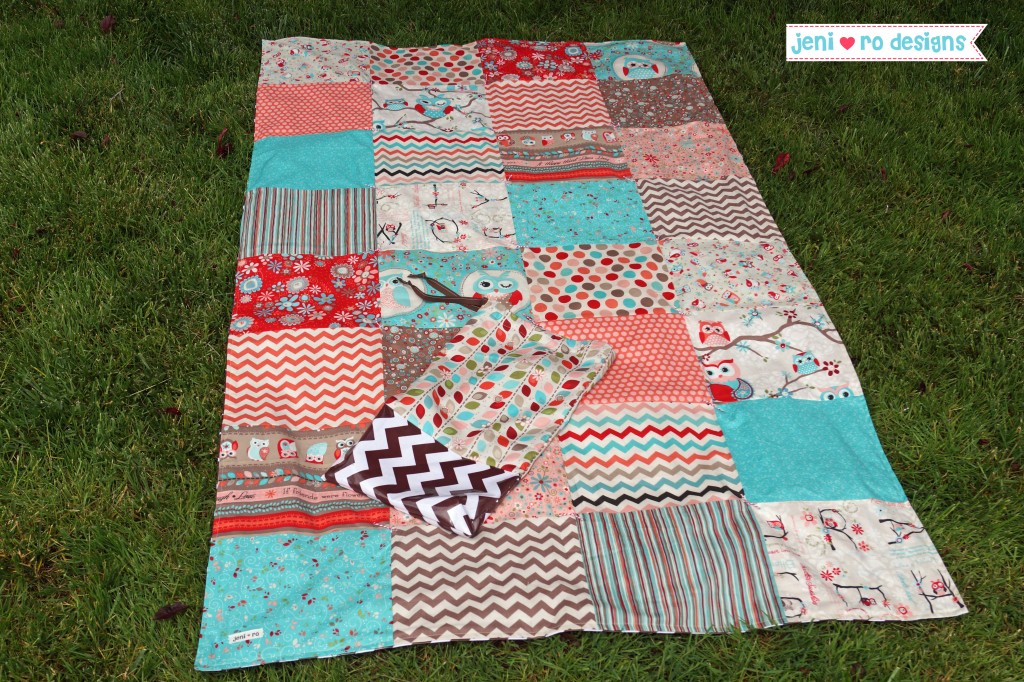
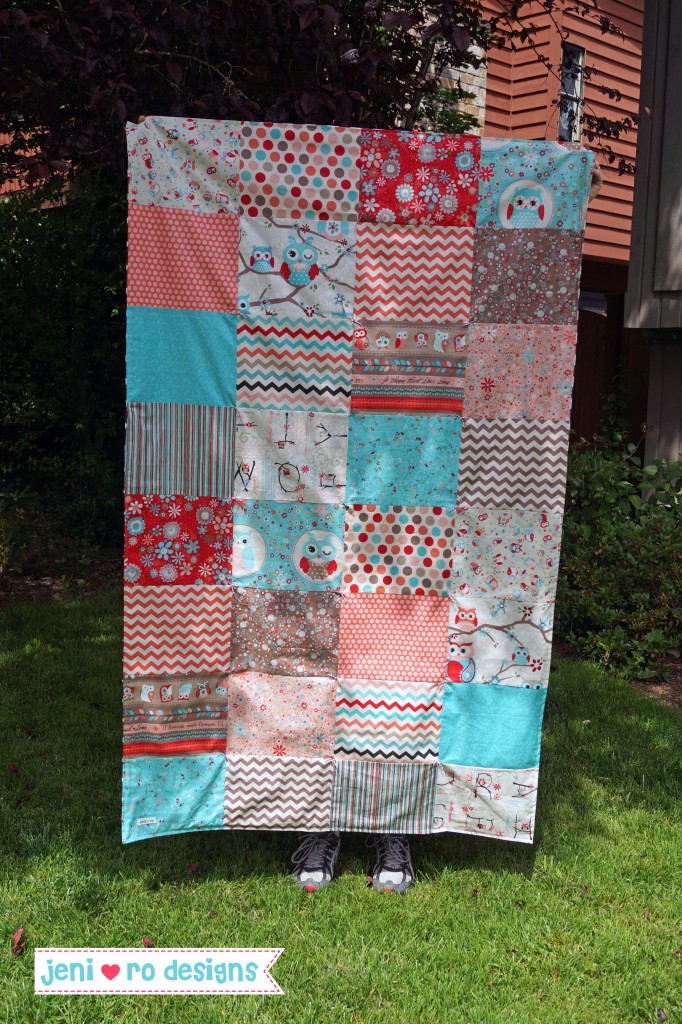
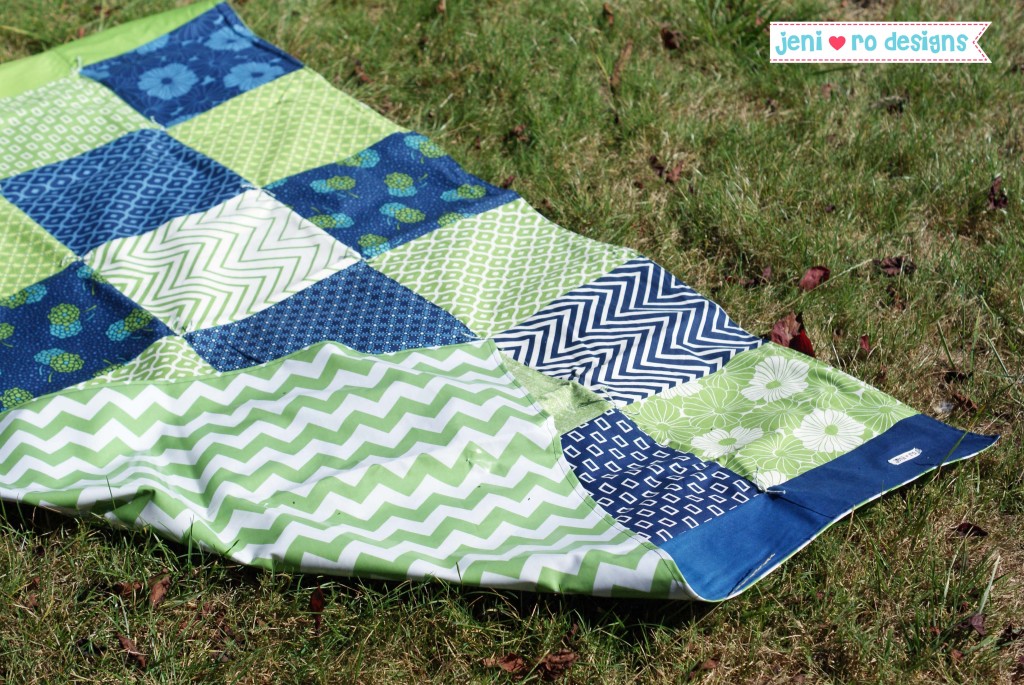
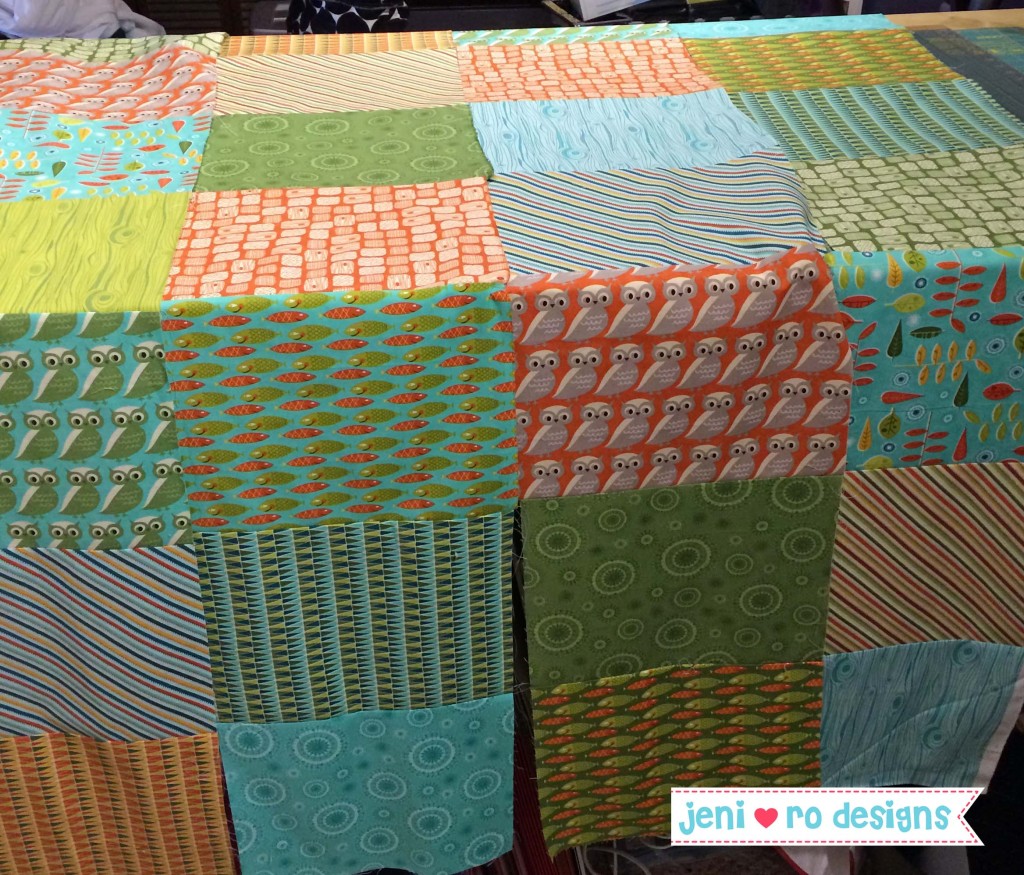
Originally I found this tutorial from Maureen Cracknell Handmade at the Moda Bake Shop for the picnic blanket. It’s a simple quilt top, just large squares of fabric, sewn together for the top. Here is the front of my sister’s blanket held up by my super tall husband (thanks honey!) I used a Nested Owls Coral fat quarter pack from Adorn It that I got at Spring Quilt Market 2013 in Portland, OR.
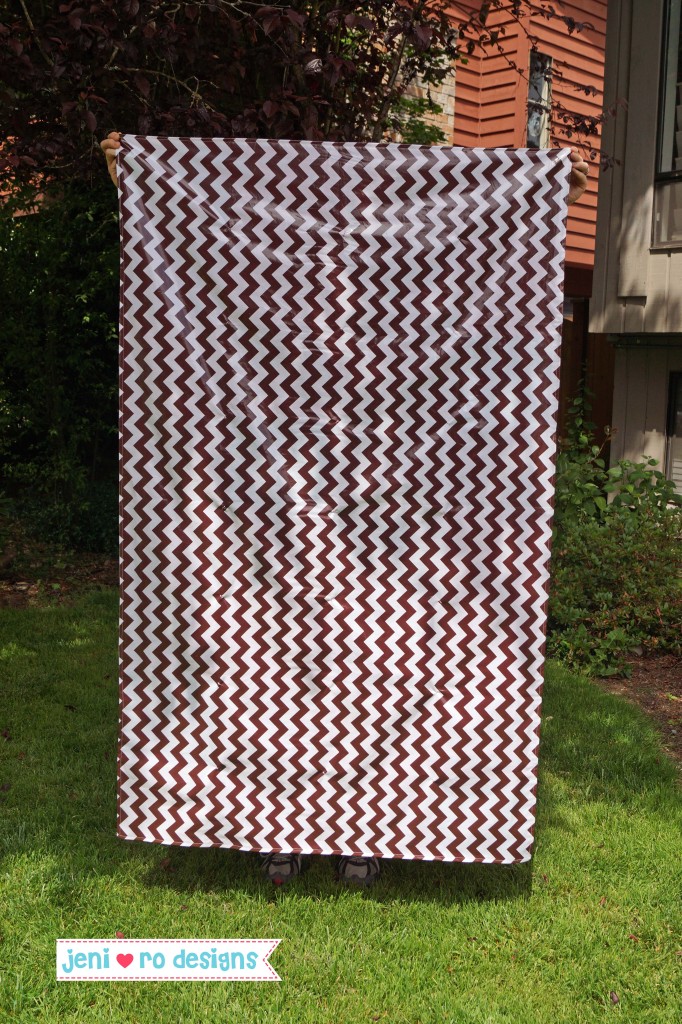
The genius part of this blanket is the bottom side! It’s laminated cotton! Cotton that has been coated with a plastic – so your blanket or bum doesn’t get wet from the morning dew (or the damp grass from last night’s rain shower).
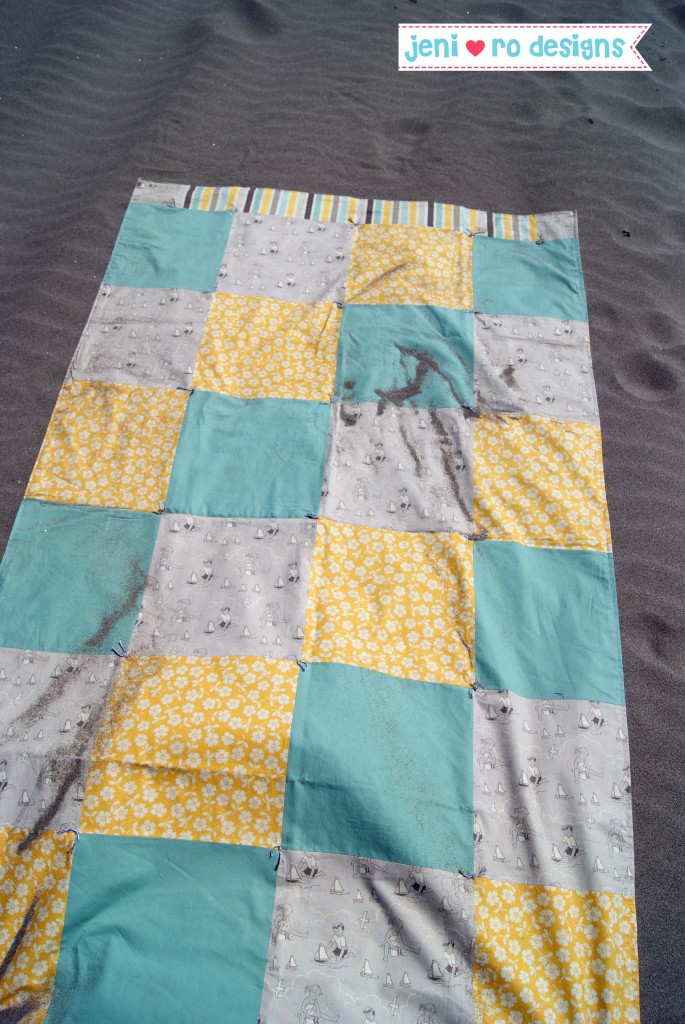
The two layers are sewn right sides together and turned so no need for binding. To keep the layers together, I used baker’s twine to tie up the corners of each square. It’s functional and cute.
I made my first picnic blanket for myself, more than a year ago. Here is my blanket at the beach last year – a little sandy but this was the best picture! I actually got fabric from the same line as the original tutorial – I loved it that much!
After that first blanket, I have made 7 more now – 1 for a friend who wanted one after seeing mine, 3 for the same friend to give as gifts for Christmas, 1 to my BFF for her birthday, 1 to my sister in law for Christmas and 1 now to my sister. Baby sis you will have to wait a little longer! 😉 I do have the laminated cotton for the back for 3 more blankets – just need to find the time of course!
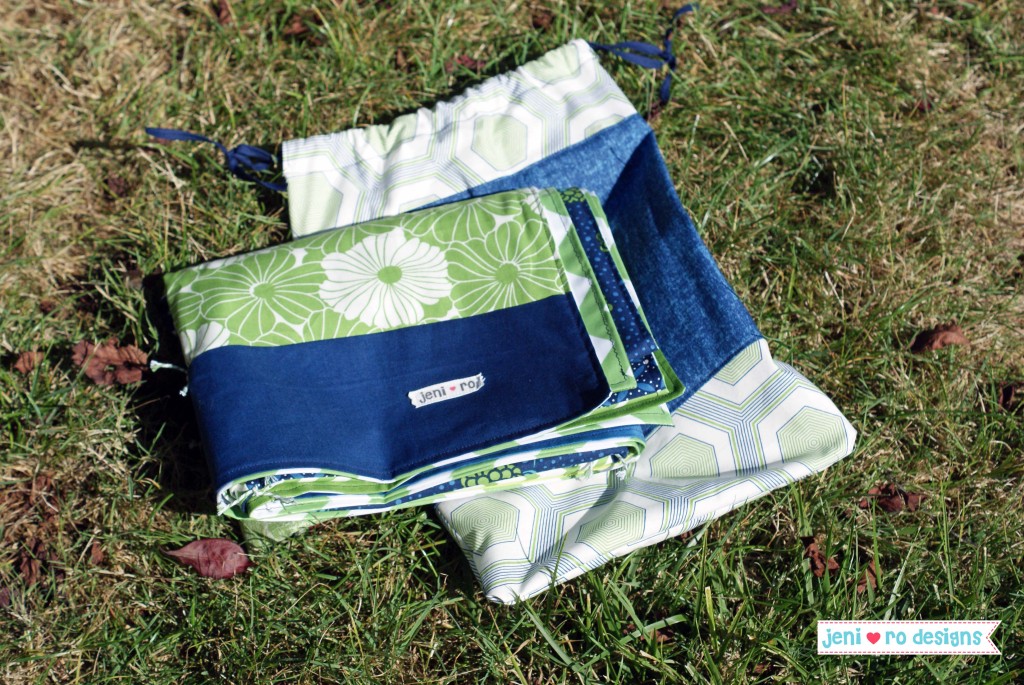
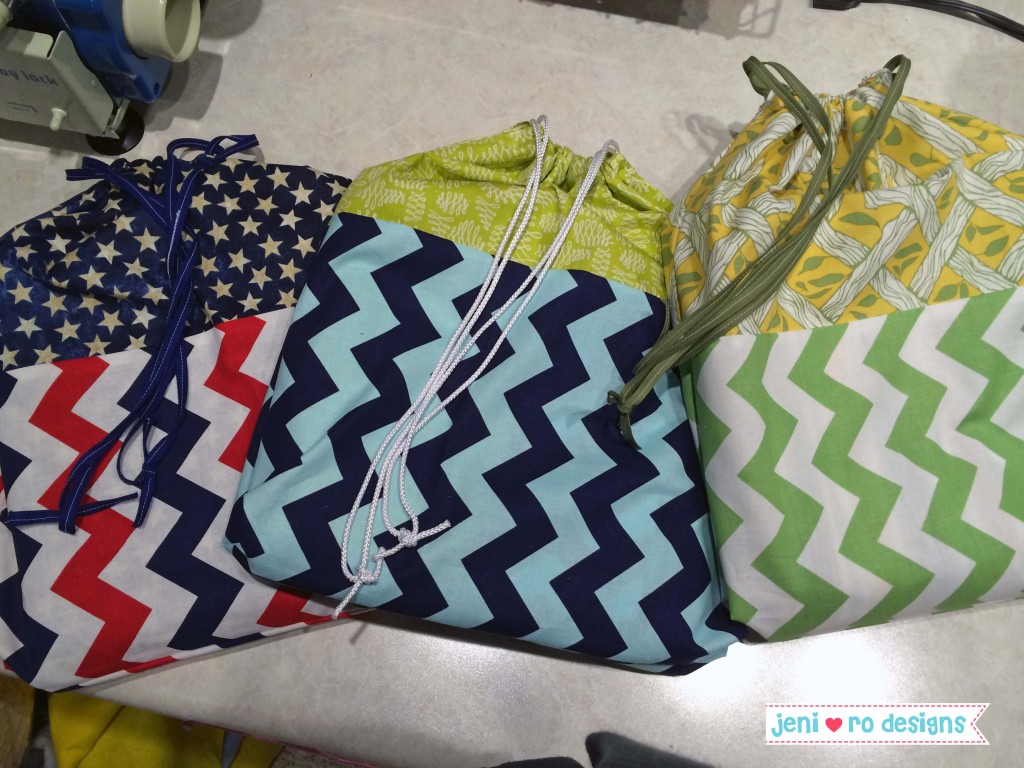
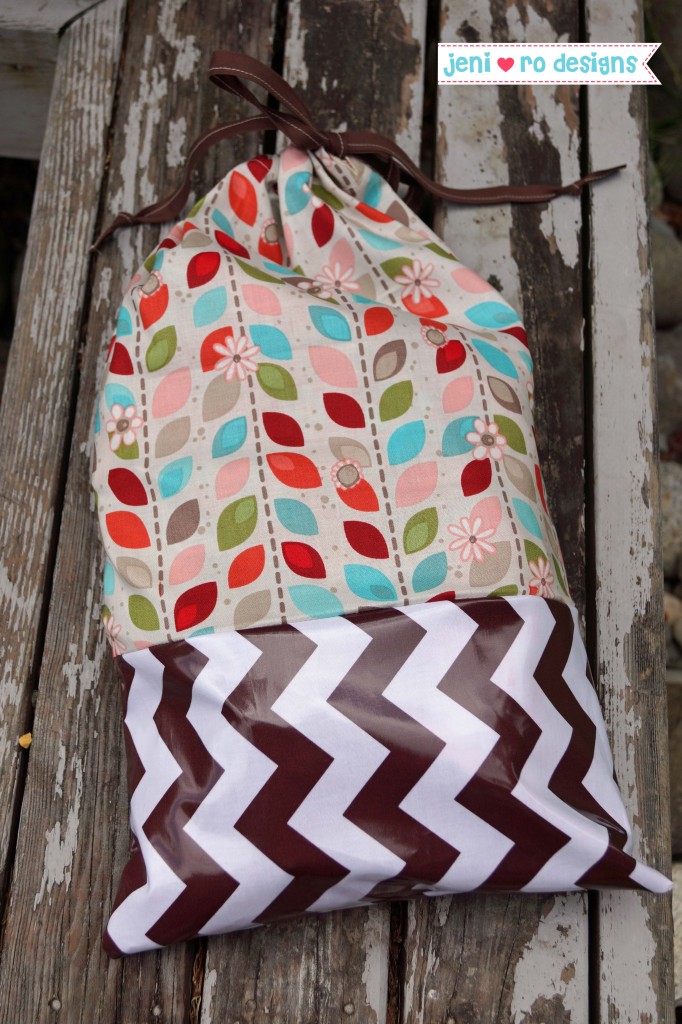
The friend who wanted one after seeing mine asked if I could make a bag for the folded blanket to go into for storage and transport. By golly that’s genius! Why didn’t I think of that! So I made up a simple draw string bag the blanket could fit into, out of whatever fabric I had left after making the top.
With the bag, they really are great gifts! The bags drawstring close tends to change every time I make them, but I think what I did for my sister’s I like. I made button holes for the strings to come through – its cute and I didn’t have to do any fancy sewing/folding of the top!
In making them now, I have strayed away from the dimensions outlined in the original tutorial – mainly because I am trying to use fabric that I already have. As long as I can get the blocks to fit into a less than 44″ width I am good – since the laminated cotton is only 44″ wide. I have used fat quarters, fat eights and yardage to make the tops and I have been getting the laminated cotton at fabric.com – the best price I have found anywhere since the stuff is on the pricey side. I usually stick with the chevrons since they can go with just about anything – but there are some cute laminated cottons out there now!
I didn’t get pictures of all of the blankets I have made so far, but here is one of my sister in law’s in progress. They initially seem like a lot of work, but I end up whipping them up in a few nights!
Anyway, so that’s currently my favorite thing to make for grown up girl gifts – given I have the time! I better schedule some time to make a few – more birthdays coming up soon!

