It’s time for the June Stuffie of the Month!! I am earlier this month because I had to get this little cutie Mrs. Squirrel sewn up in time for a friend’s birthday!
At the end of last month’s review, I mentioned I was going vintage for June. Well I guess vintage really wasn’t the right word, since umm this pattern came out in the 70’s and I was born in the 70’s so I was essentially calling myself vintage. No thank you! So let’s just say this pattern is from childhood, yeah that works! But it actually didn’t come from my childhood, it came from a friend of mine’s. It is a 1970 Simplicity pattern – Number 8782 to be exact, that my friend’s grandmother had used to make her a squirrel when she was a little girl. She gave it to me wondering if I could recreate the squirrel that her grandmother had made her so long ago (ok it’s not that long!).
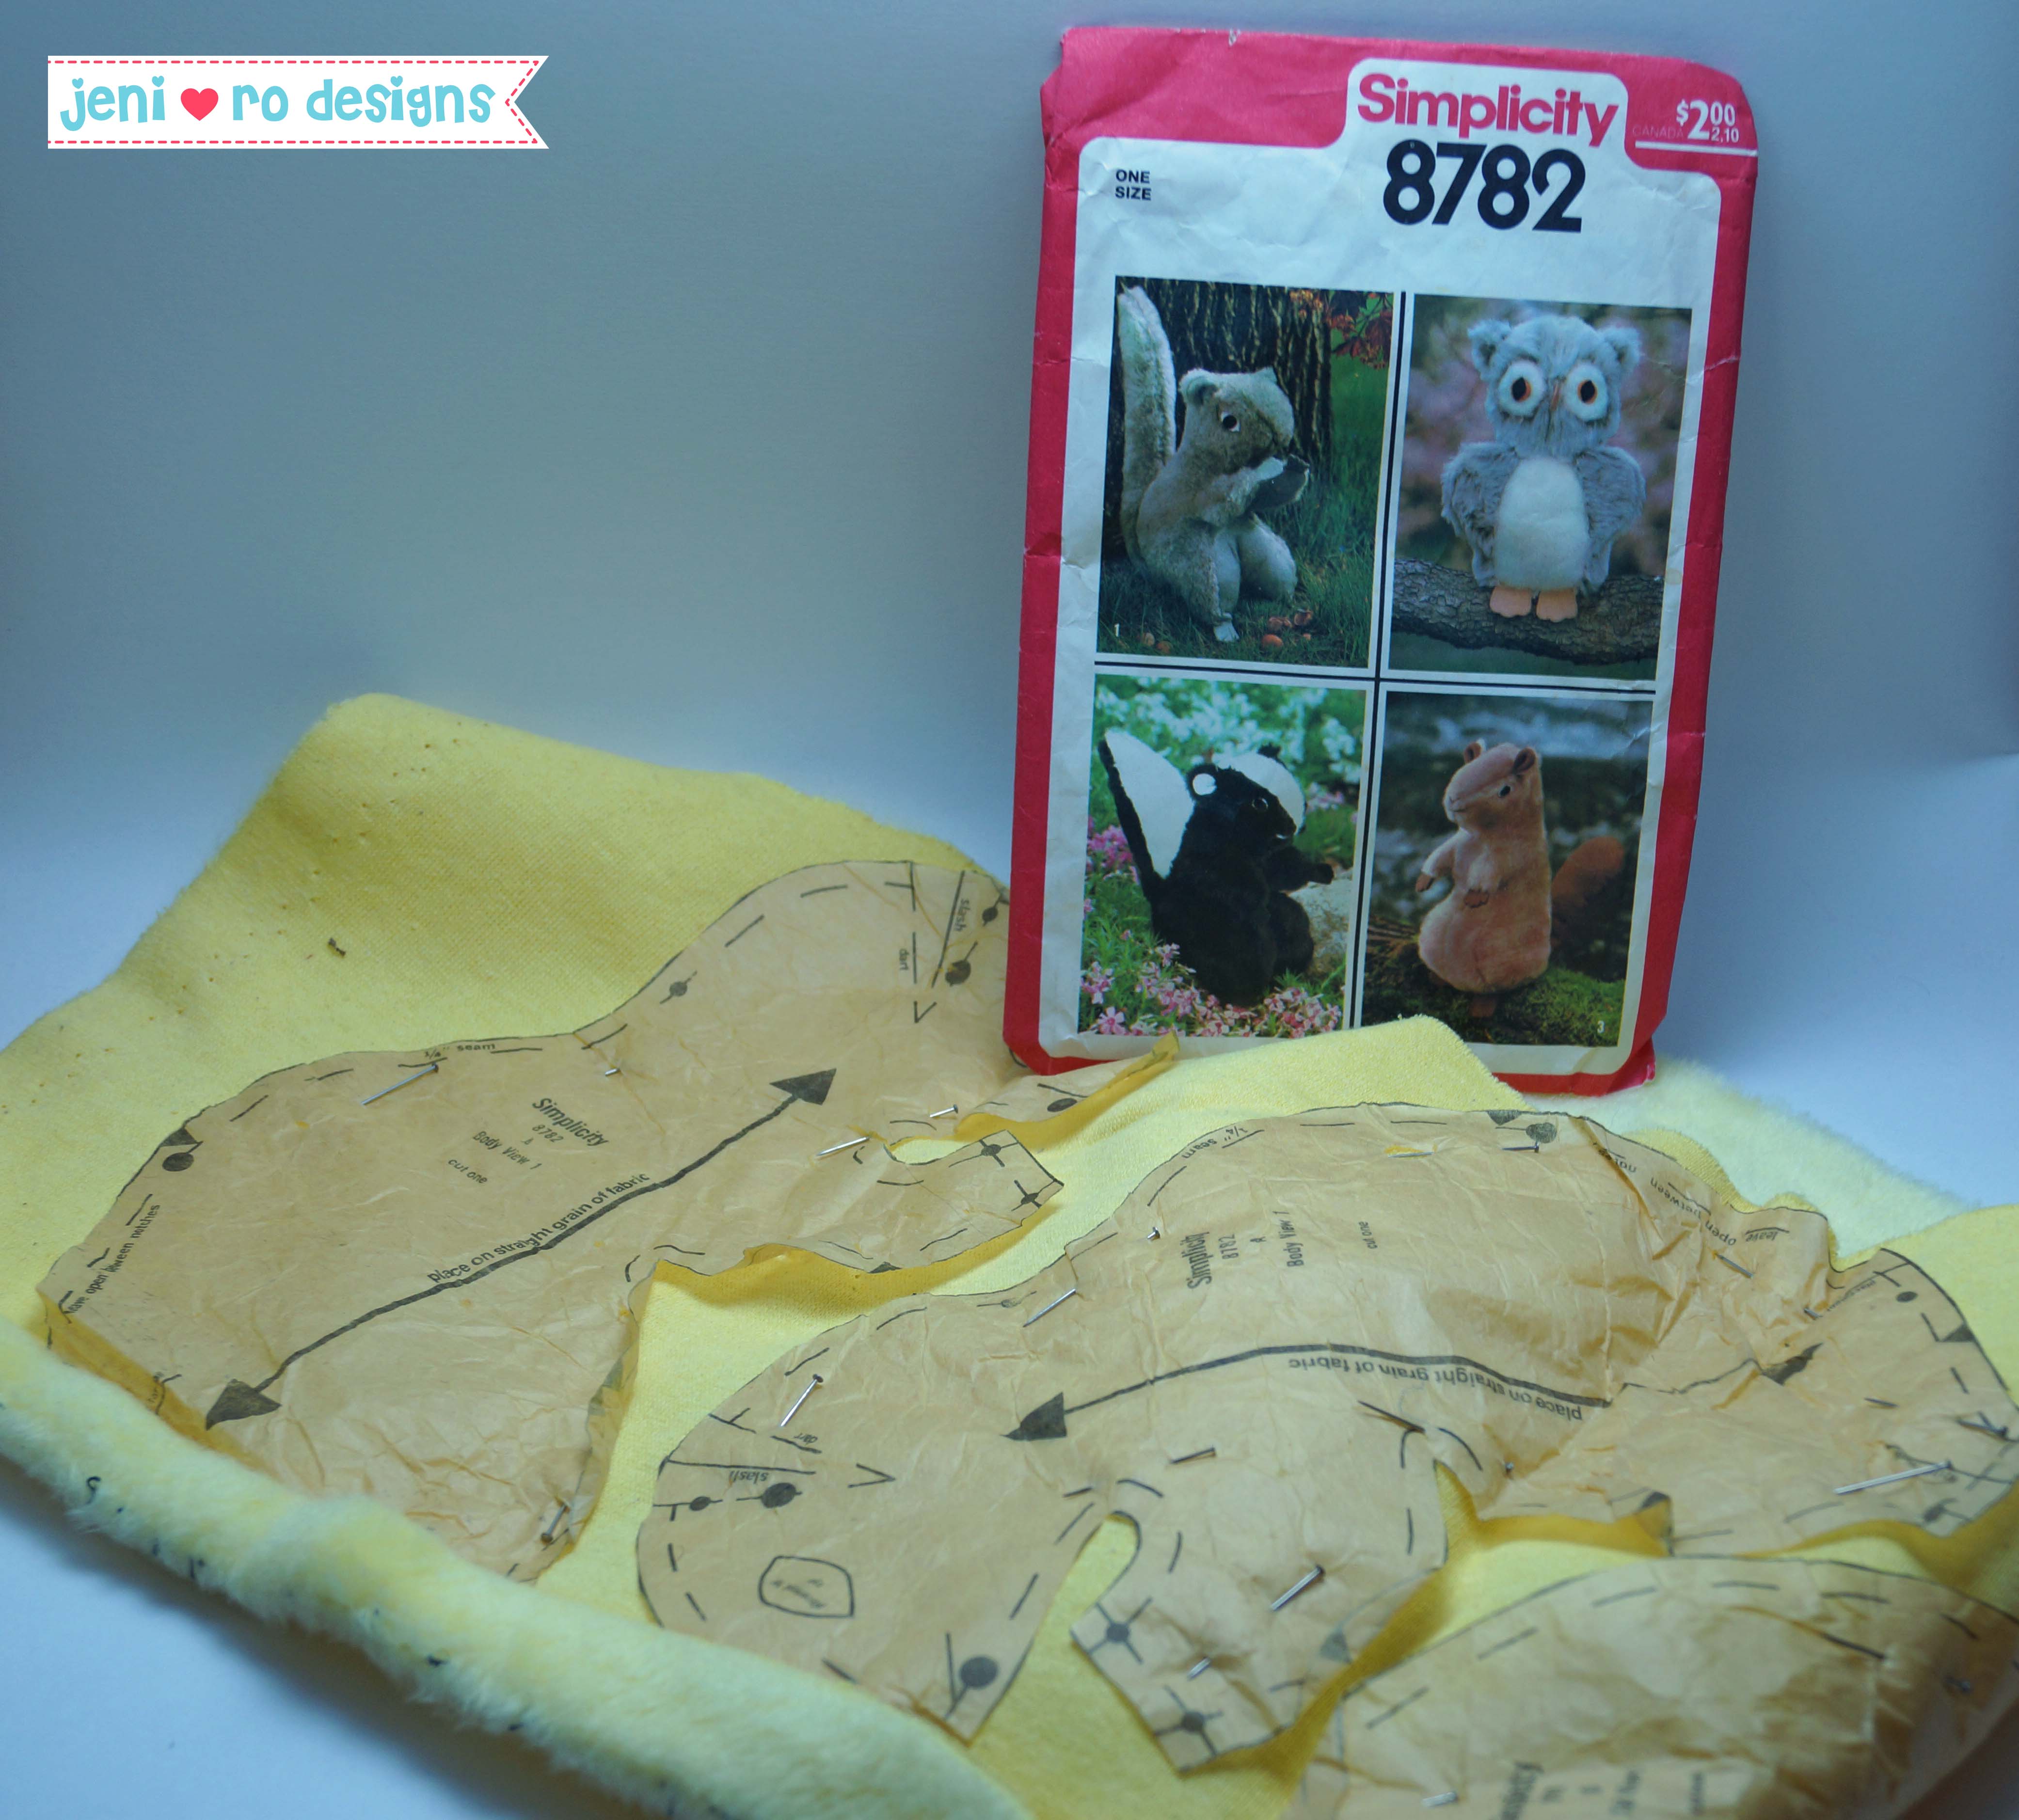
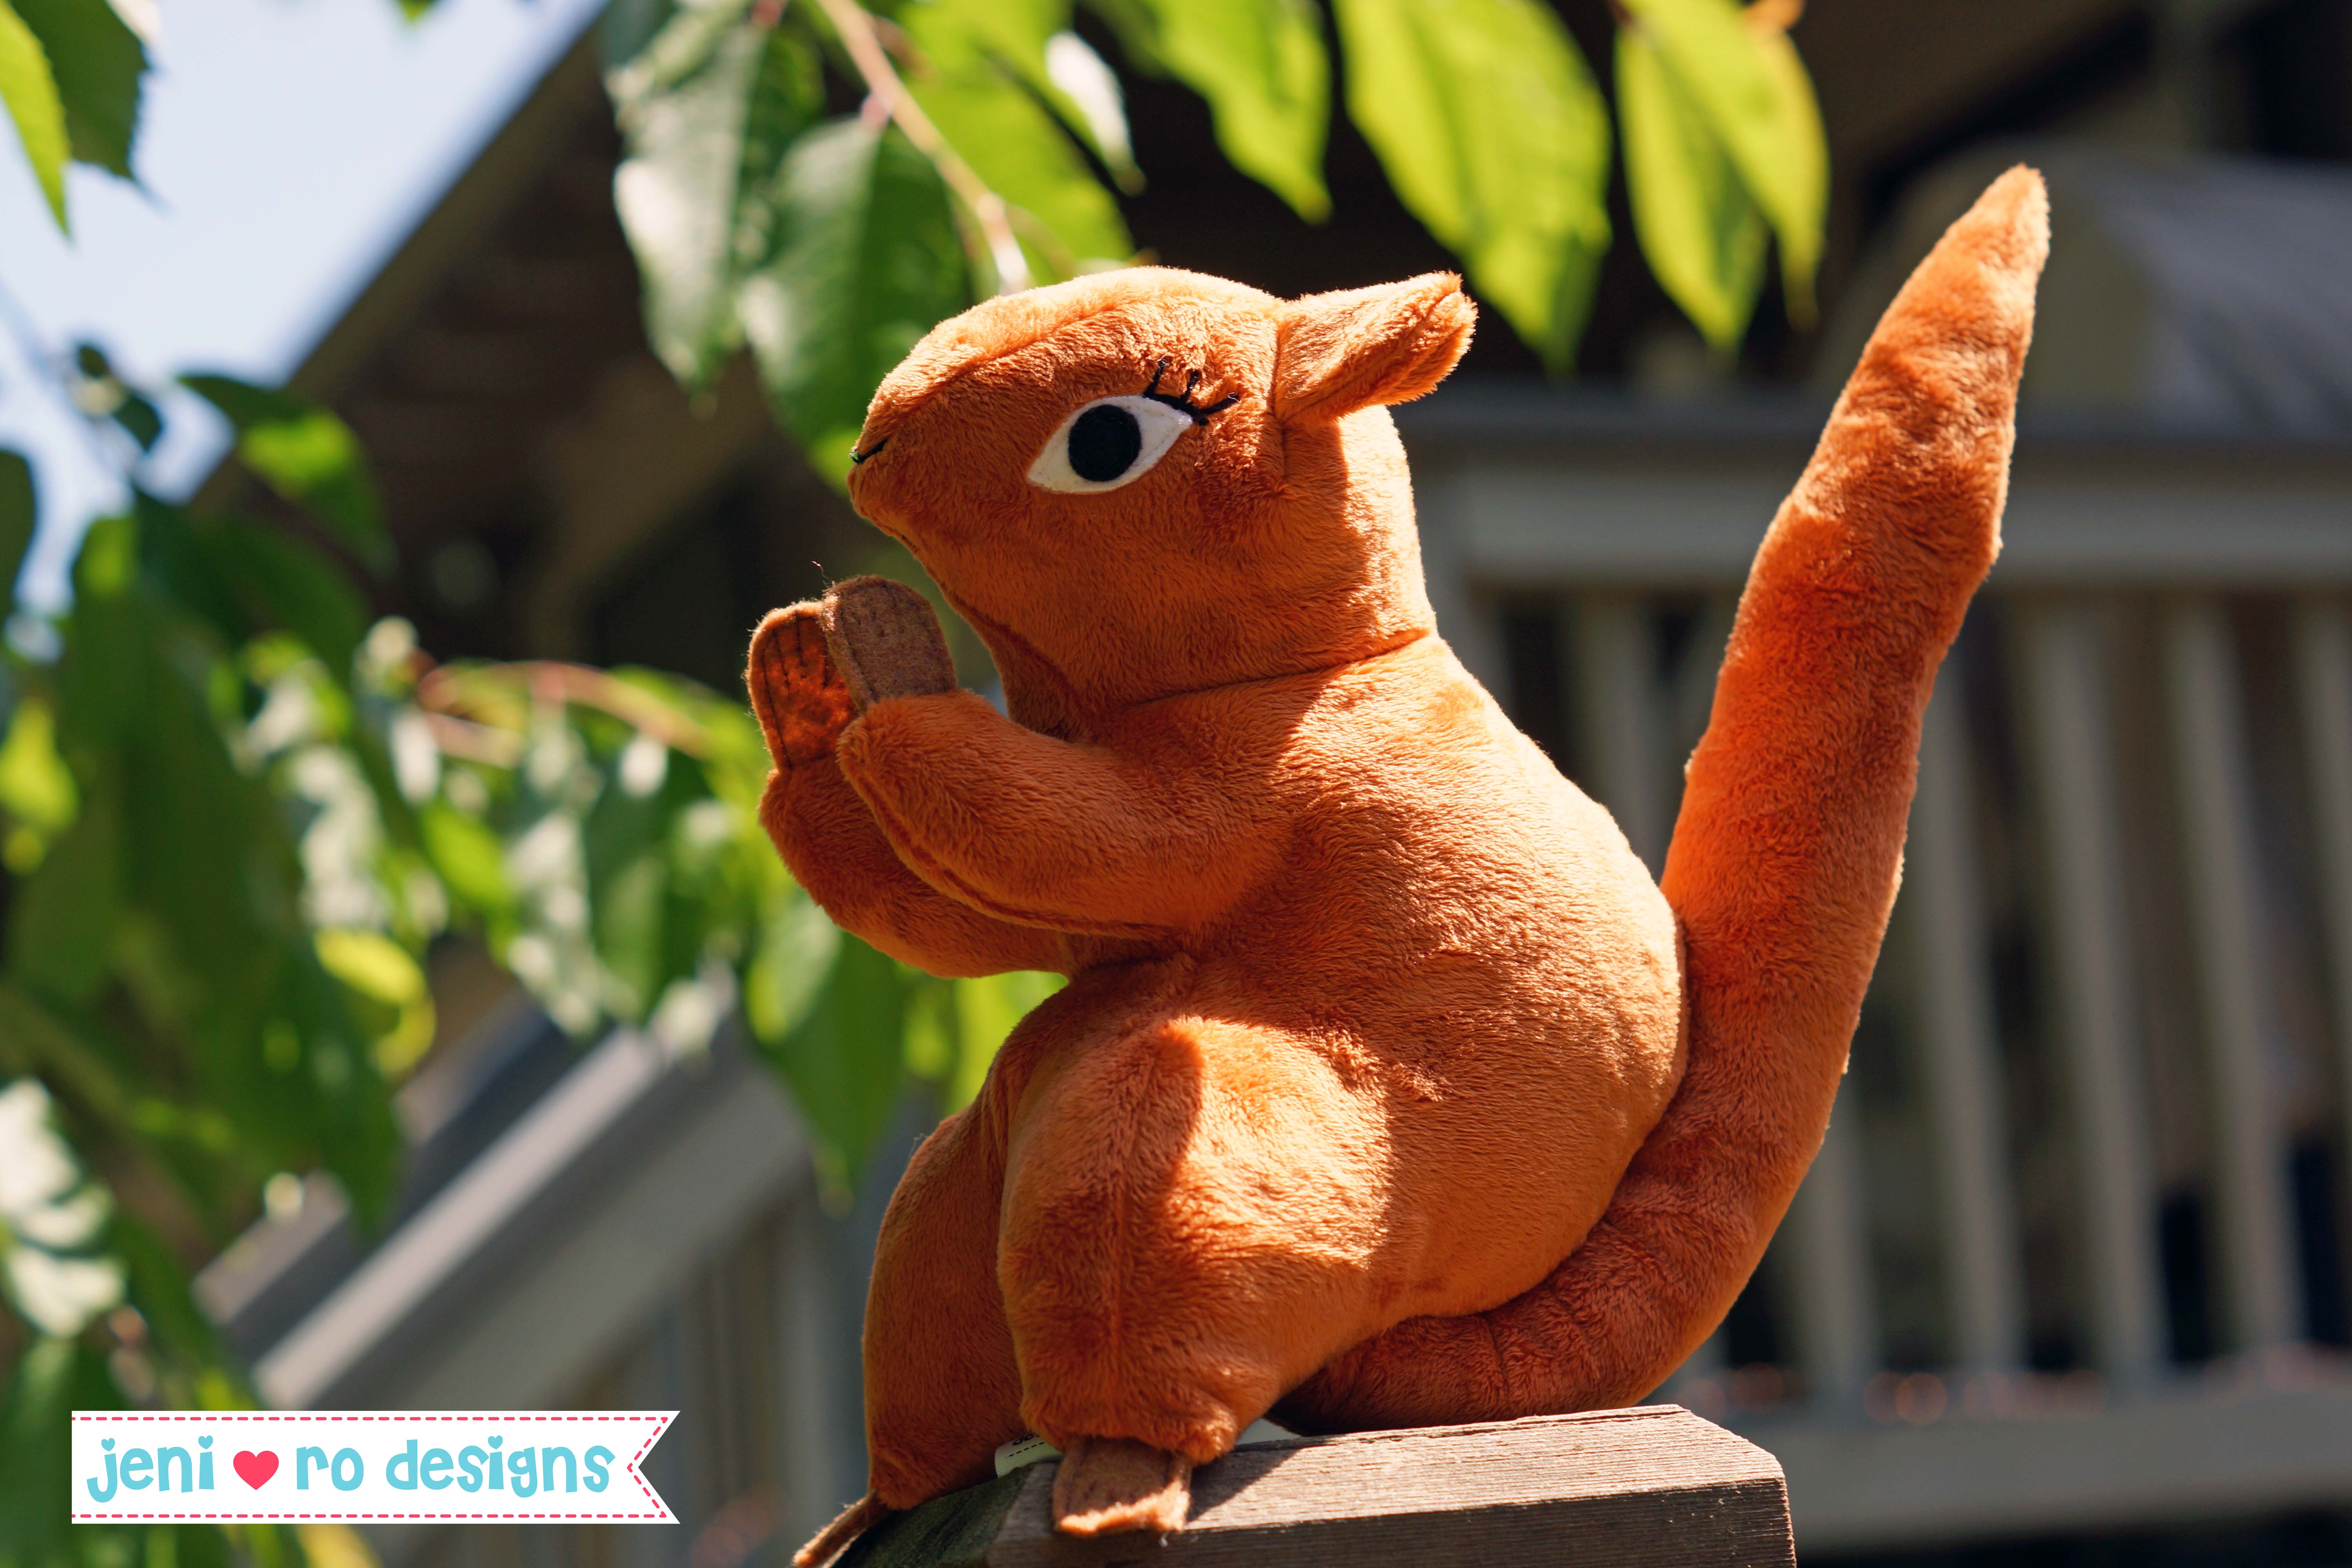
This is how I got the pattern in a zip top bag. The delicate tissue pattern pieces were cut out and pinned (with those awful tiny flat head pins) to a scrap of fur. I carefully unpinned the pieces and then ironed them to get all of the creases out. I found a piece of burnt orange minky in the flat fold clearance section of my local fabric store and it just yelled at me that it wanted to be L’s squirrel!
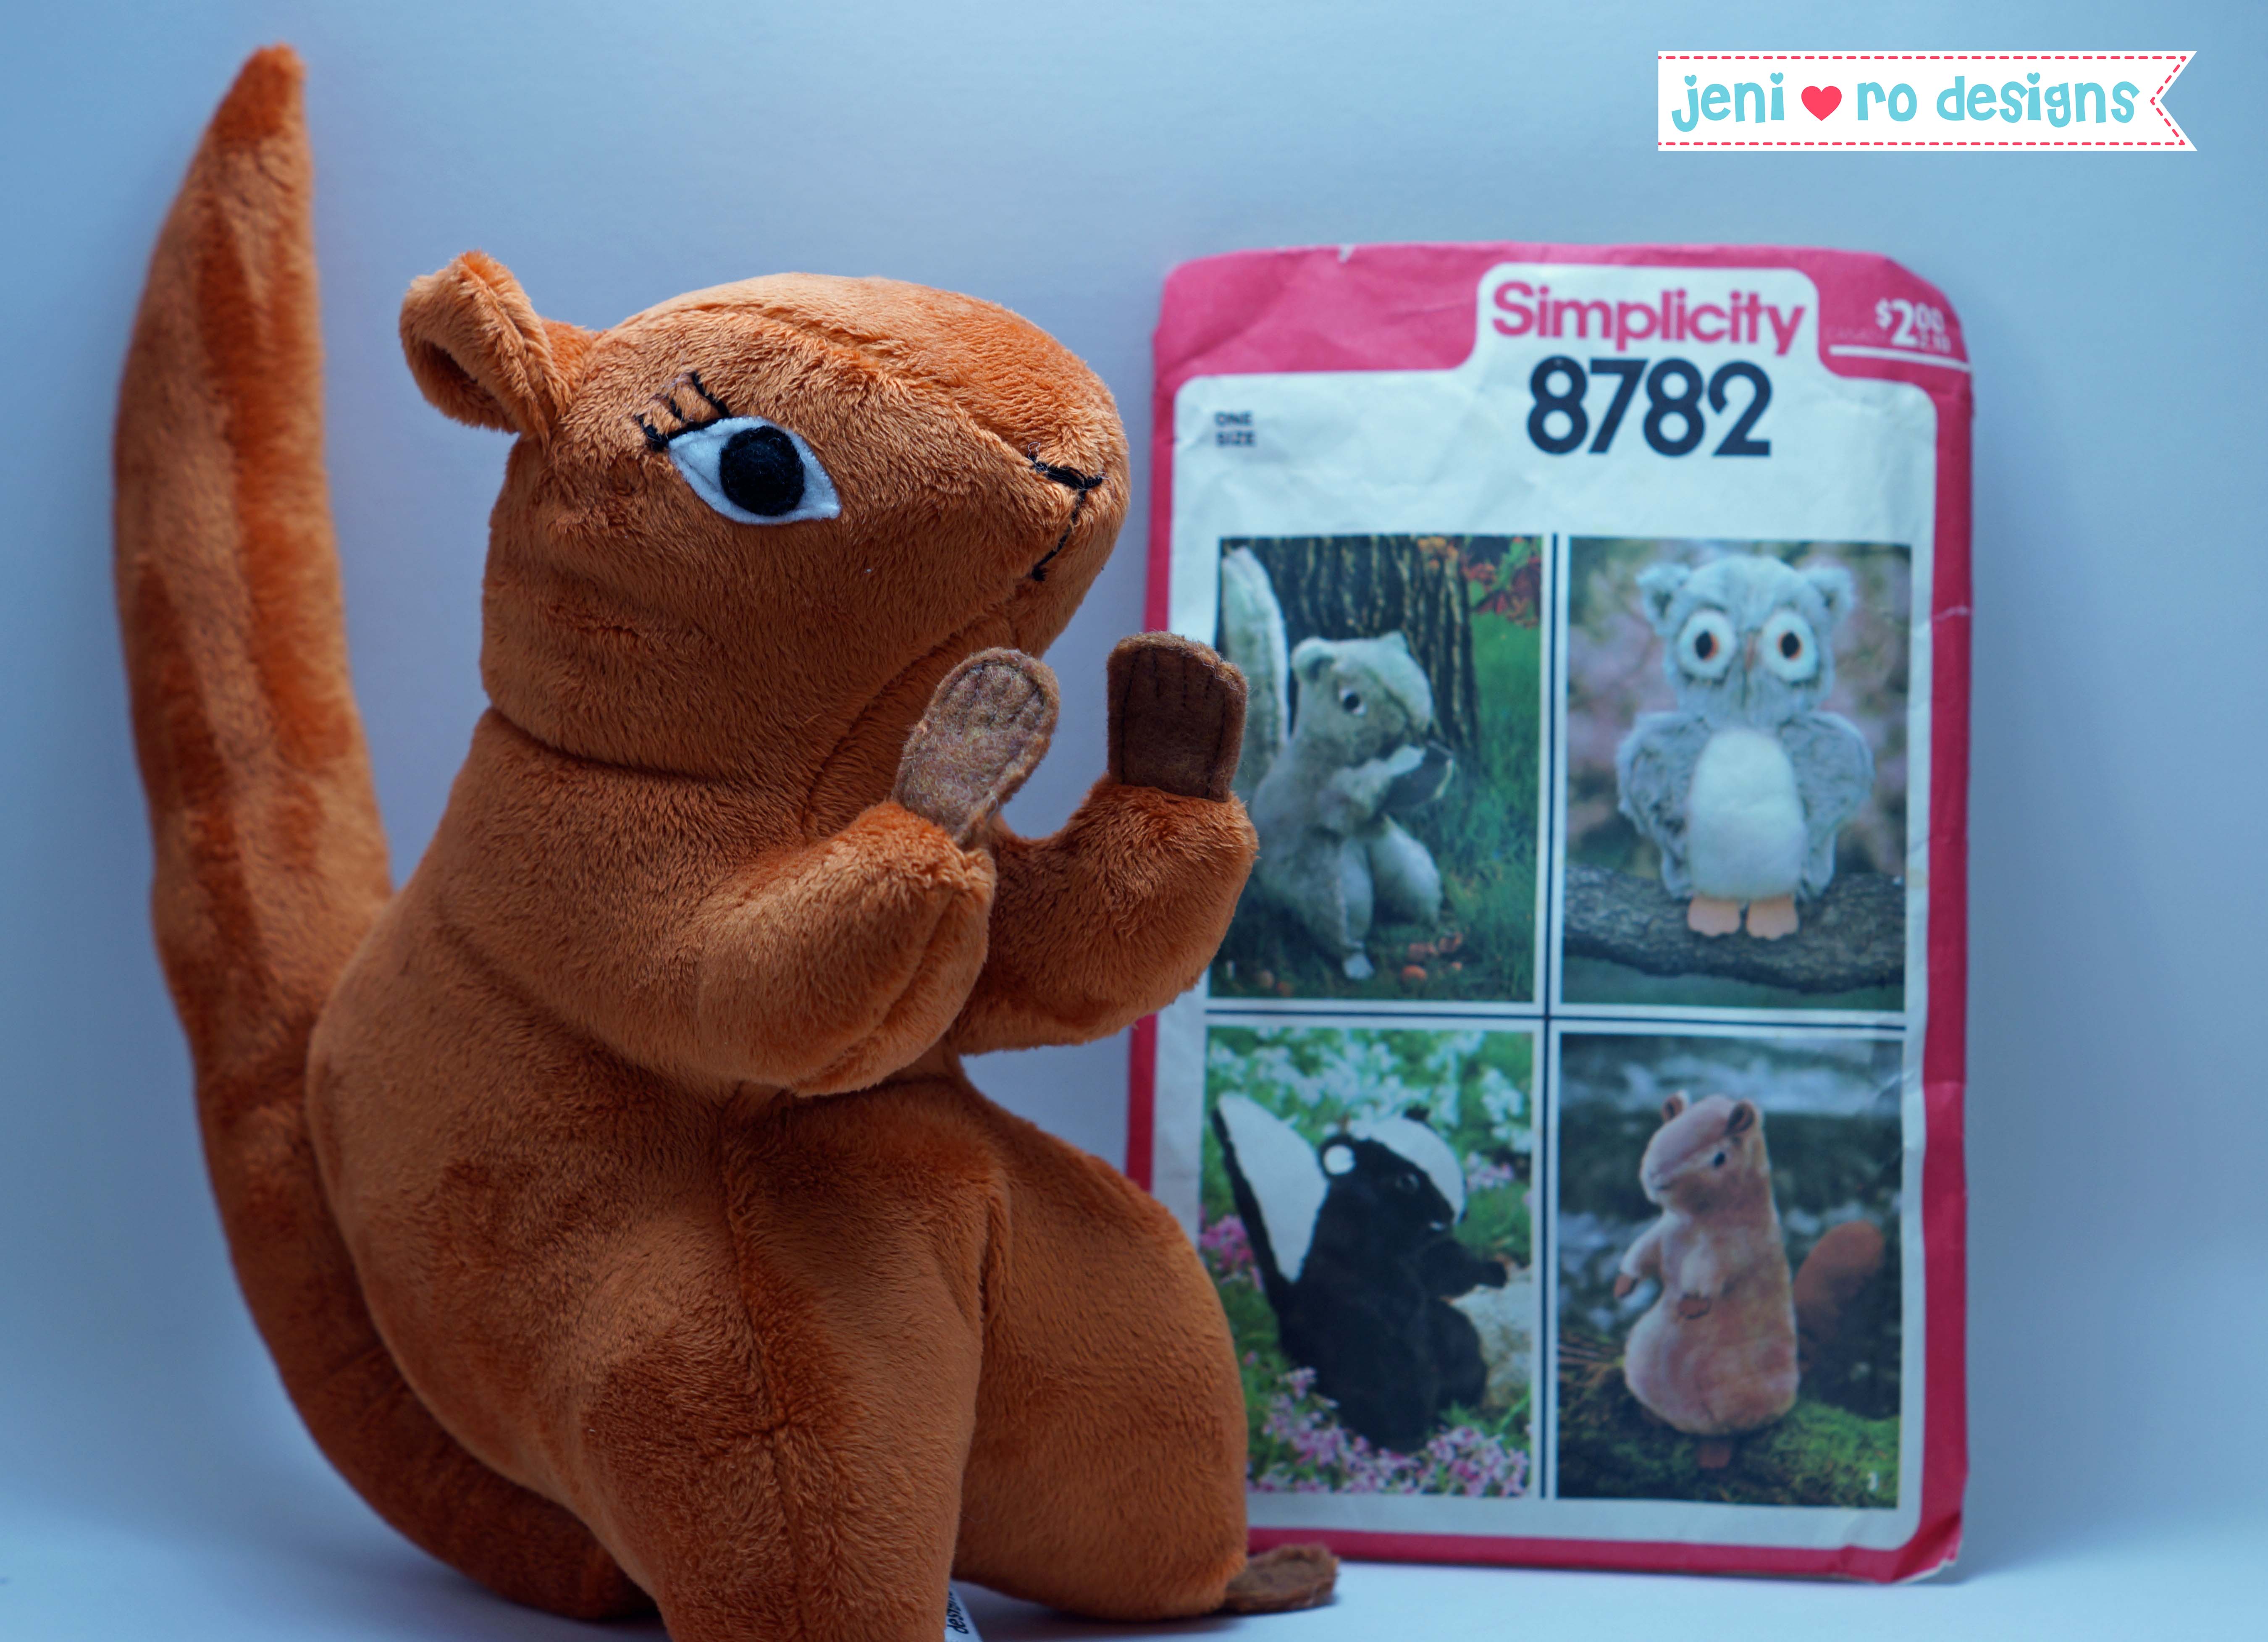
I used fleece for the eyes and took a chance. Following the markings on the pattern, I machine sewed them on while the pieces were flat. The pattern instructions have you sewing the eyes on at the end. I think this risk turned out okay this time. I did have to dress up the eyes a little with some embroidered eyelashes though.

The hand pattern pieces were insanely tiny and actually had you cutting tiny notches for the fingers. Well I didn’t do that and just cut out the basic hand shape from felt and sewed the 2 pieces together at the edge and then used my machine to create “fingers” with the thread. I think it worked.
For the construction of the squirrel, the pattern and instructions were really easy to follow. The pattern instruction sheet had drawings for each step and the patterns themselves had a lot of markings and notches that helped in the construction. It was actually a pretty quick sew. I am convinced that the stuffing part really is the most time consuming on most stuffies!
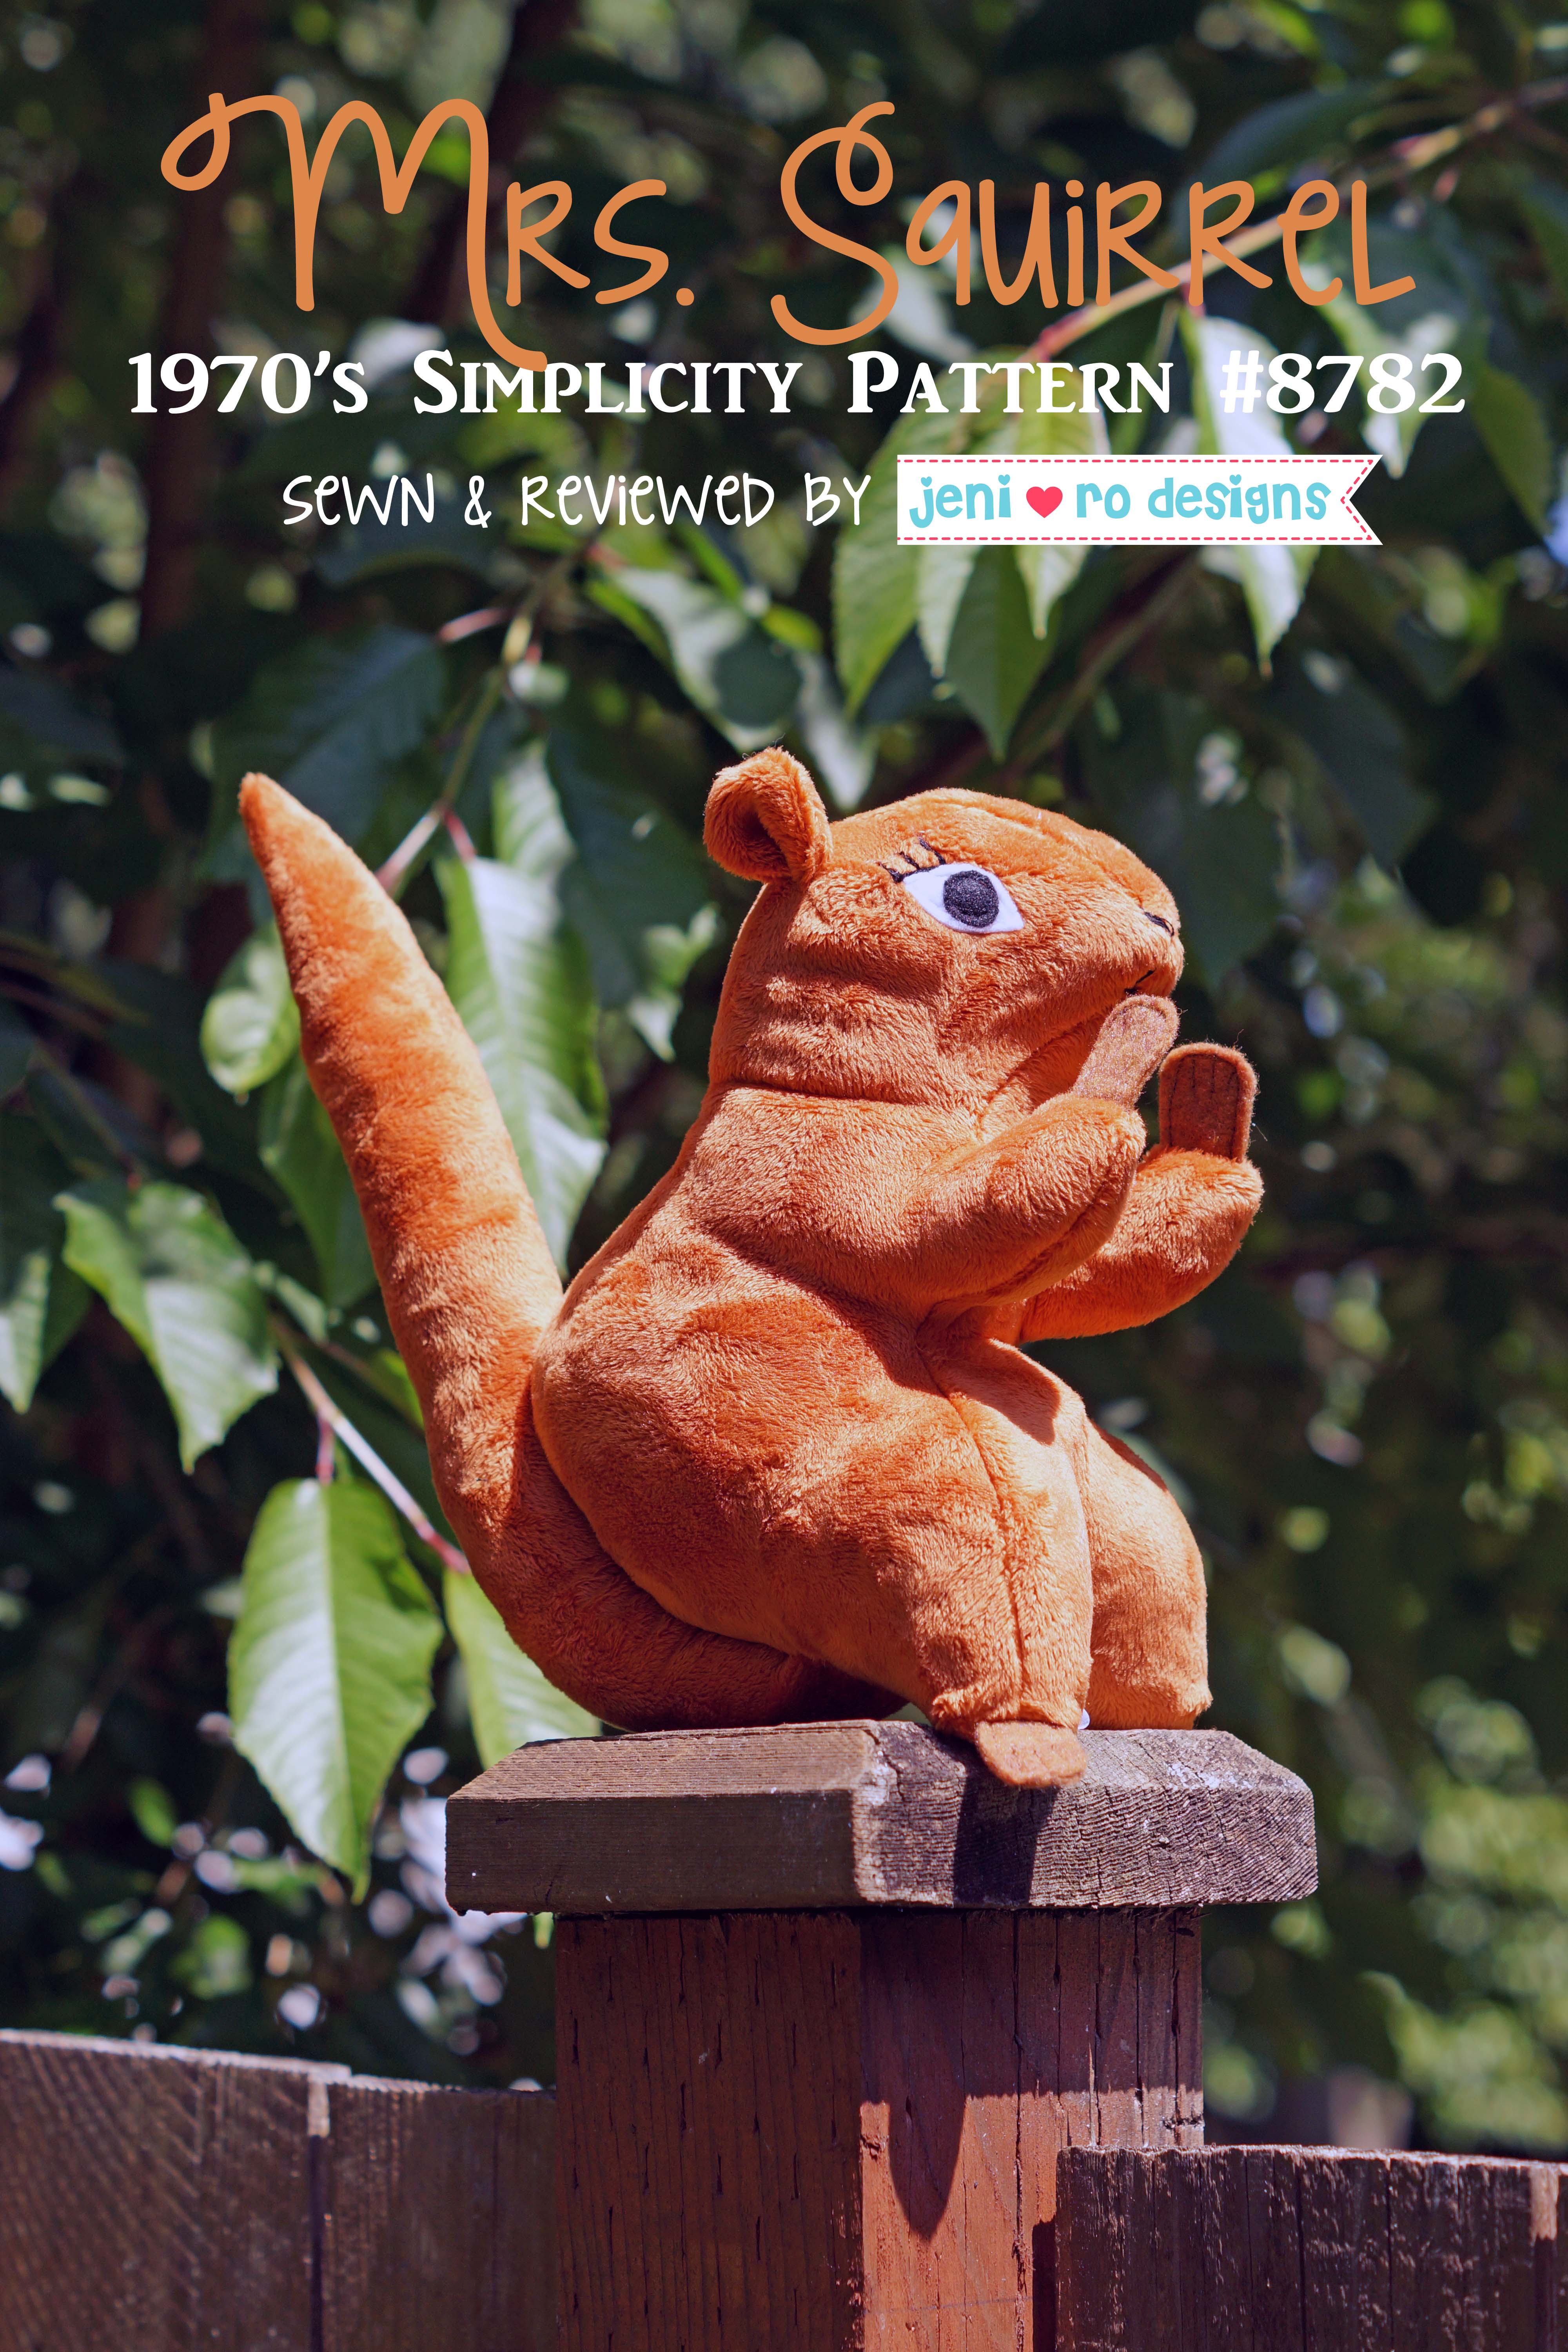
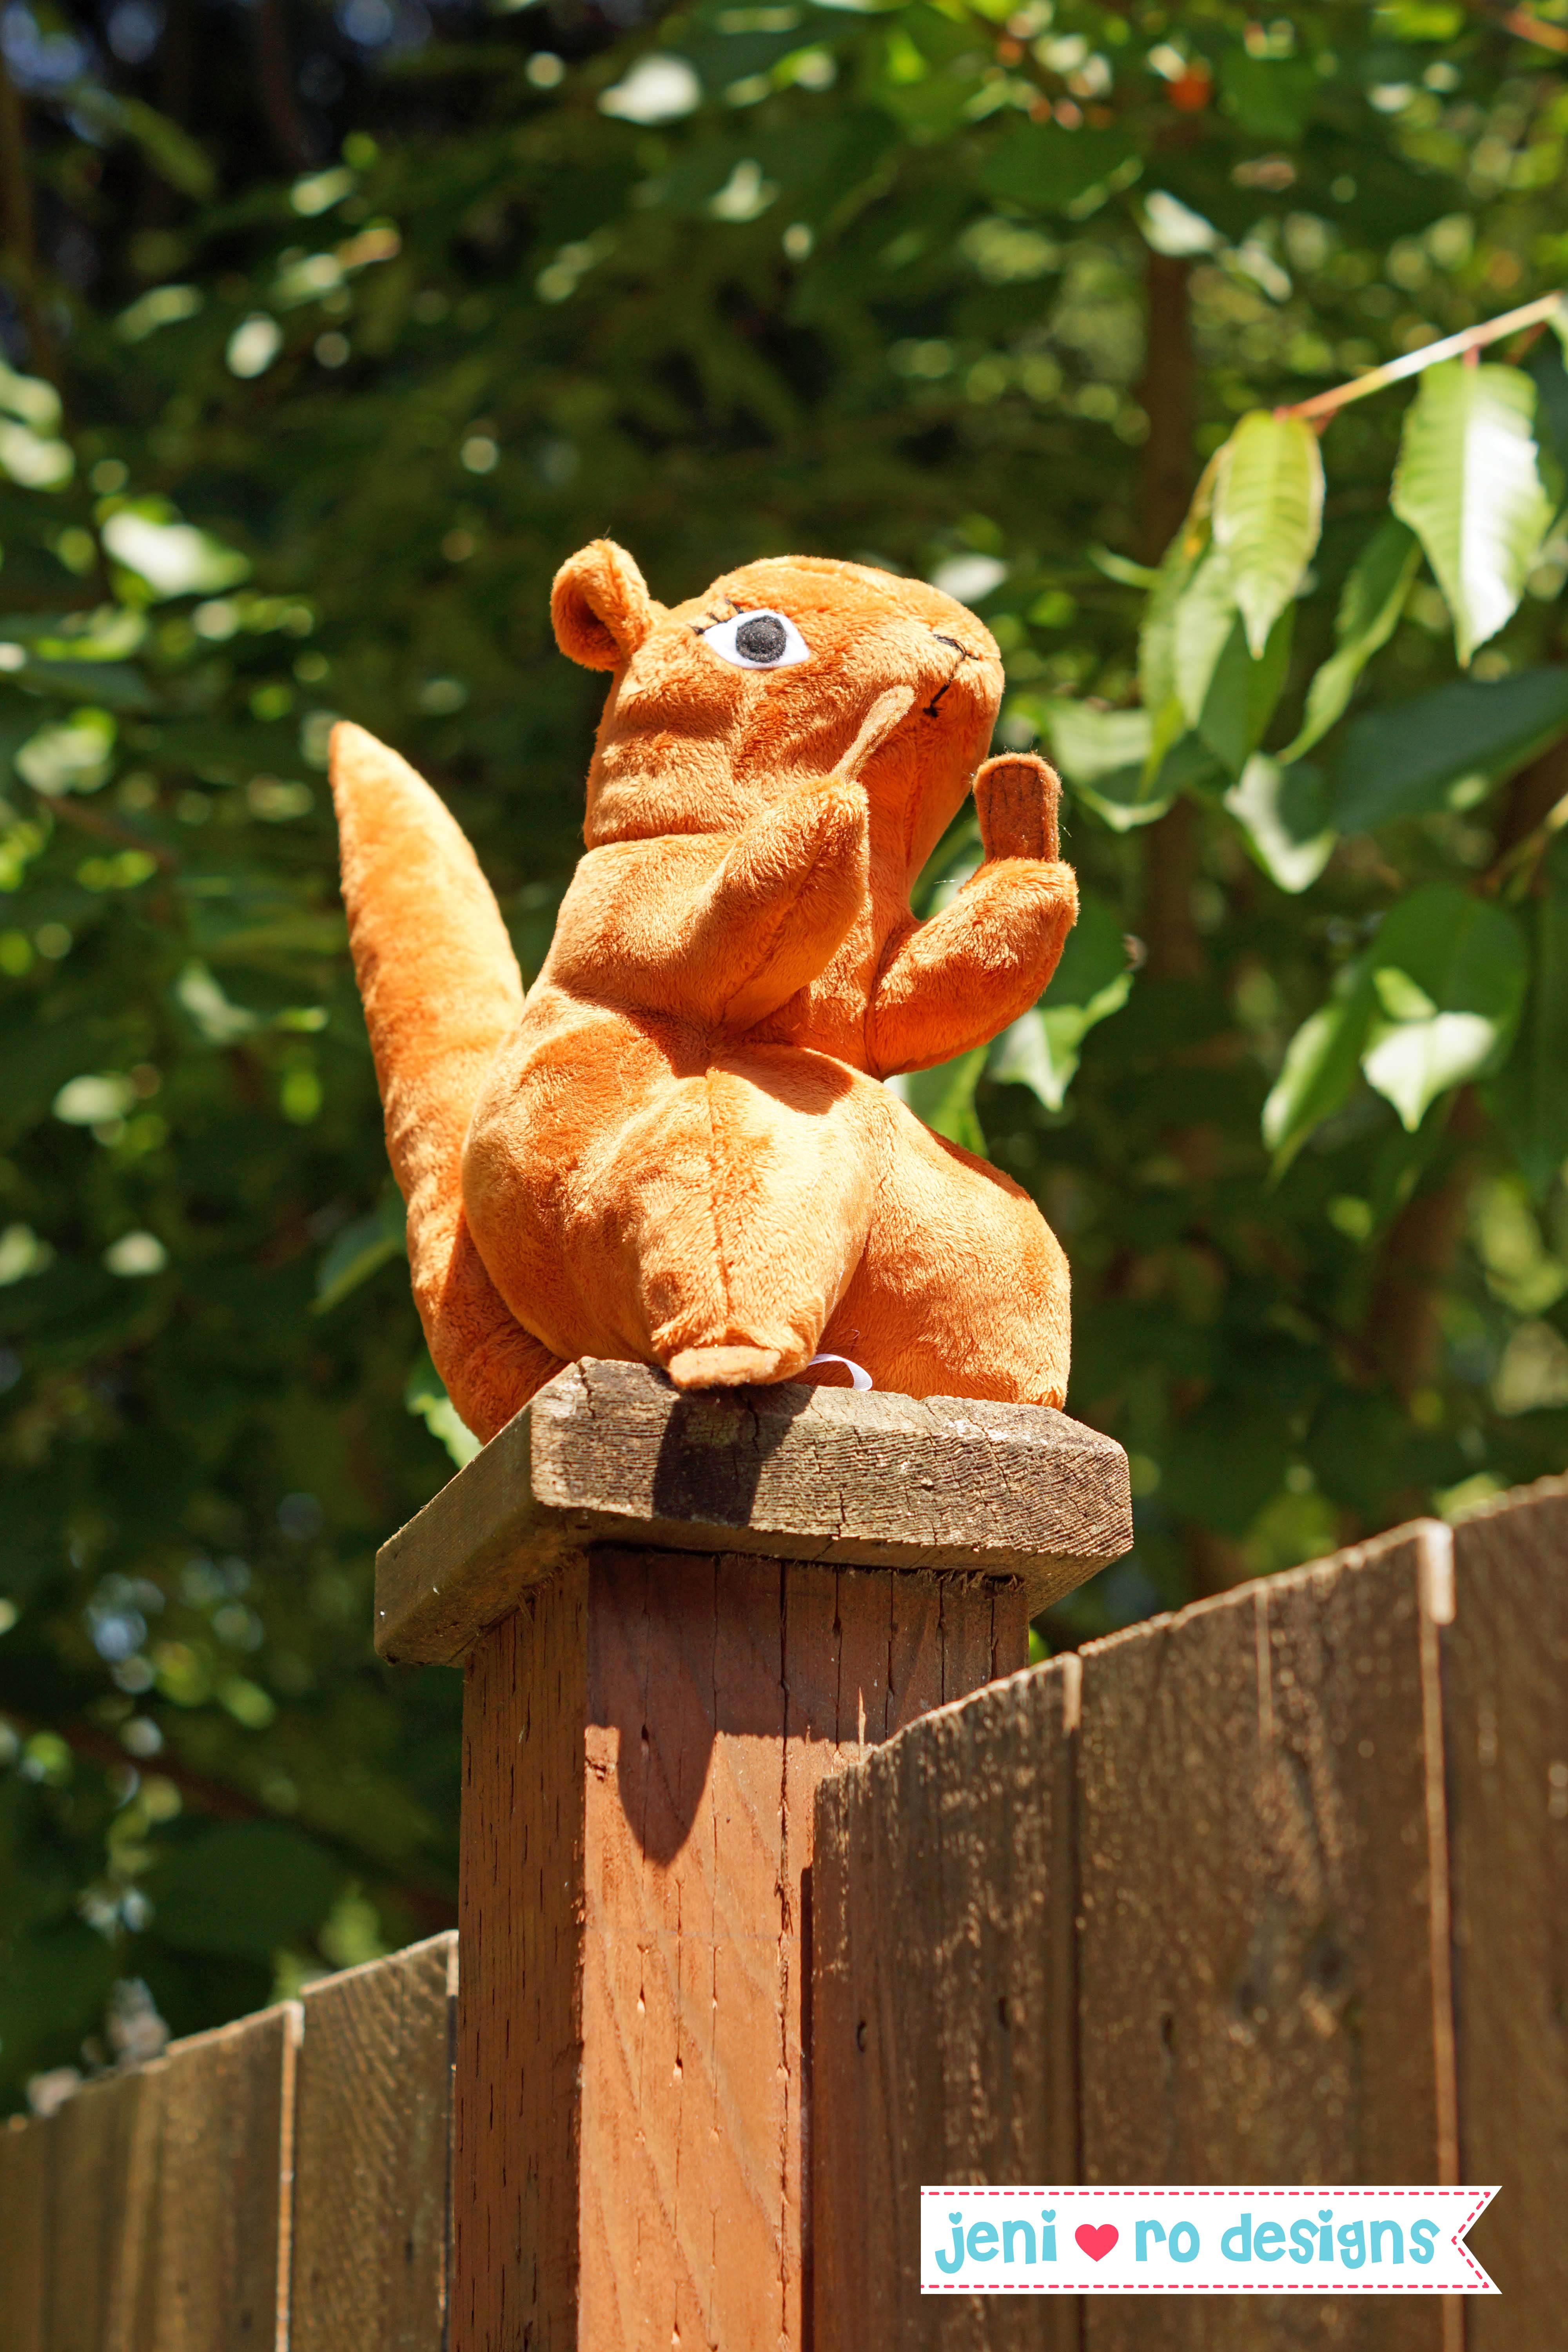
As I was taking pictures of Mrs. Squirrel, (outside on the fence post of course, where a proper NW squirrel should be) I realized that I sewed the tail on the wrong way! Ack! The tail was hand sewn on after the body of the squirrel is done – but in this case it wasn’t too bad, I just squished is a little to flip out instead of in. I am not sure anyone would have noticed, if I hadn’t of just told you about it. 😉
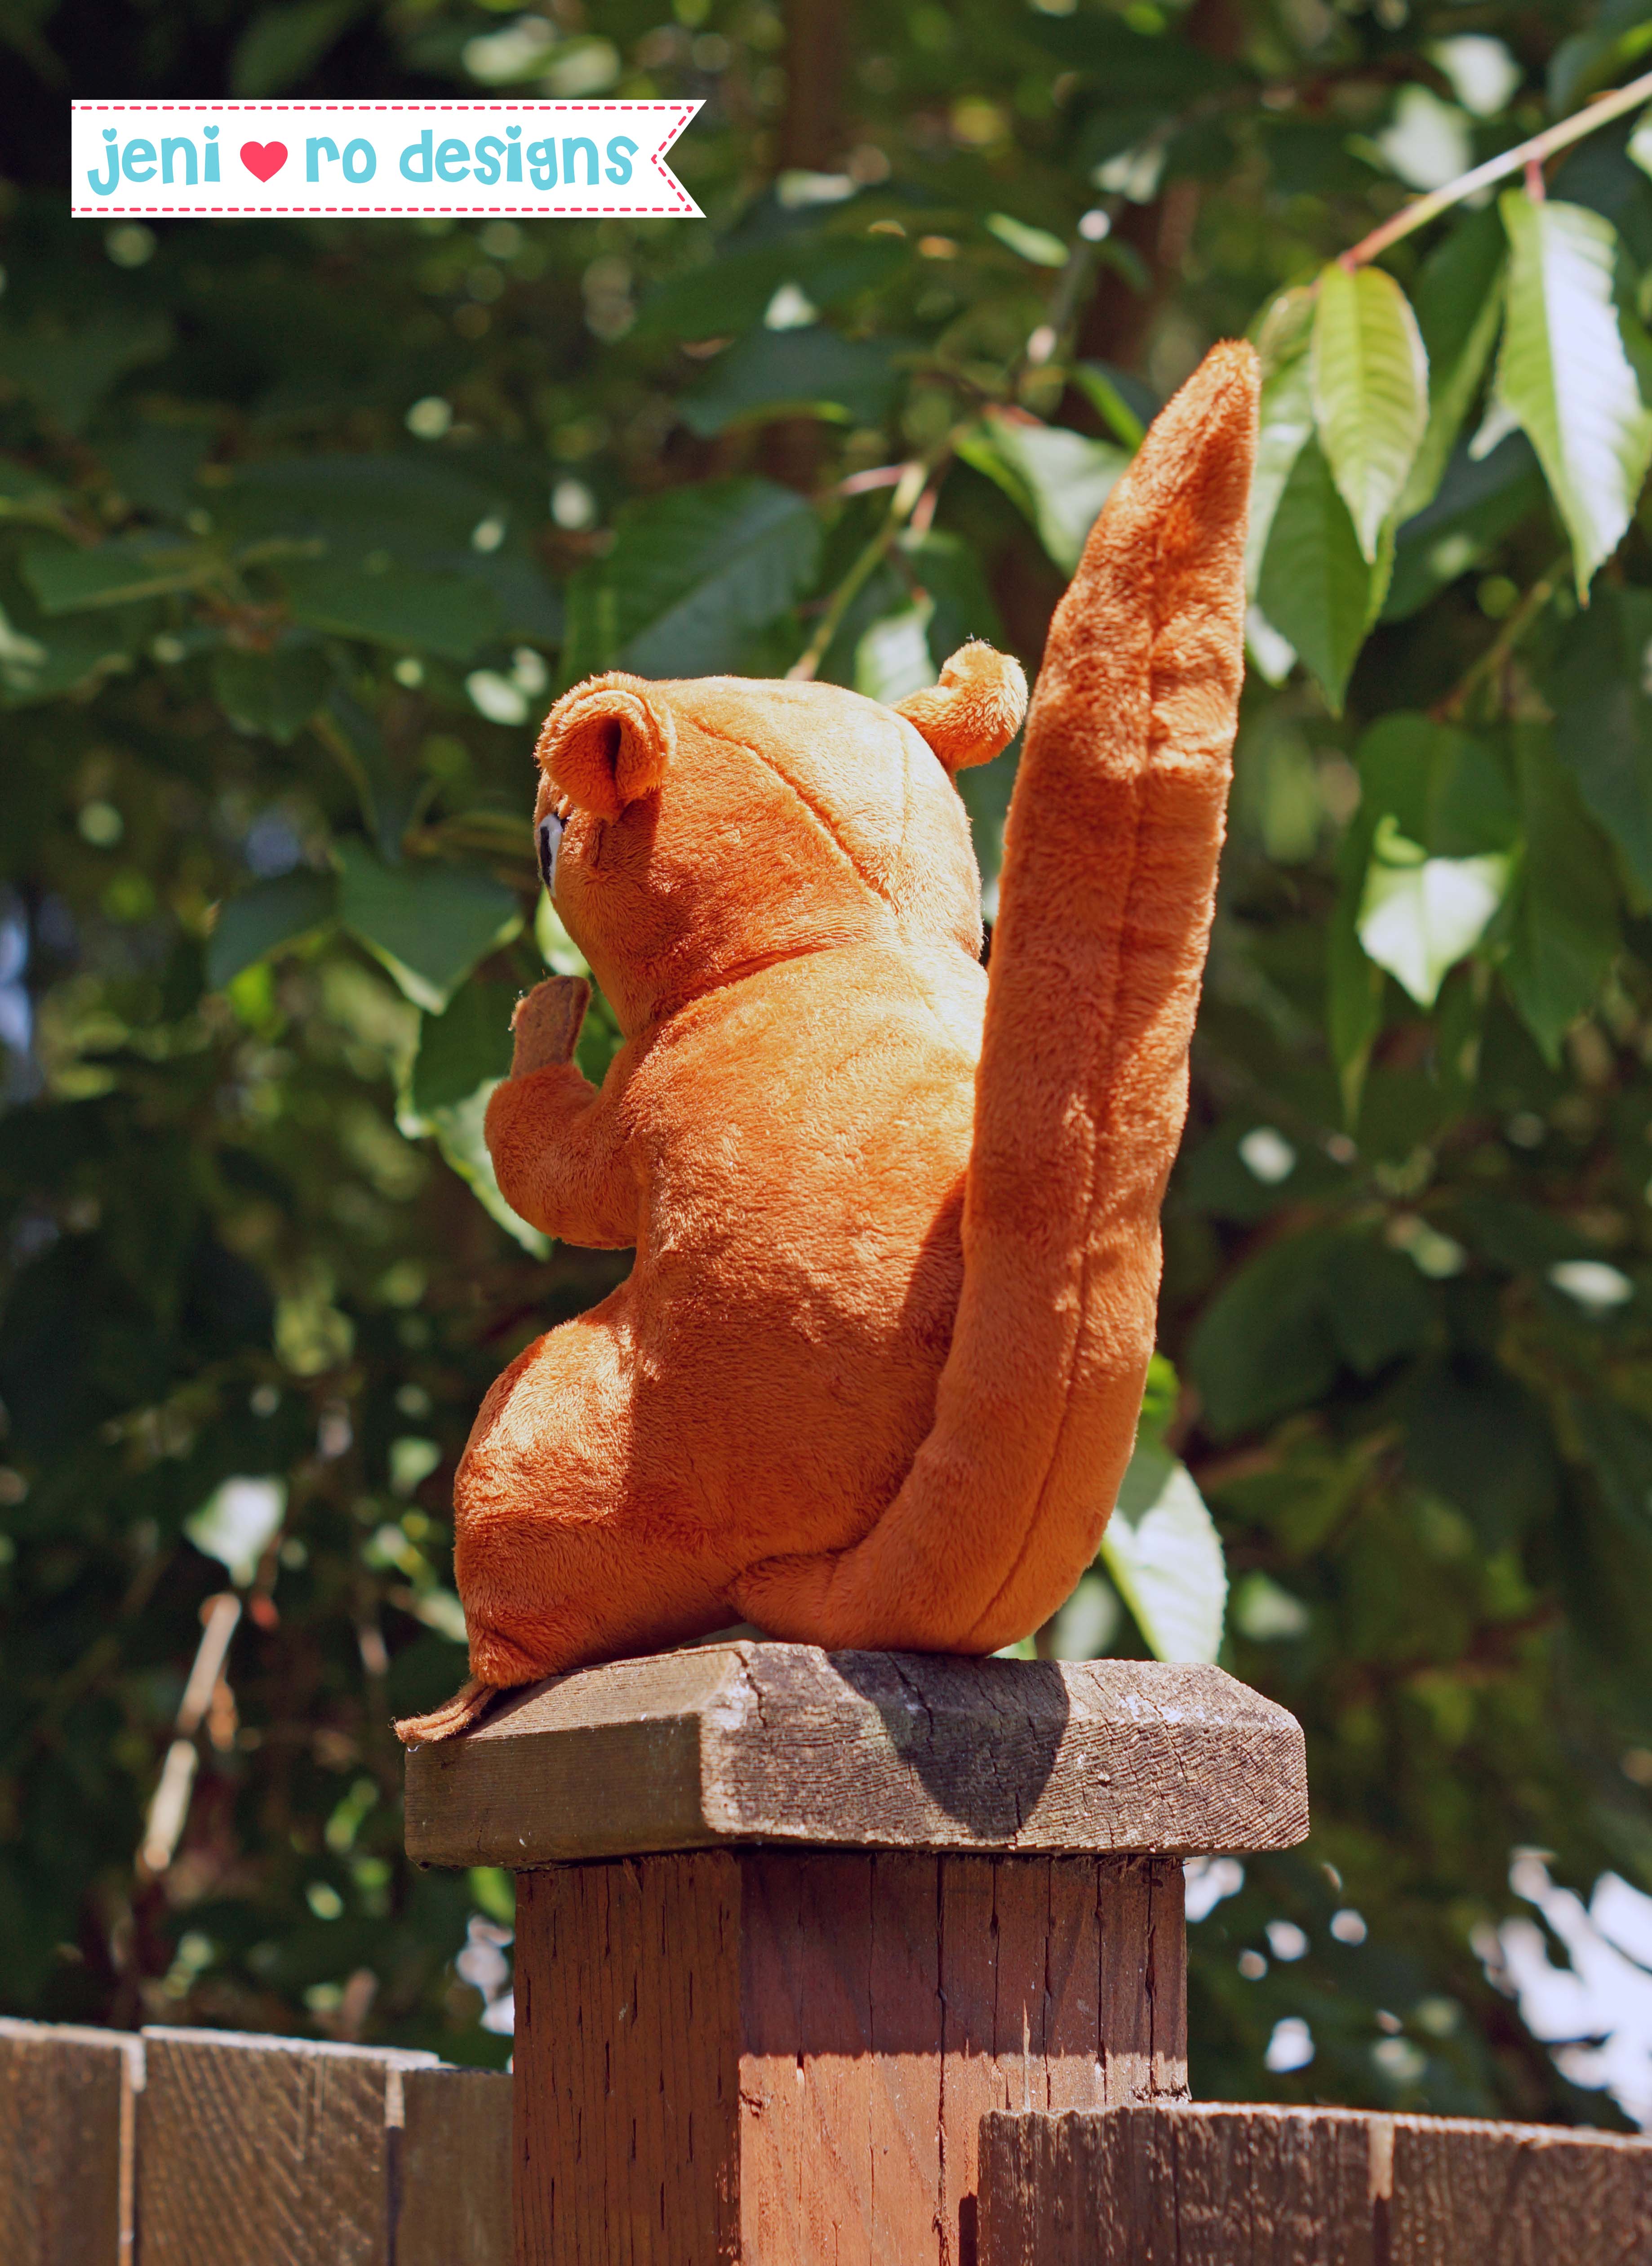
Doesn’t she just look right at home on top of my fence!

Well I think she does! My friend loved her and of course my daughter loved her too – so there might be another squirrel stuffie in our future!
To recap my thoughts on this pattern:
- Cute finished stuffie (CHECK)
- Quick construction (CHECK)
- Pattern layout easy to read (CHECK)
- Full size patterns provided. (CHECK, but this was a paper pattern so duh!)
- I feel like even though this was a pretty simple pattern, the instructions were very detailed and all of the markings on the patterns themselves really did help in the construction. In patterns today I am not sure they always use those extra bits for construction. Especially not in the pdf pattern world.
Things I learned:
- 1970’s is NOT vintage (hehe)!
- Adding extra markings and details to the pattern itself can be beneficial to the sewist. I must keep this in mind when I am working on my first pattern.
- Woodland animals are cute in stuffed form!
- It’s really fun to surprise your friend on their birthday with a loved stuffie from their past!
Thanks for checking out my June Stuffie of the Month! Dig around in your grandmother’s sewing room/basket – you might find something cute and squishy to sew up!
Up next month — my goal is to actually debut my OWN pattern in July!! Ahhhh! I have decided to create a pdf pattern for my critter lovey. I have made several different critters but I am going to start with the easiest – the Monkey/Lion version!
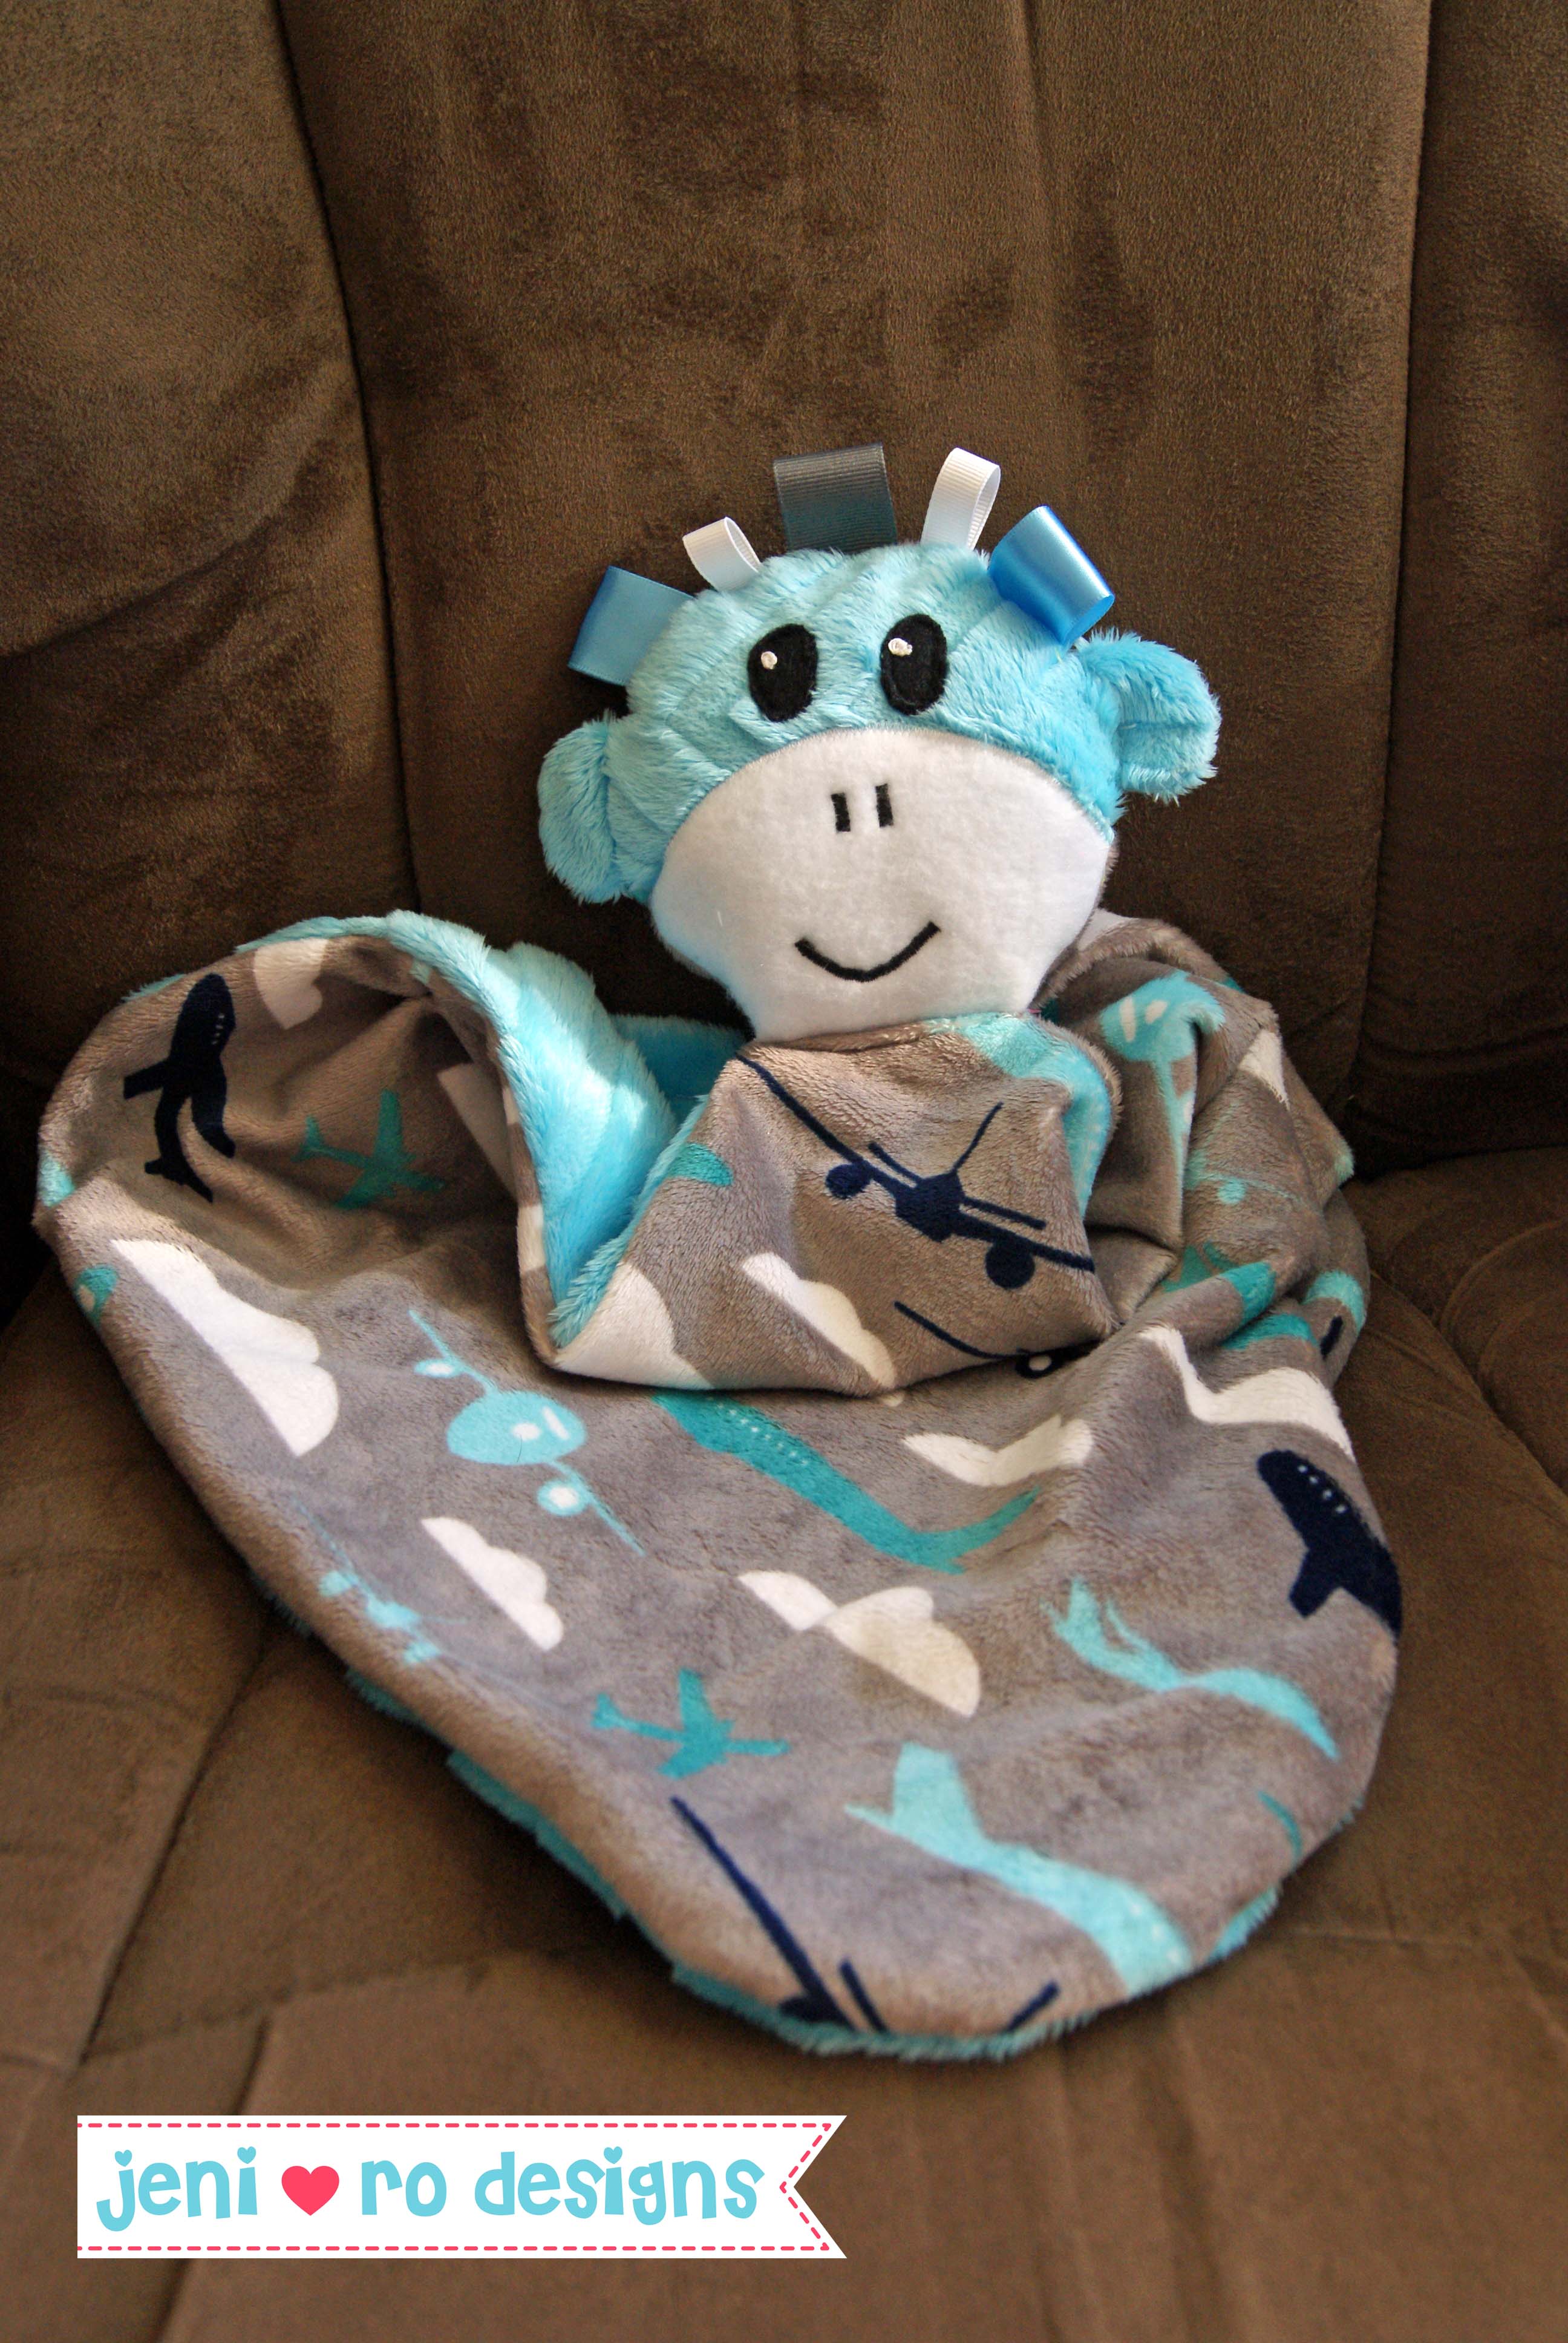
I am nervous and excited! So check back next month for my first pattern debut! Thanks for the smile!