I love party banners! Paper or Fabric! But the fabric ones can be a fun lasting memory from your little one’s party – that can double as room decor! Here is a tutorial on how to make your own!
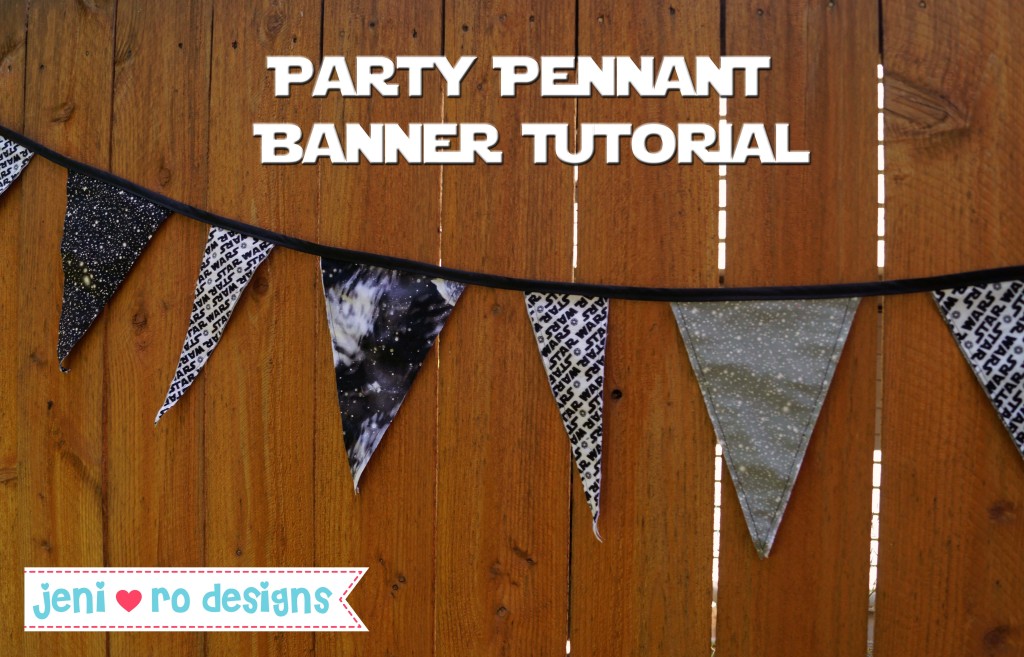
This is the party banner I made for my friend’s son’s 5th birthday party, you can check out the party HERE! The party is Lego Star Wars themed so I went with Star Wars fabric for the banner. But you can use any fabric to match your theme of course!
I am going to walk you through making a pennant banner using a sewing machine, but this could easily be done no sew – with either a hot glue gun or a fabric glue – I like Fabric-Tac.
Materials you will need:
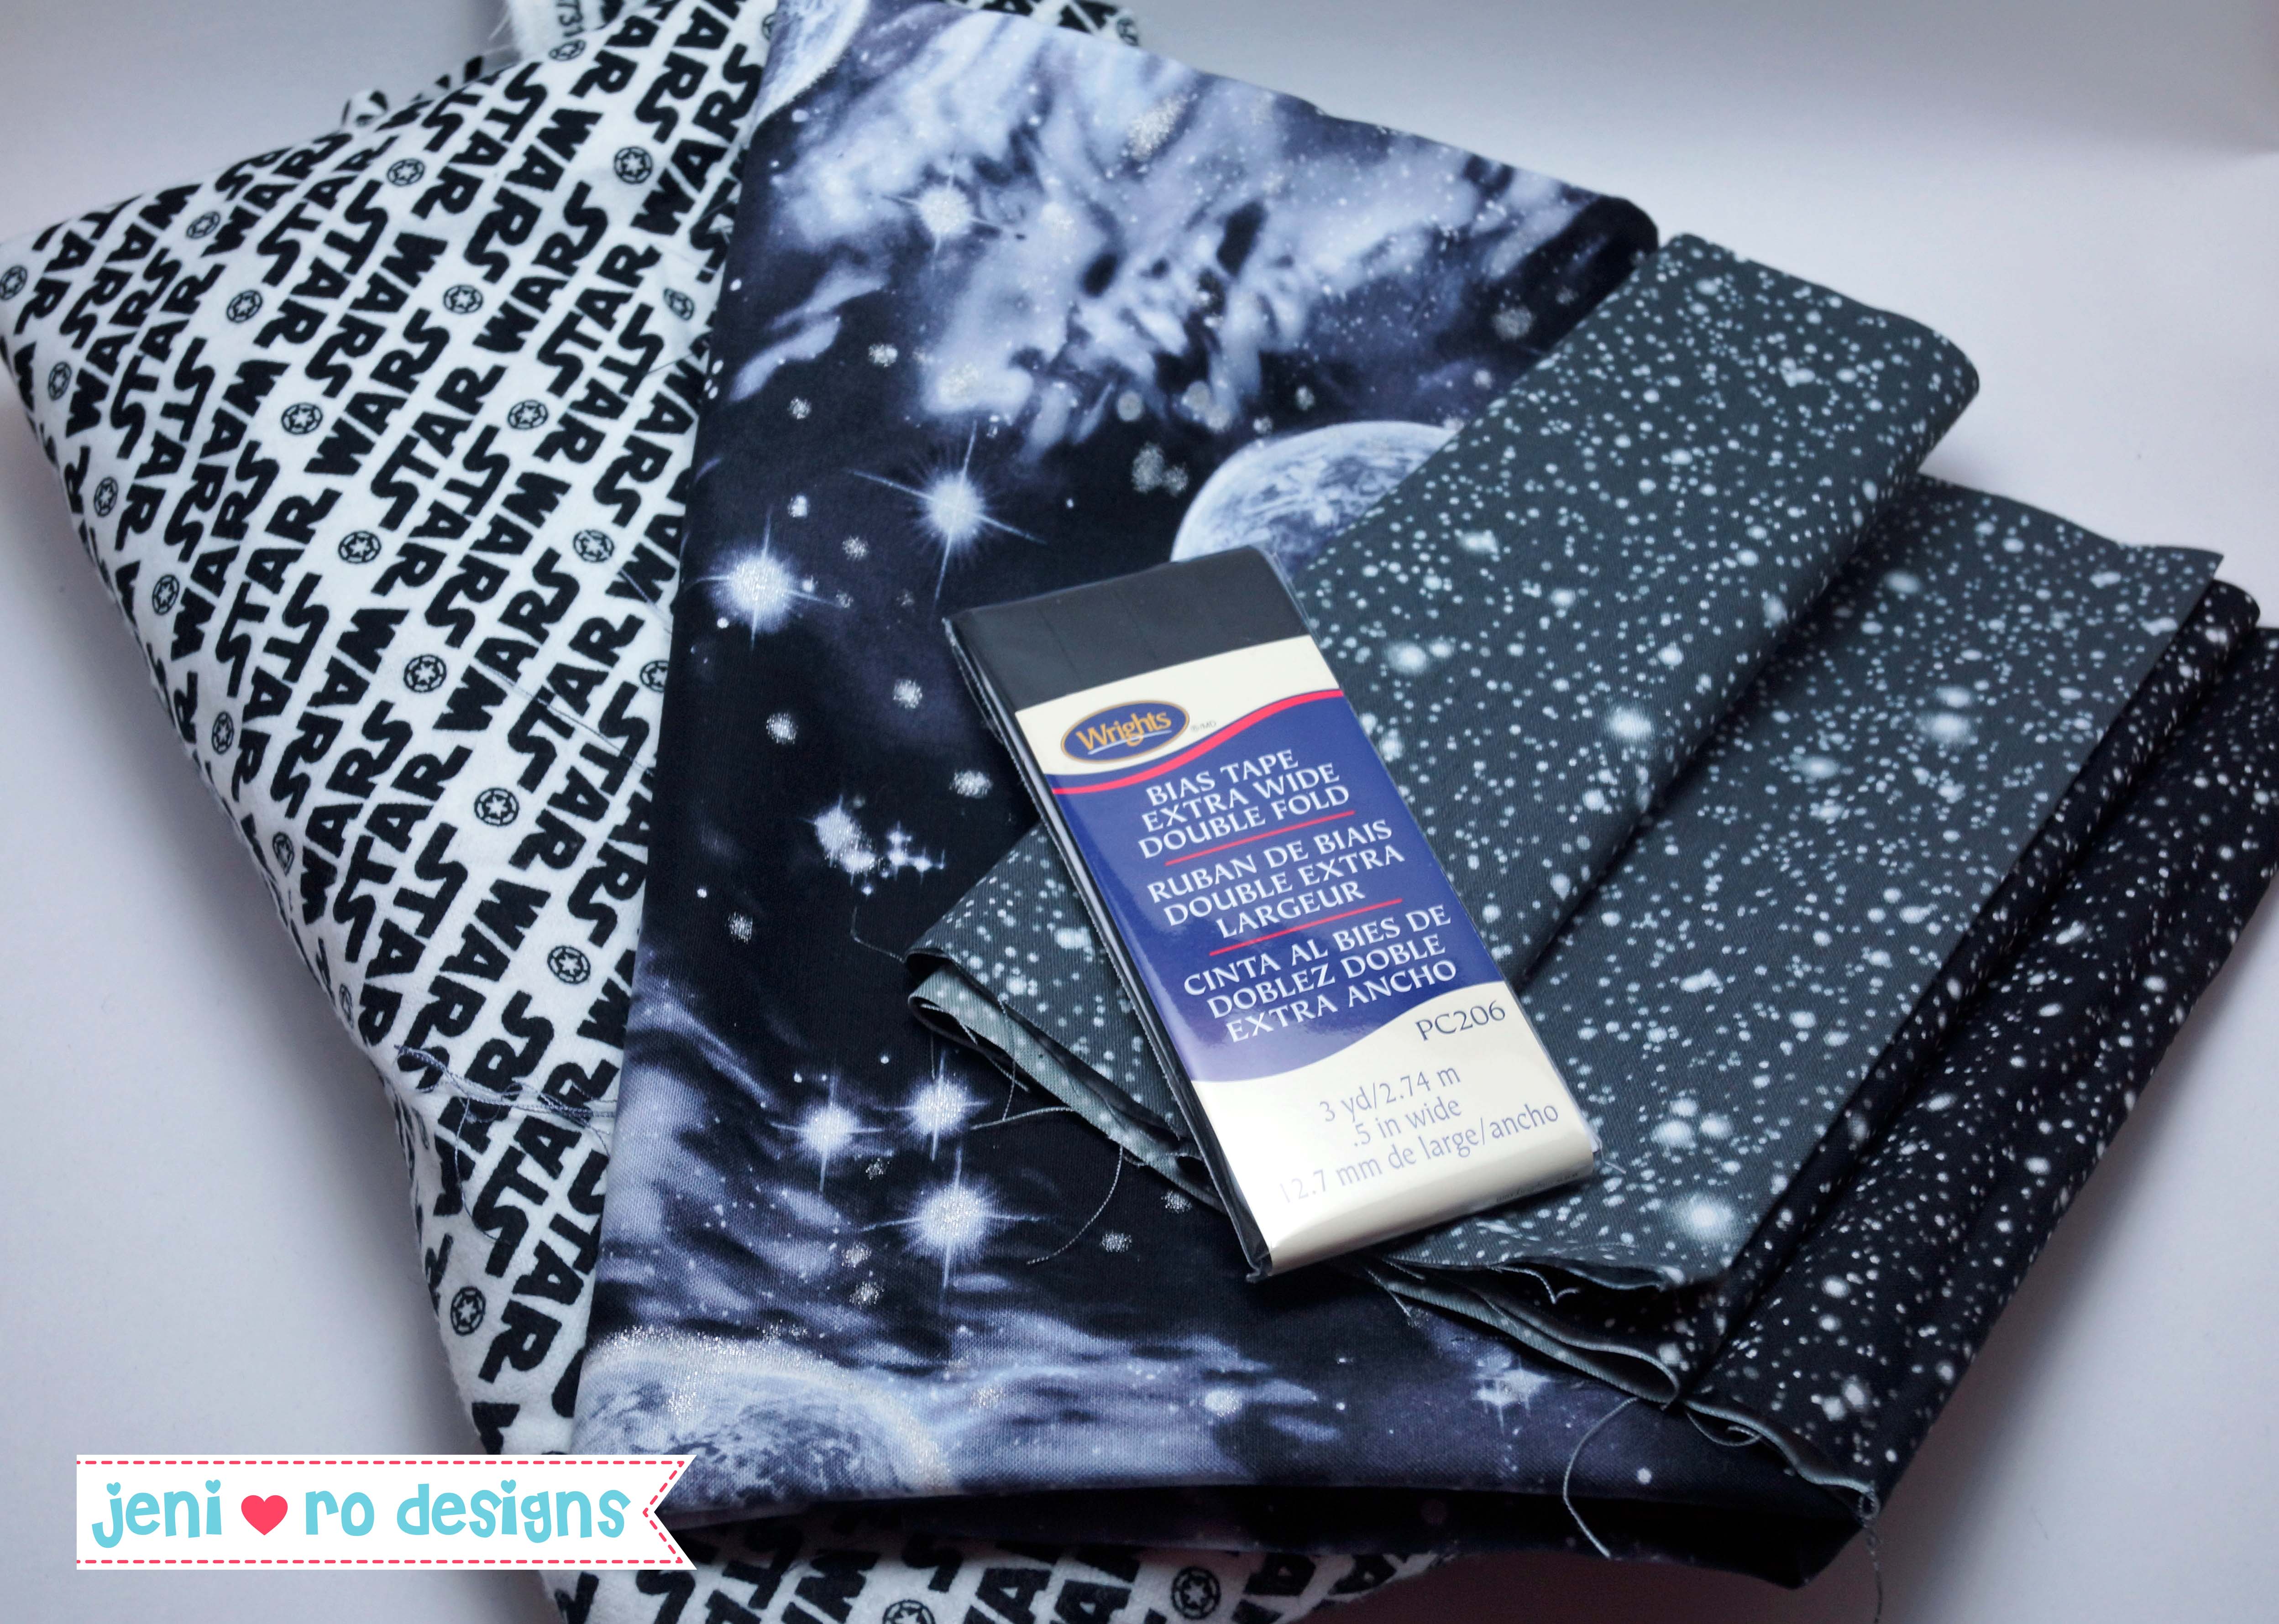
- Fabric of choice – I used 3 different fabrics, but you can use as little or as many as you want.
- Package of Bias tape – One package is 3 yards or 108″ long, if you want your banner longer, you can join the bias tape. (I will show you how to do that in the tutorial).
- Scissors or rotary cutter, ruler and mat
- Sewing machine and matching thread (or hot glue/fabric glue if you don’t have a machine)
- Pinking shears (optional but a nice option if you have them)
Step One: Cut the pennants!
I cut my pennants to be 7″ wide at the top and 10″ long. You can do them any size, but this makes good use of your fabric and its a nice size pennant. I first cut my fabric into 10″ strips by width of the fabric. Then I cut the 10″ strips into 7″ rectangles. So the fabric pieces were 7″ wide by 10″ high.
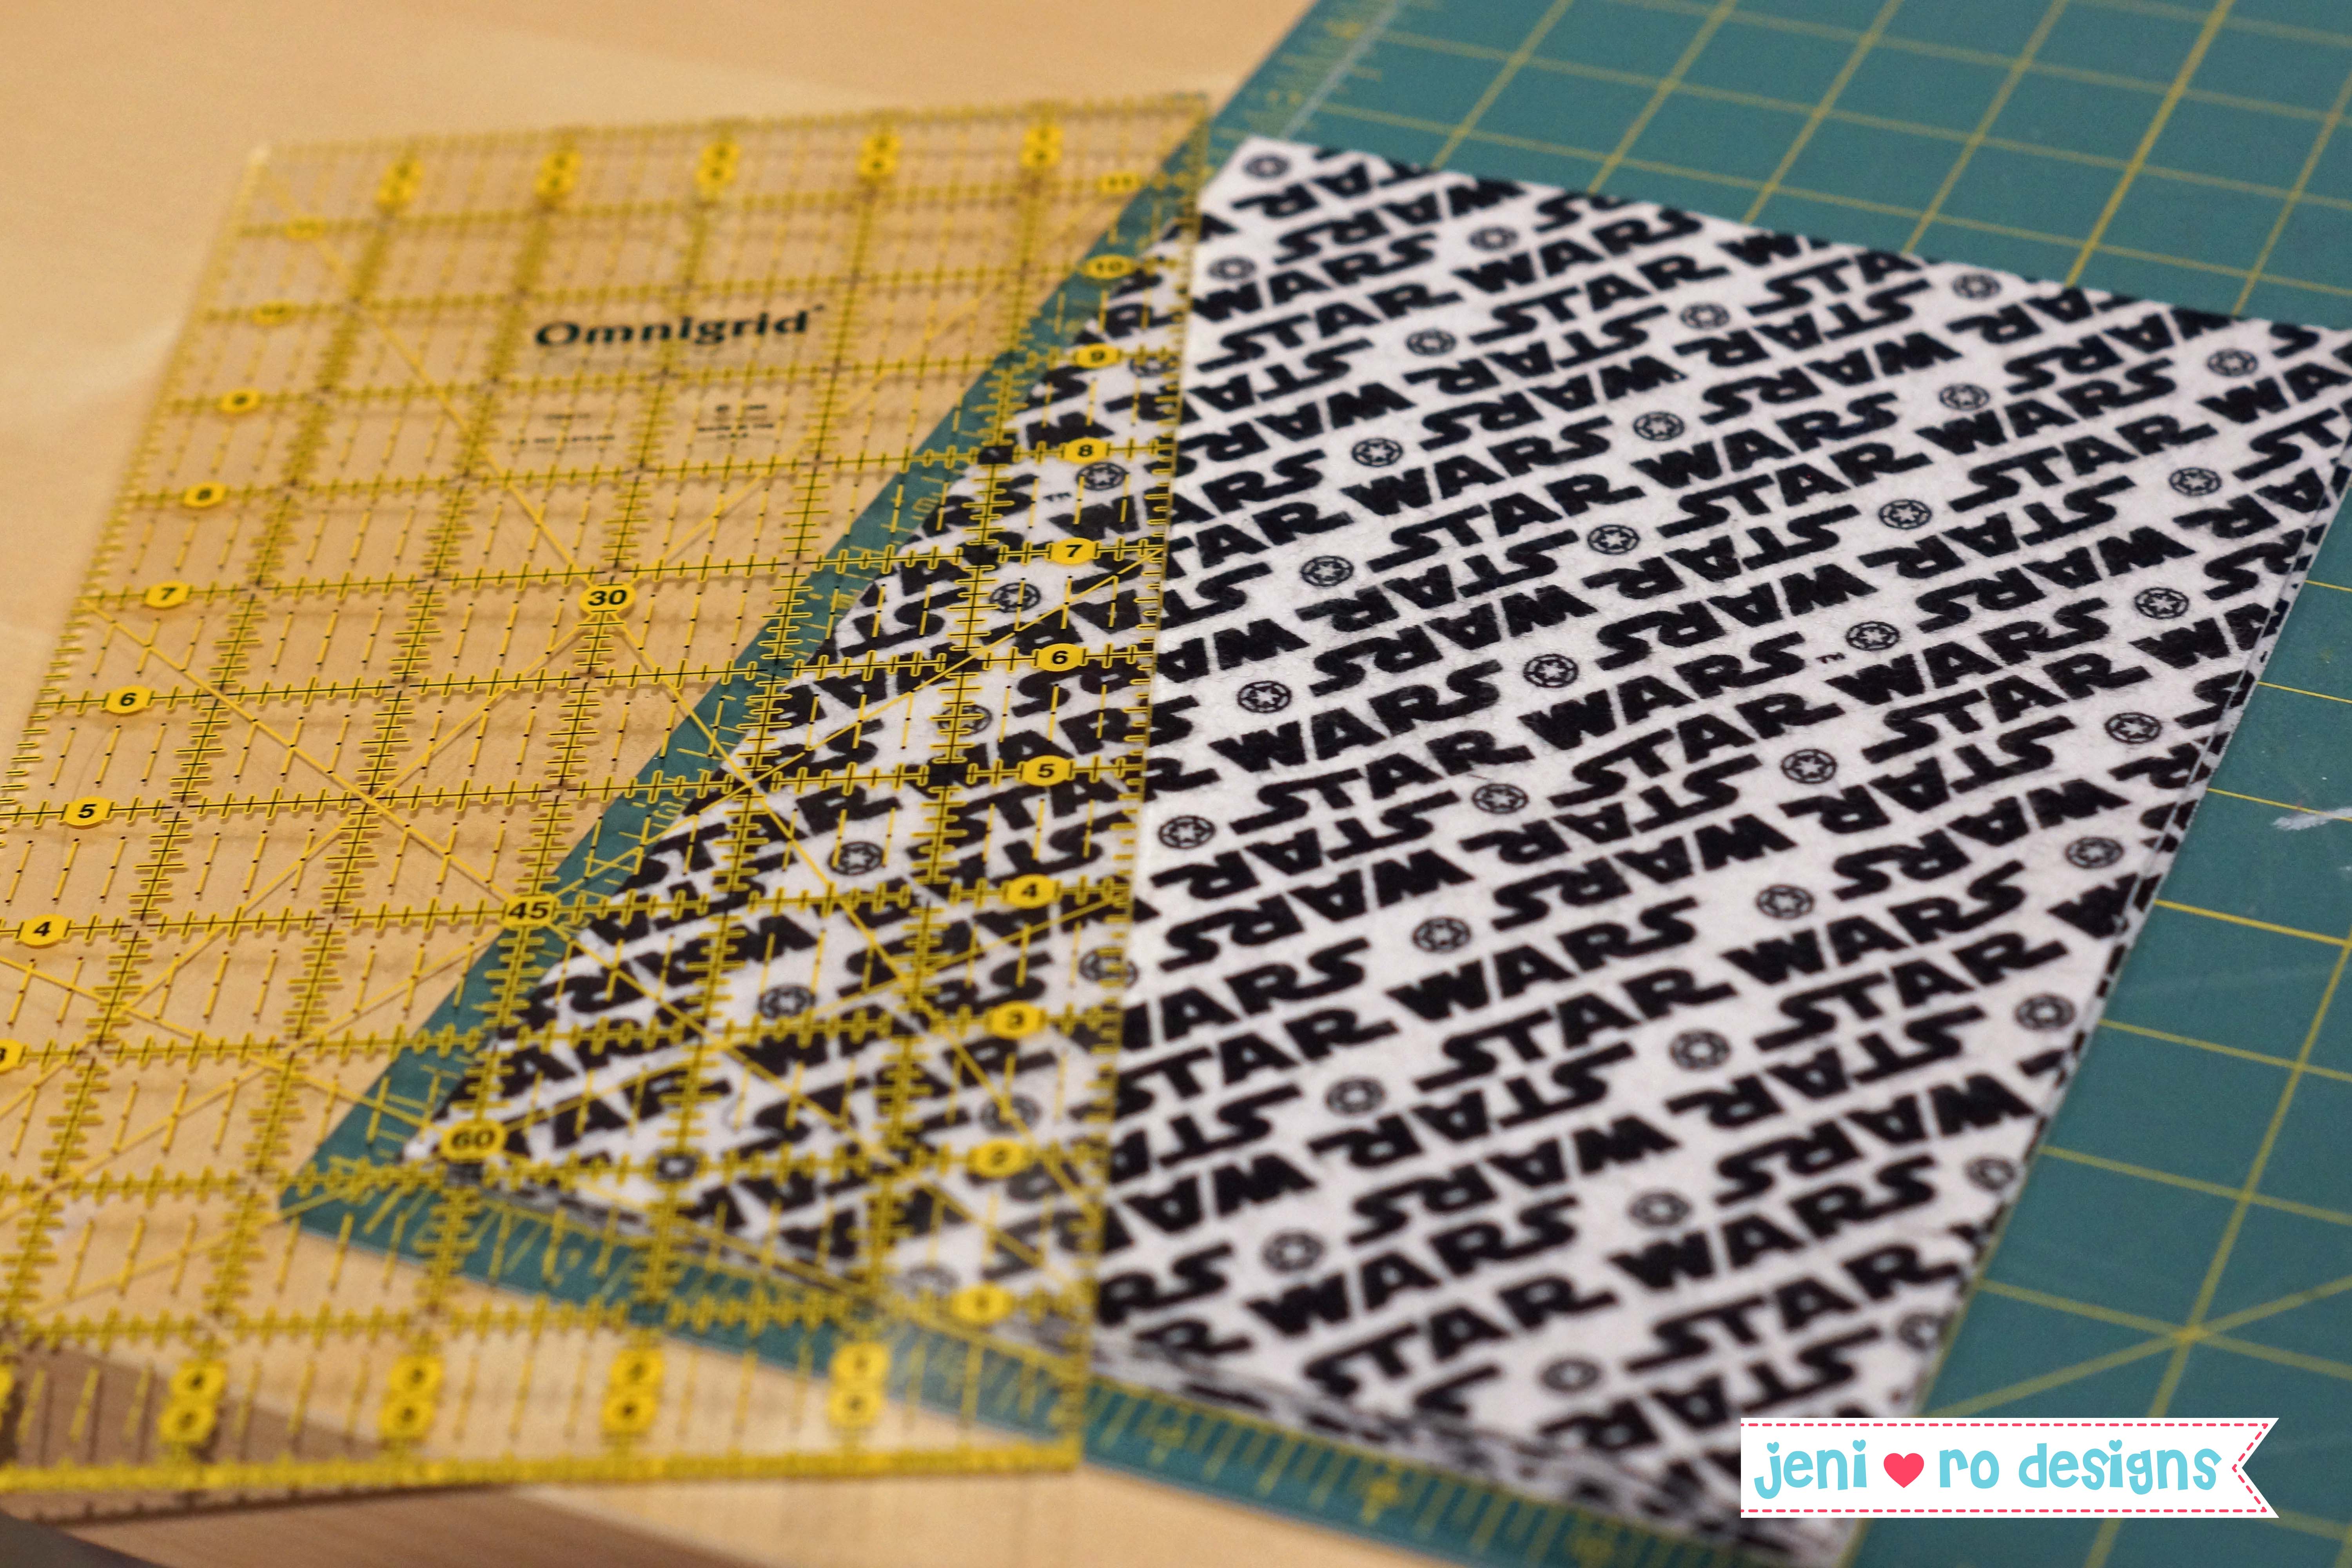
I then stacked up the pieces from the strip and cut on a diagonal from the top left corner of the piece to the center of the bottom of the piece. Repeating on the other side. Using a mat with measurements on it makes it easy to find the center, but you can also fold your top piece in half and mark the center with a pencil so you line it up correctly. If its not perfect, its not really the end of the world. Do this with each fabric until you have the desired number of pennants. Remember you need 2 for each pennant (a front and a back), so if you want 20 pennants you will need 40 triangles.
I did the math and for a 108″ (3 yard) banner – leaving 5″ on each side to help hang it – you can get 10 pennants spaced 2″ apart. So you would need 20 triangles.
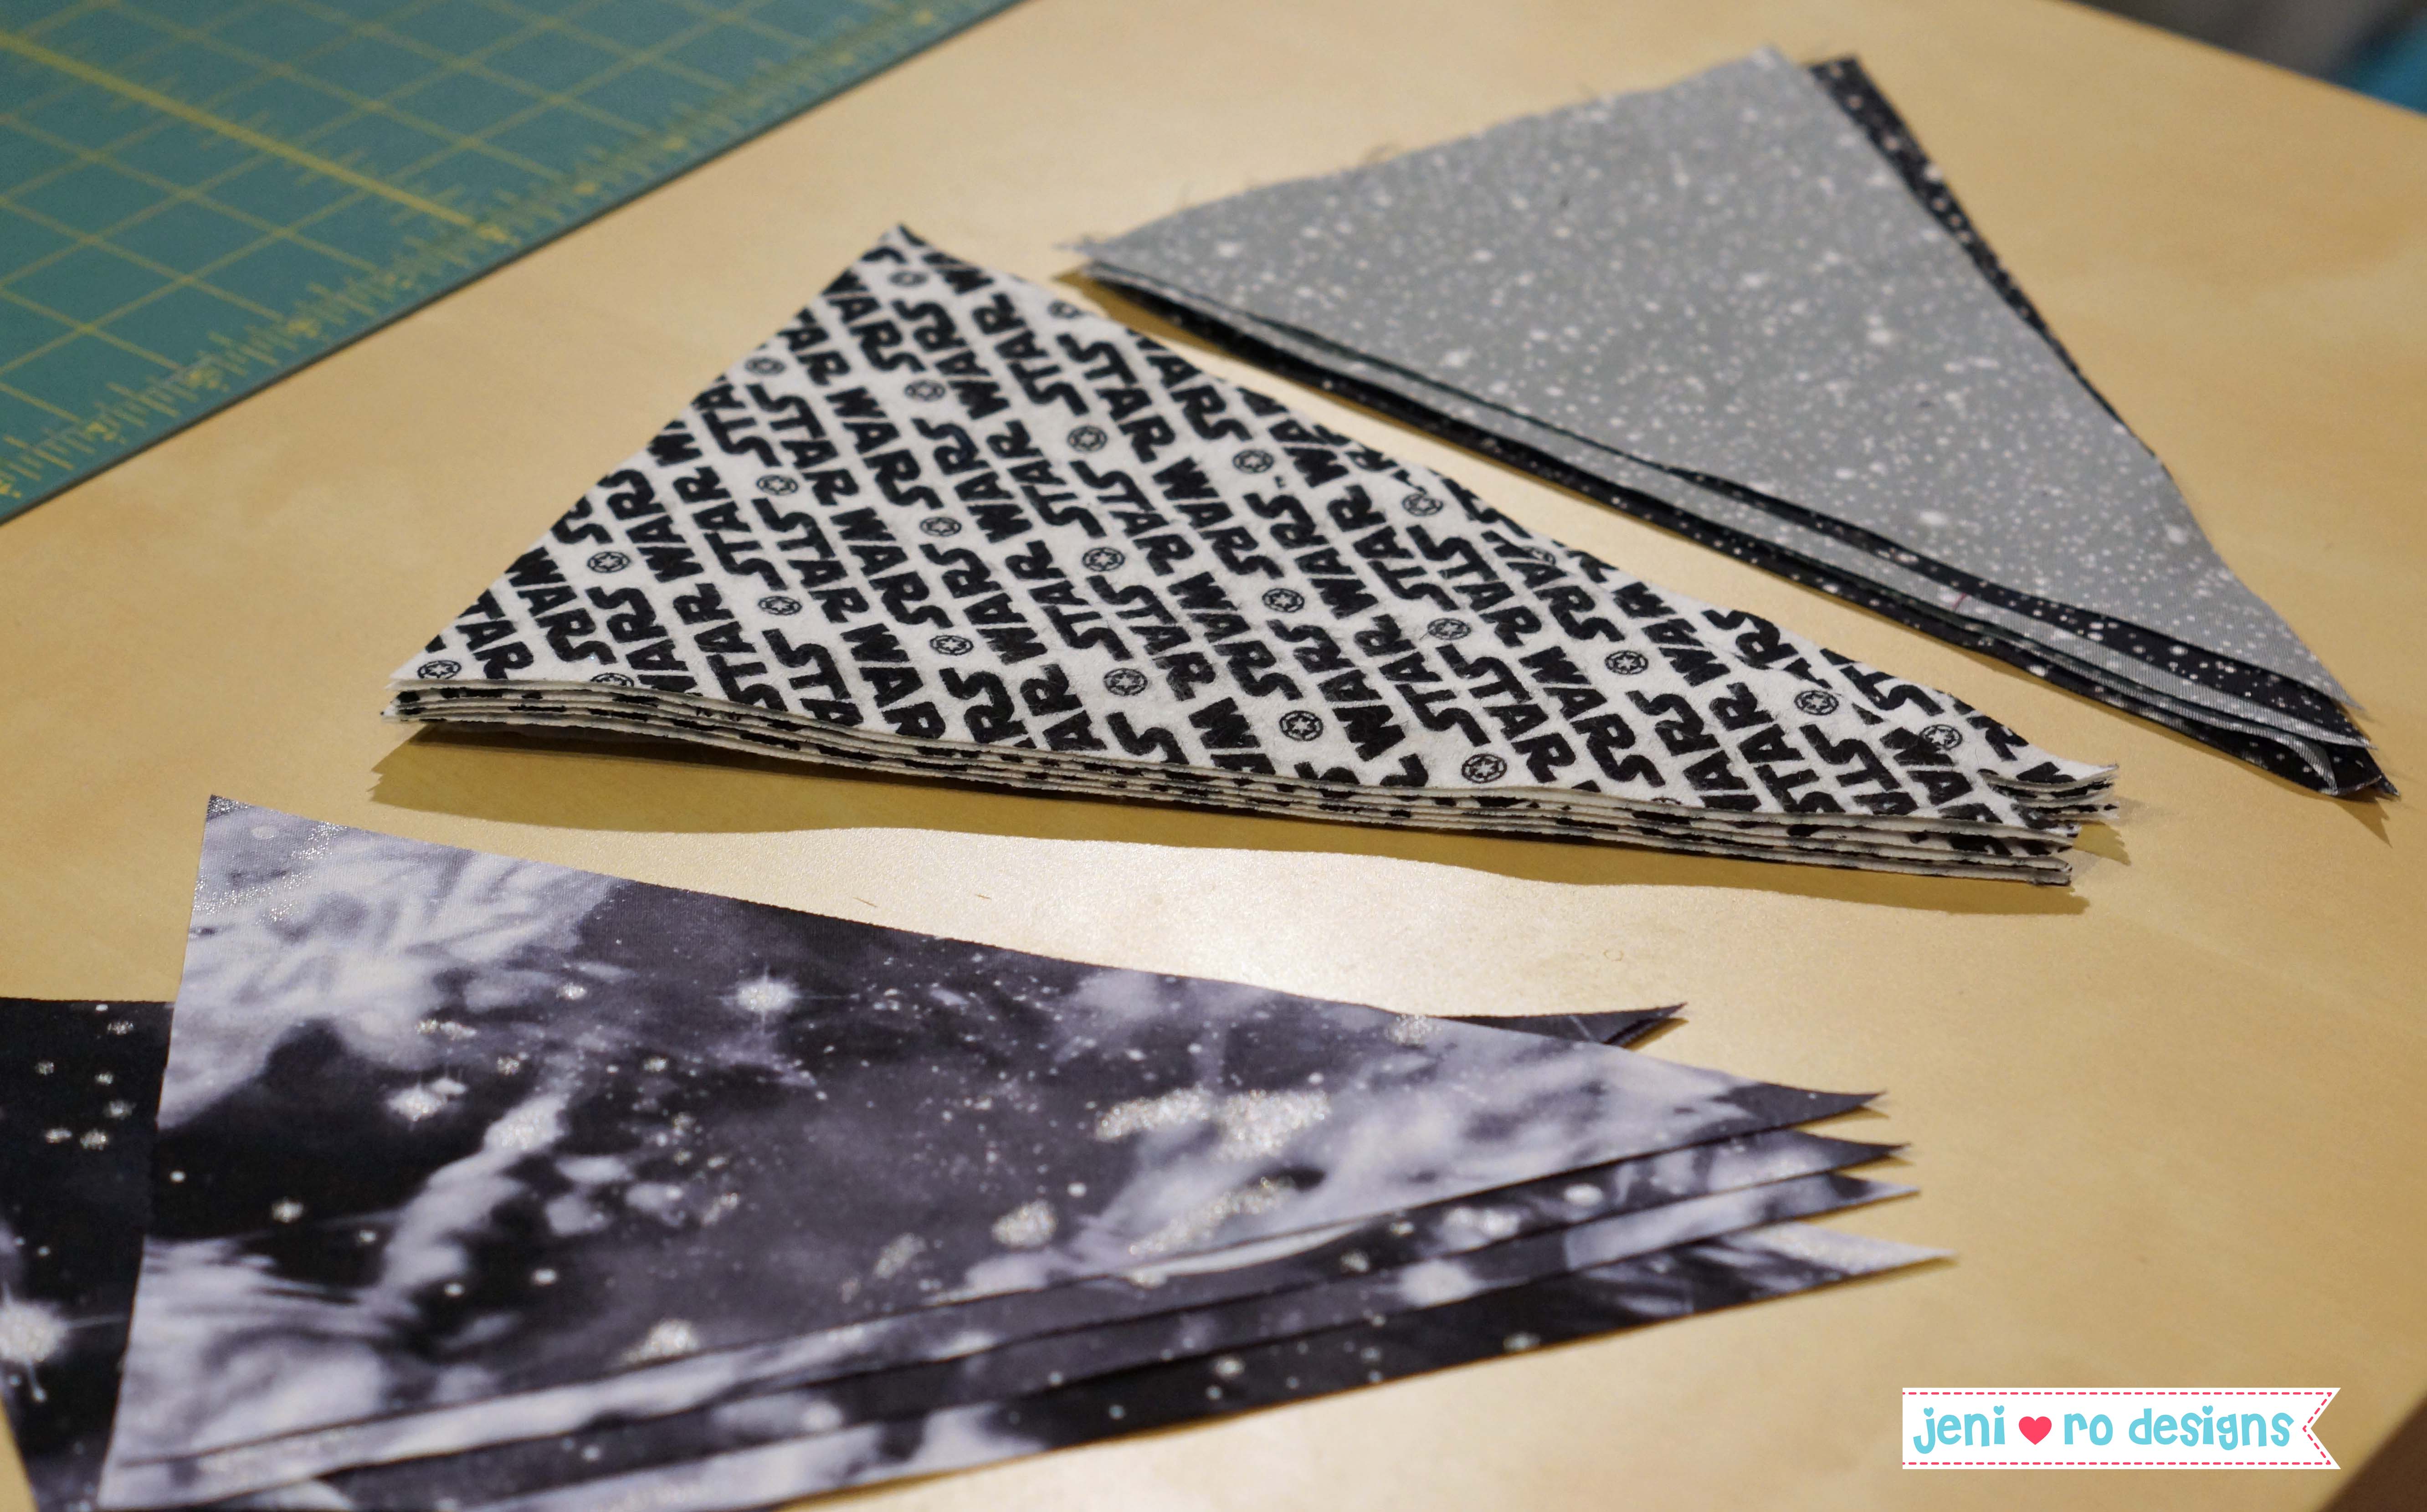
After it’s all cut you will have your nice little stacks of triangles!
Step Two: Sew (or glue) your triangles together!
Making this quick and easy, all you need to do it put the wrong sides of each triangle together and sew them together. I use a 1/4″ seam starting at the top right and pivot at the bottom point and sew back up to the top left of the pennant. Keep doing that until you have all of your pennants sewn.
You can finish the pennants in several different ways. I played around with the Star Wars pennants and tried a few different options.

The image above shows 4 options.
- An unfinished edge (which is what I ended up deciding on).
- A pinked edge (cut with pinking shears after the triangles are sewn together).
- A zigzagged edge (sew with a zig zag stitch along the edge of the fabric after you have sewn the triangles together).
- Zigzagged together – this is where you actually sew the 2 triangles wrong sides together with a zig zag stitch on the edge, vs. using a straight stitch with a 1/4″ seam.
Finishing the edges of the fabric helps prevent it from fraying. It’s not necessary if you don’t like the look but it does help with the fraying. For my banner I decided I didn’t really like the pinked edge (what I usually do) on the fabric.

Here is a picture of a banner I made for my daughter’s 2nd birthday party – the pinked edge on this fabric was perfect!
Step Three: Sew your pennants onto the bias tape to make the banner!
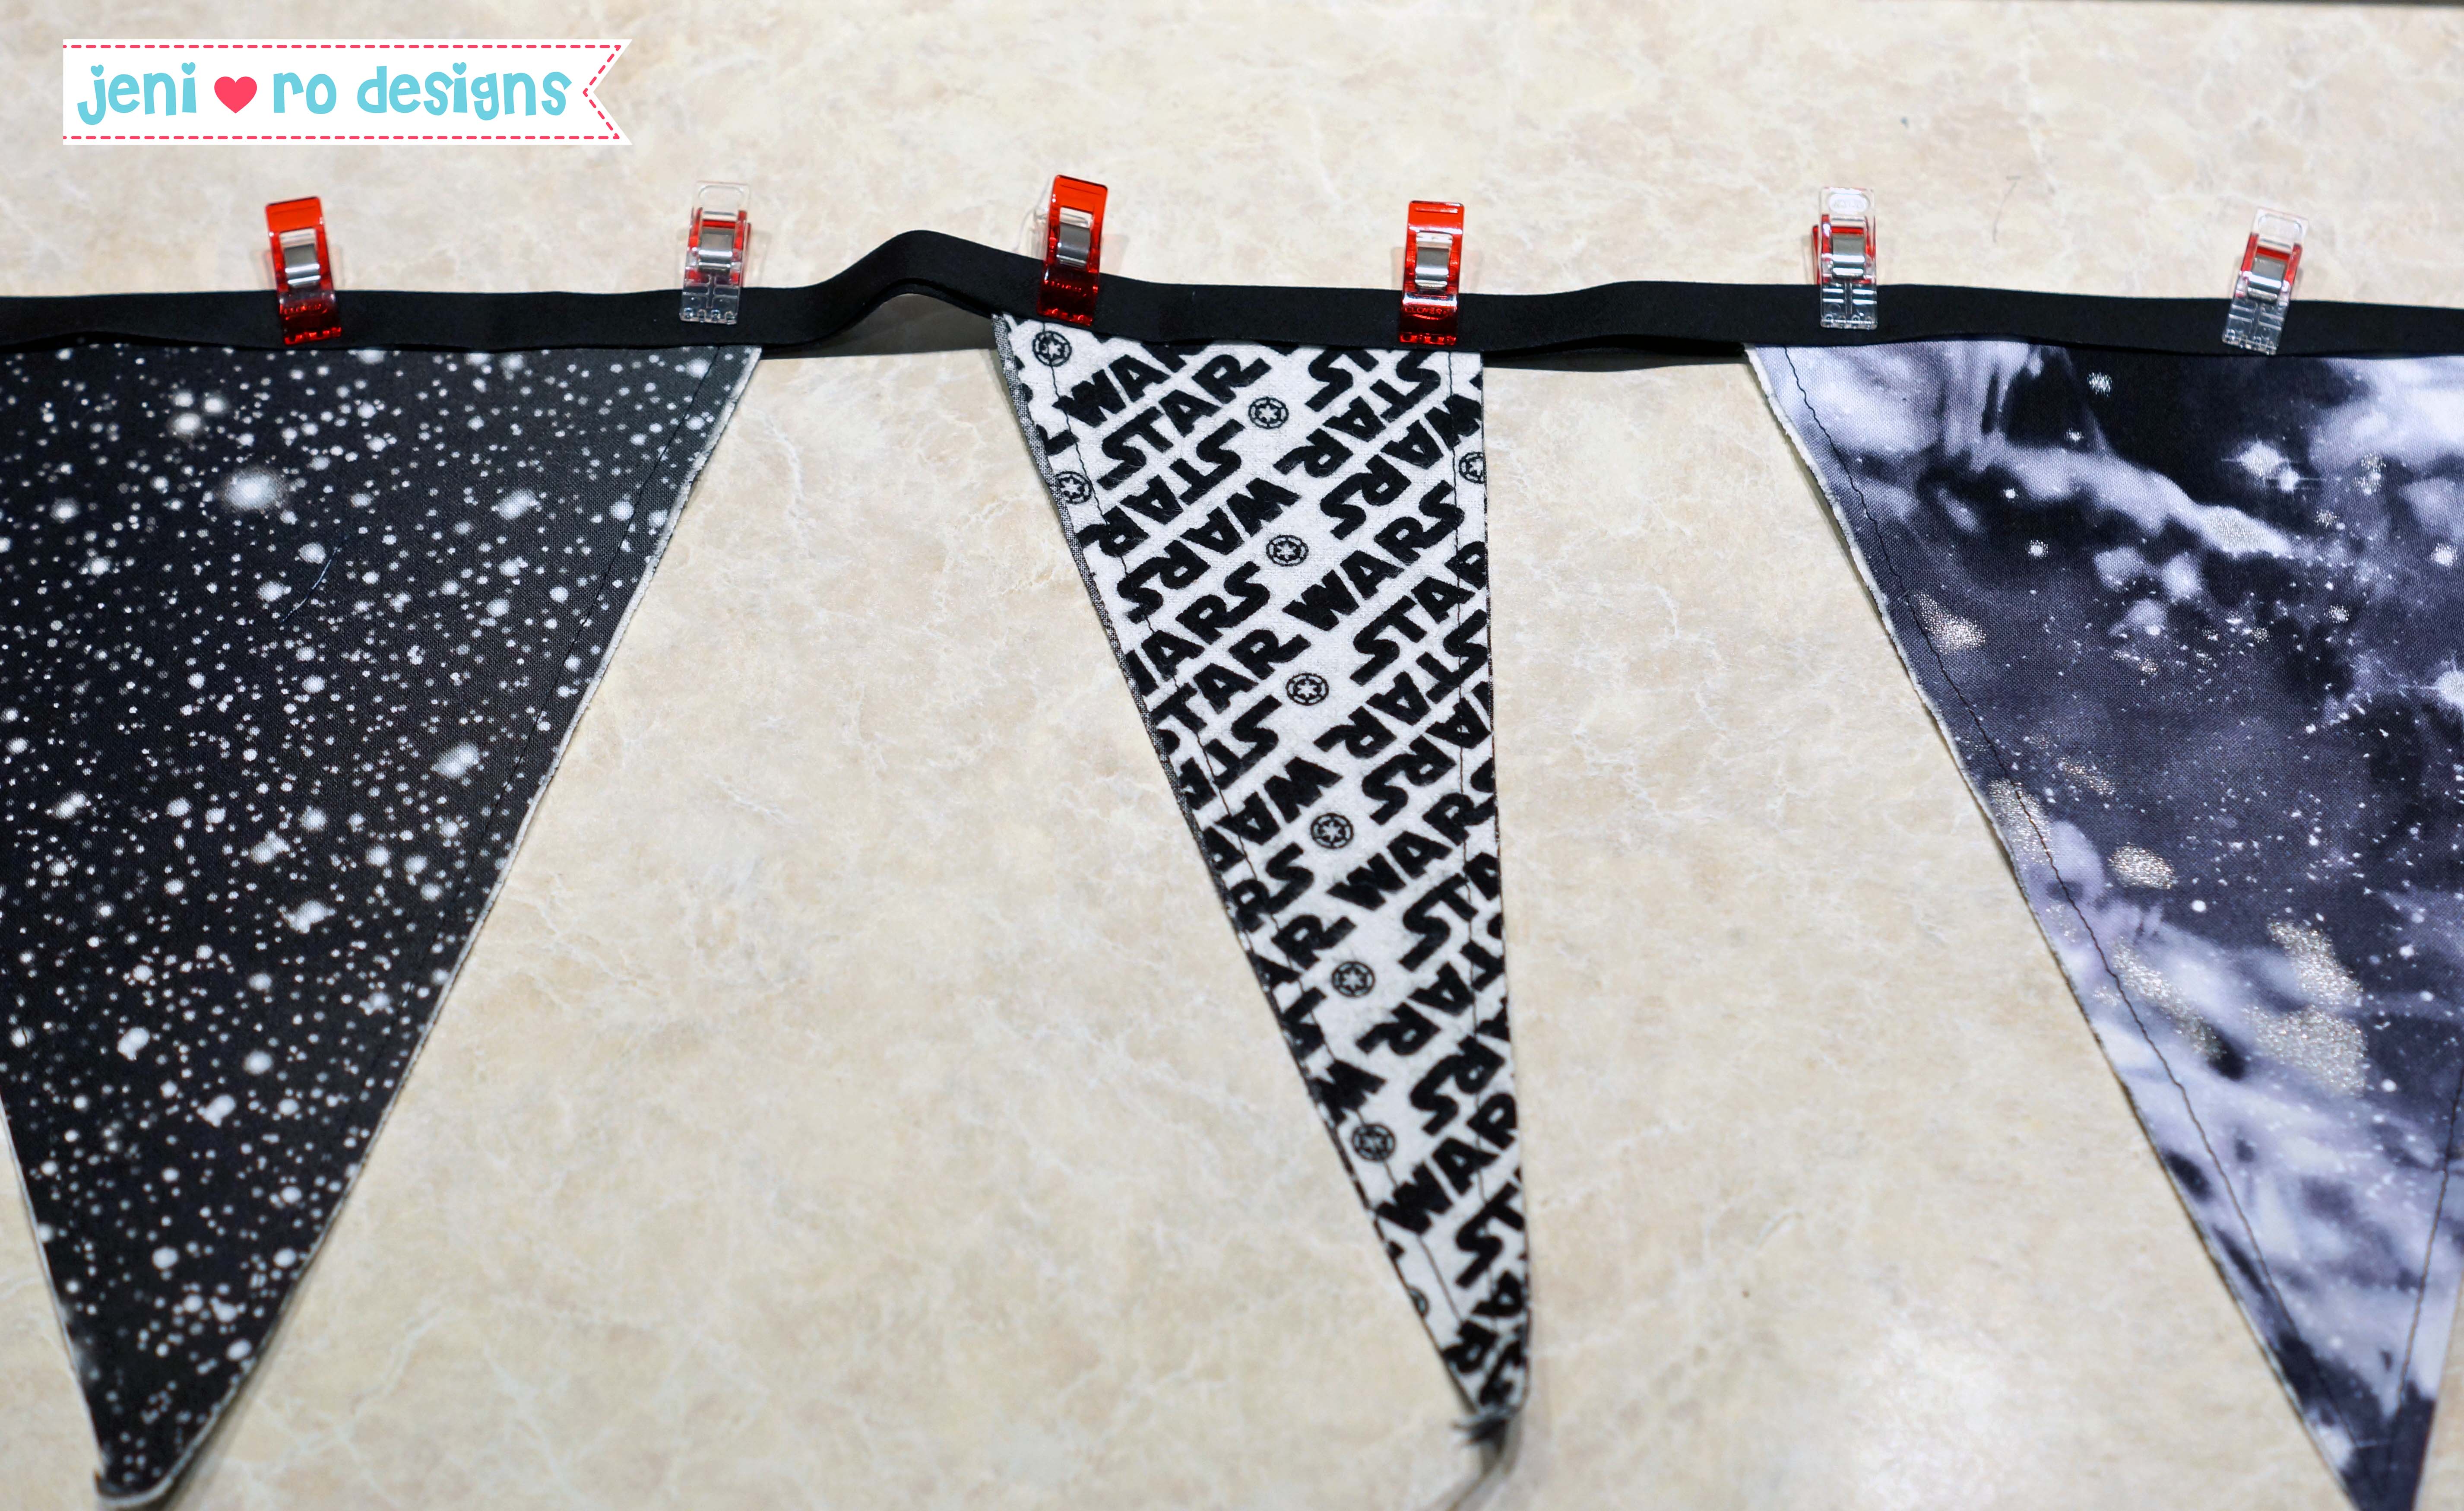
Decide how far apart you want your pennants (I used 2″). Open up the bias tape and pin or clip your pennants in between the 2 layers of bias tape. Continue like this down the bias tape. I leave 5″ or more at the beginning and end of the bias tape so you have some room to tie or pin up the banner.

Take your pinned/clipped banner to the sewing machine. Sew the bias tape closed (enclosing the pennants) all the way down the length of the bias tape.
To finish the ends of the bias tape, fold over the end of the tape, sandwich it back together and sew. It will enclose the end of the tape giving it a finished end.
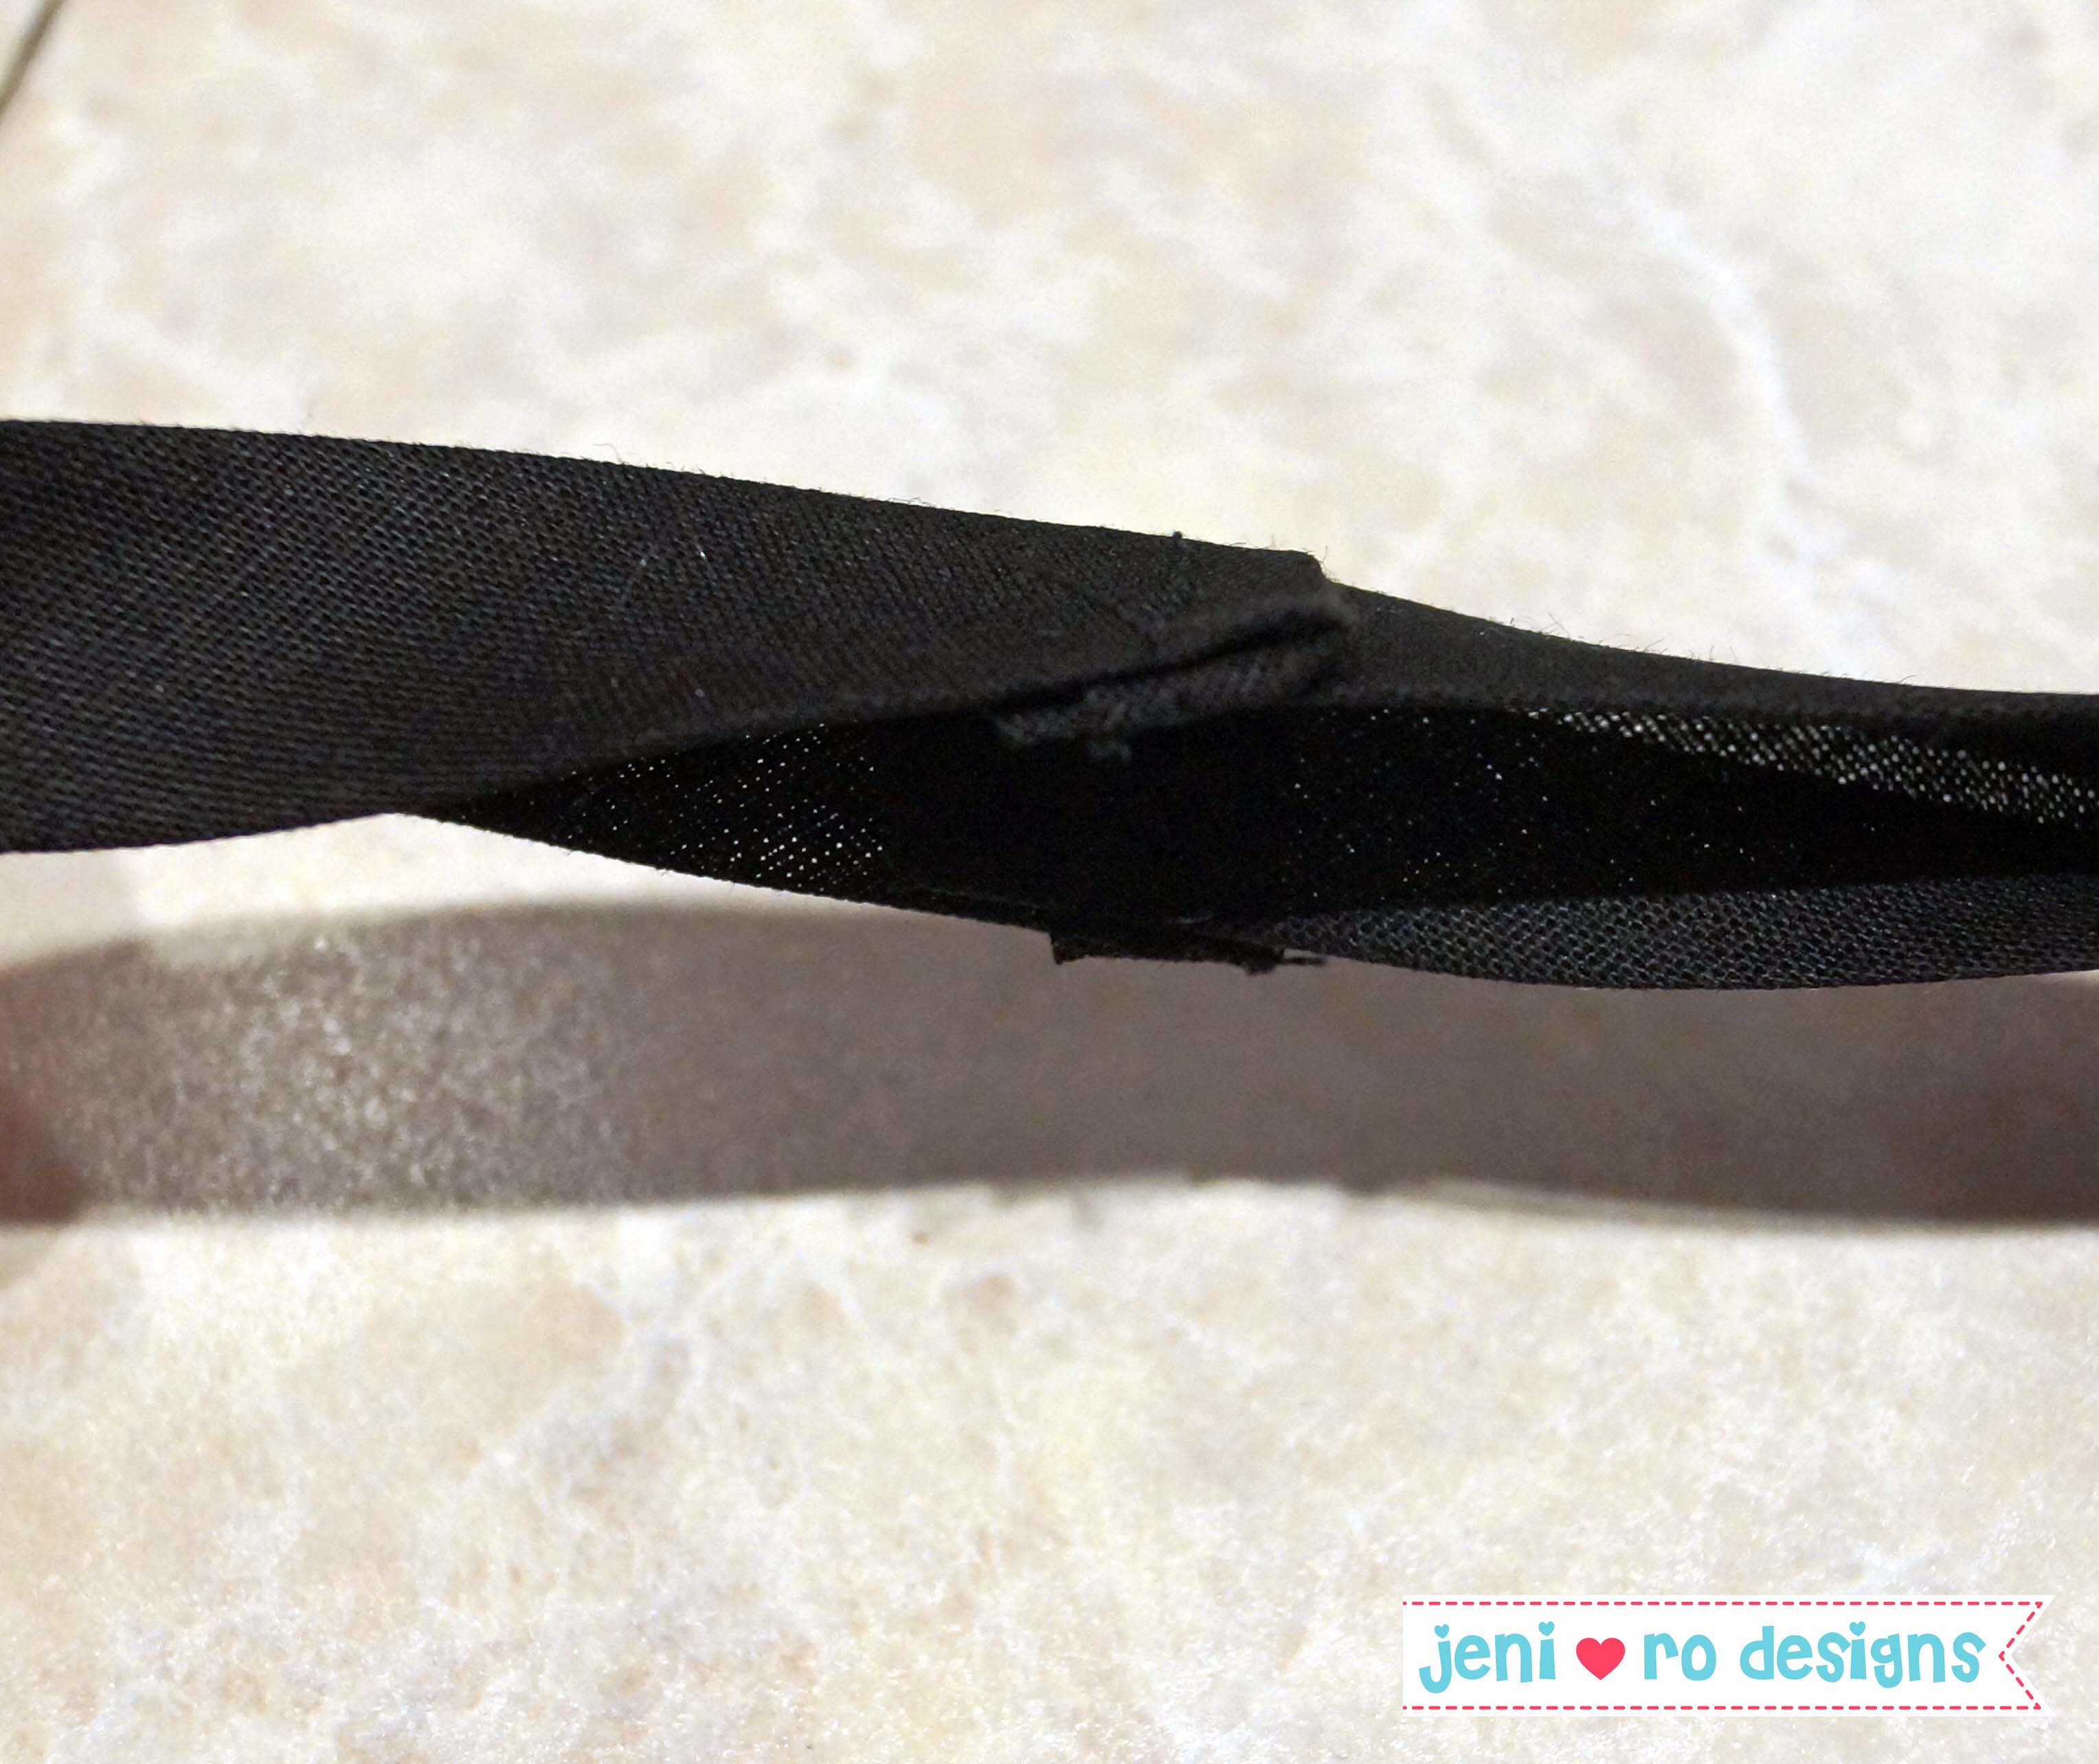
If you want your banner longer than 108″, you can join 2 pieces of bias tape together. Here is how:
1. Fold over the end of one piece of bias tape.
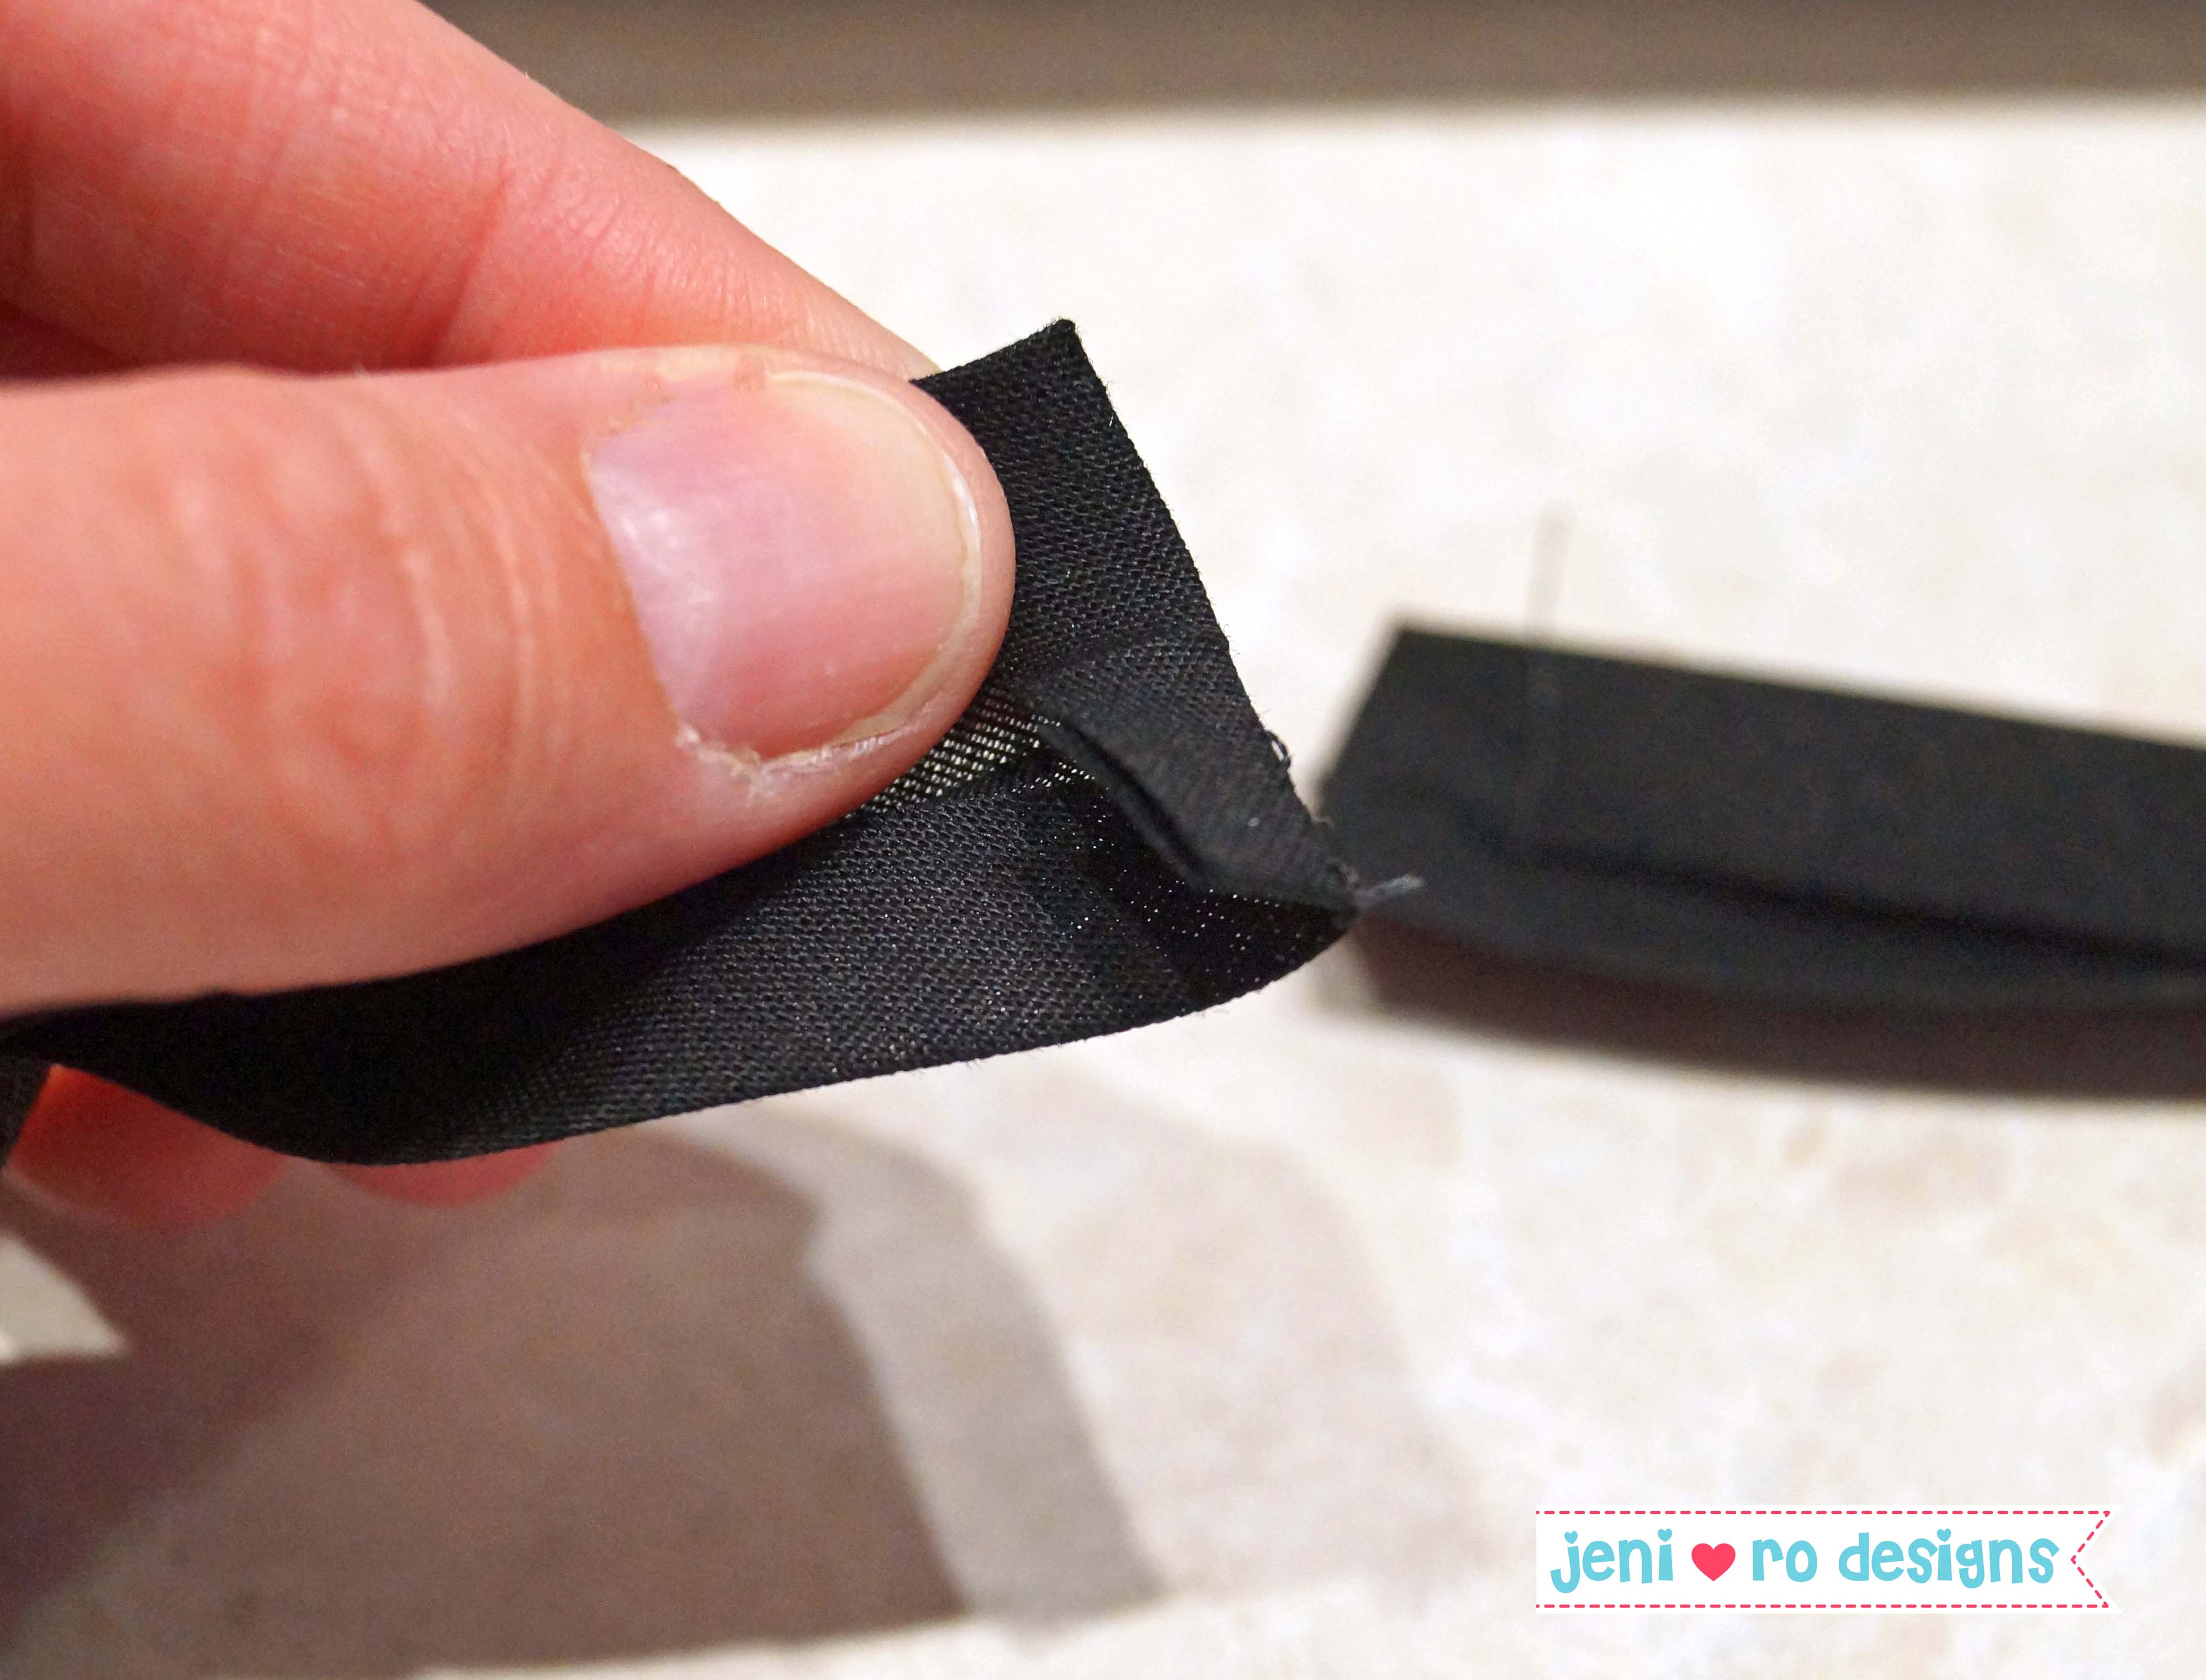
2. Lay the new bias tape over the folded bias tape, and clip or pin the join.

3. Sew a straight stitch along the overlap. Make sure the bias tape is open. Your join is made! Continue adding pennants for a longer banner.
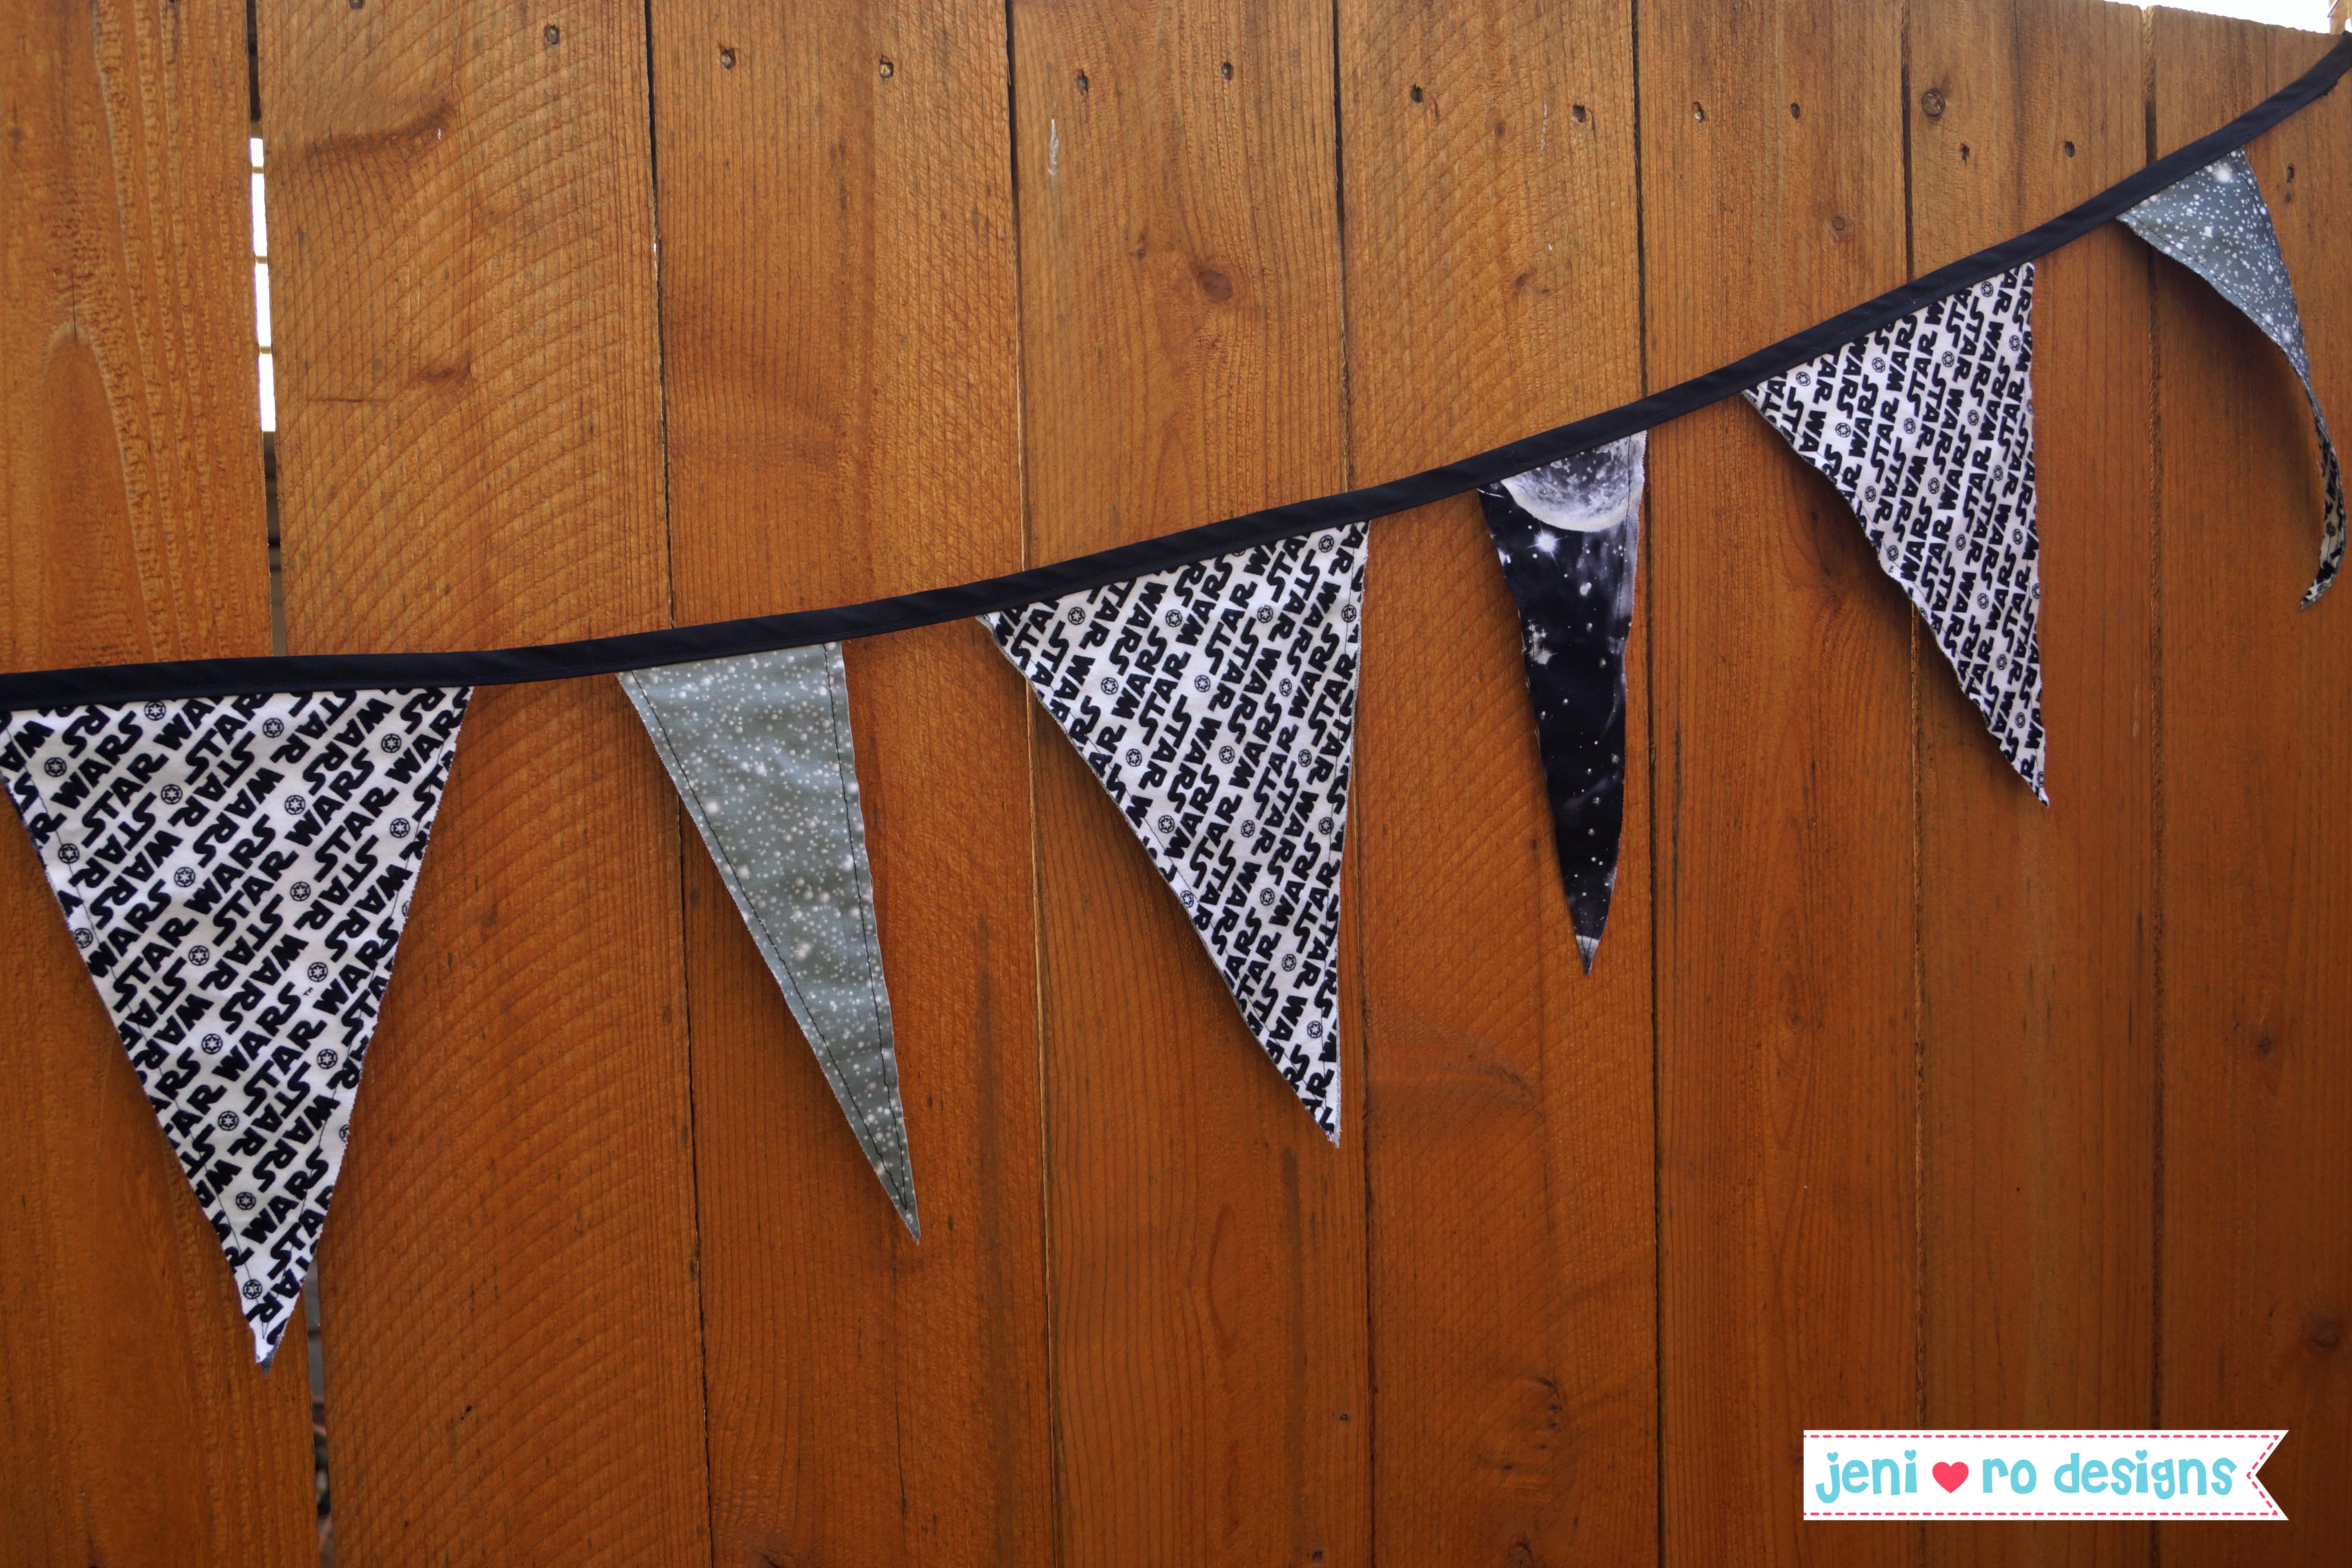
Yay! Your custom birthday party pennant banner is done!!
For the Star Wars version I made, I decided I liked the look of the smaller triangles that were scraps from when I cut the bigger pennants. So I alternated the smaller triangle with the larger triangle. I made all of the pennants with the Star Wars fabric on one side and then divided the galaxy and star fabric on the other side of the pennants. Alternating the smaller Star Wars pennants in between the larger galaxy or star fabric gave me a reversible banner! Each side of the banner is different by equally as cool!!
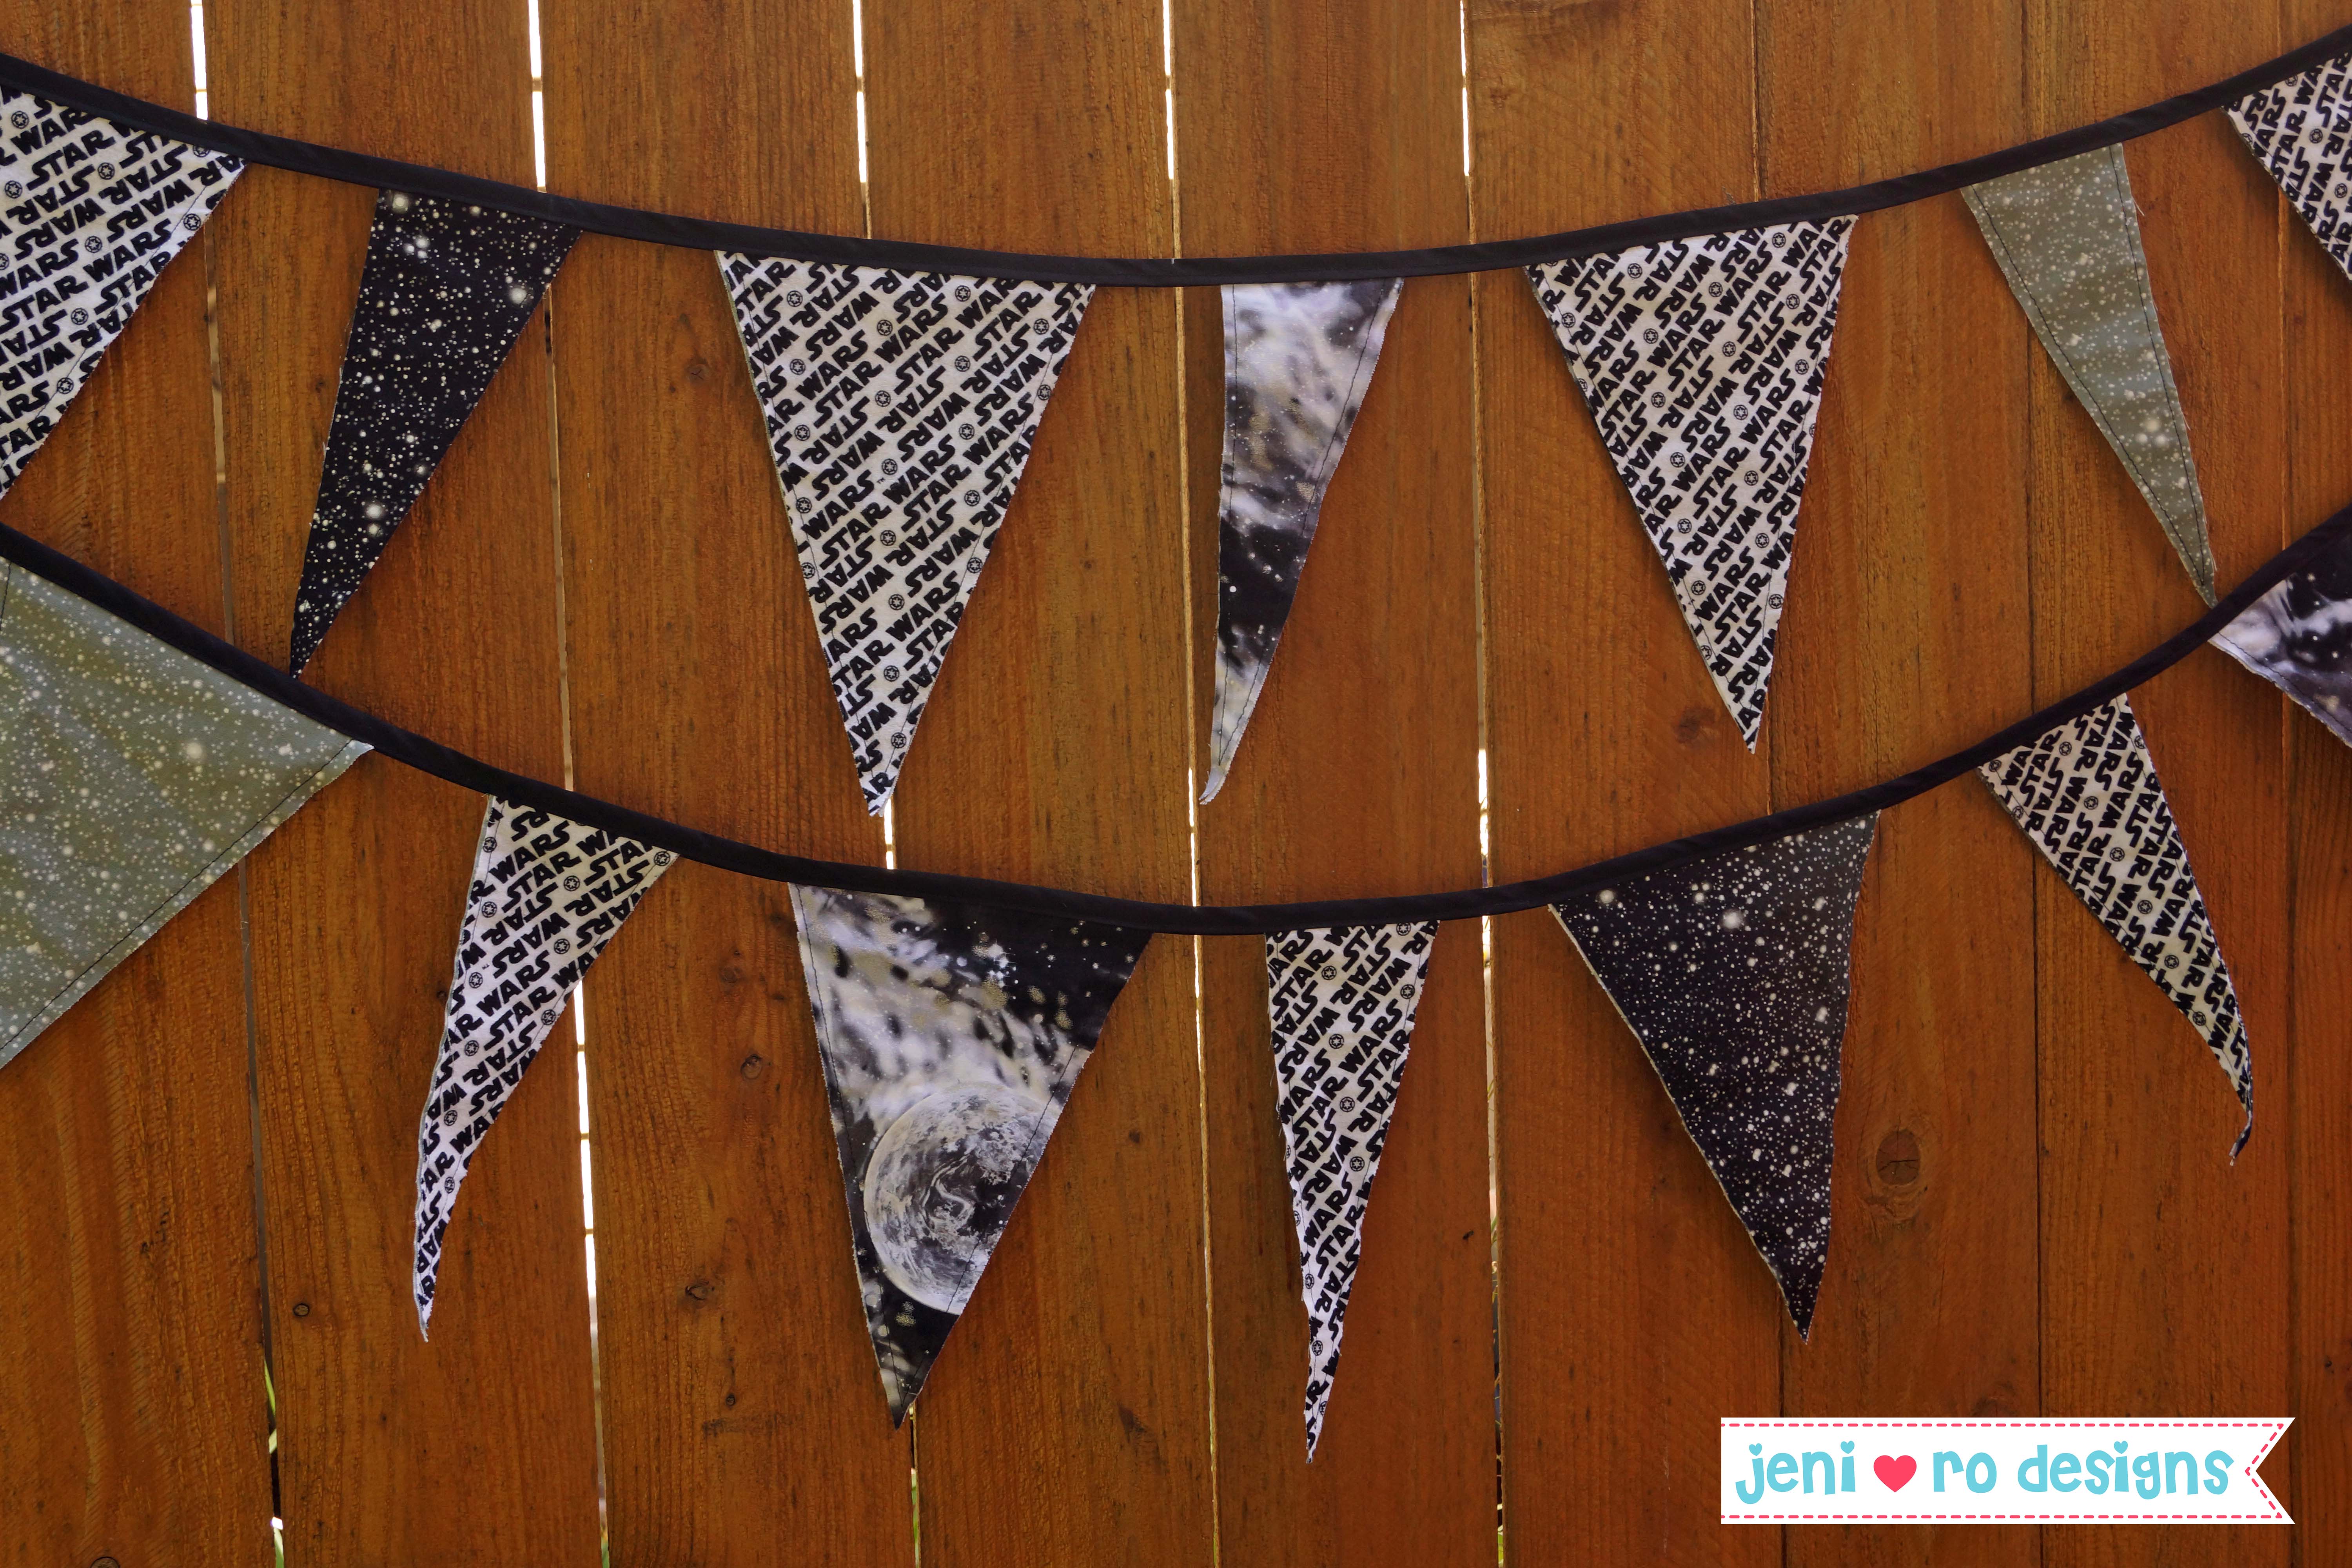
So excited to see this hung up at S’ big Lego Star Wars birthday party!
I would love to see your party pennant banner! Please share your pictures on my jeni ro designs facebook page! And be sure to LIKE my page while you are there! Happy Partying!!