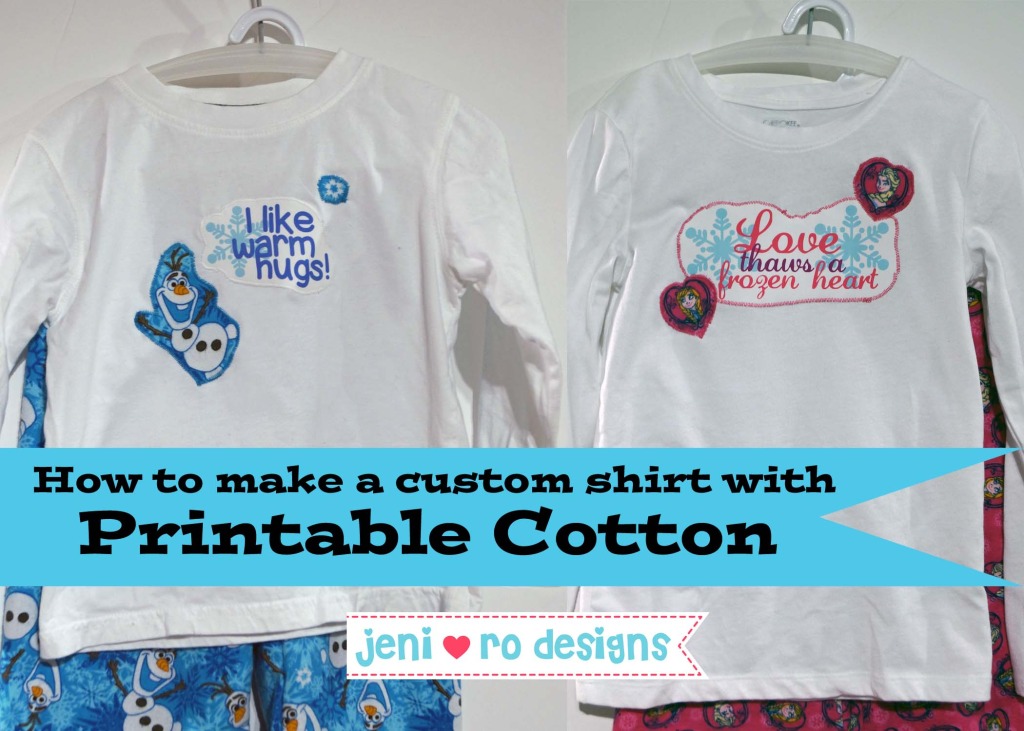
Frozen Christmas PJs – How to make a custom shirt with Printable Cotton!
December 2, 2014


As a kid, we had a tradition that we could open one gift on Christmas Eve — it was always a pair of new pajamas! We knew this, but we still were excited about it! Since having kids, we have been letting the kids open one gift on Christmas Eve — you guessed it, new PJs! Last year I made my kids’ their Christmas Eve pjs for the first time.

This year, since we love all things Frozen like everyone else, I found cute Frozen flannel for O and V. The princesses for O and Olaf for V. I didn’t want to make all flannel pjs like I did last year, so I decided to just make pj pants out of the flannel and applique a t-shirt for the top. I wanted to add a fun quote from the movie to the shirts and thought that Printable Cotton would be perfect!
I have used printable cotton before on MLP dresses for a birthday party , on pony bags in my shop and on favor bags for O’s 5th bday Princess party! It really is easy to use and gives you a lot of freedom to be creative without having to own a embroidery machine or do really complicated applique. I figured maybe someone out there might want to know how easy it is to use. So here is a mini tutorial!
Here is what you will need:
- Printable Cotton of course! You can find it at Joann’s, Michael’s or probably any of the bigger craft stores. You can also find it on Amazon – Avery Printable Fabric for Inkjet Printers, 8.5 x 11 Inches, Pack of 5 (03384)
(affiliate link)

- A computer to create your design
- An ink jet printer (I think it only works with ink jet)
- Scissors
- The shirt you want to decorate
- An iron and ironing board
- Sewing machine and matching thread
Step 1: Create your design
I use Photoshop Elements (the cheaper little brother to Photoshop) and I love it. But you could easily design something in Word, or use a free online program like PicMonkey!
Step 2: Print your design onto the printable cotton.
Make sure you put the correct side into the printer so it prints right. The non shiny side is the one that needs to be printed on. For my printer, you have to put the right side down in the tray for it to print correctly. I always try to make sure the designs are using the least amount of space possible, so you could use the leftovers again.

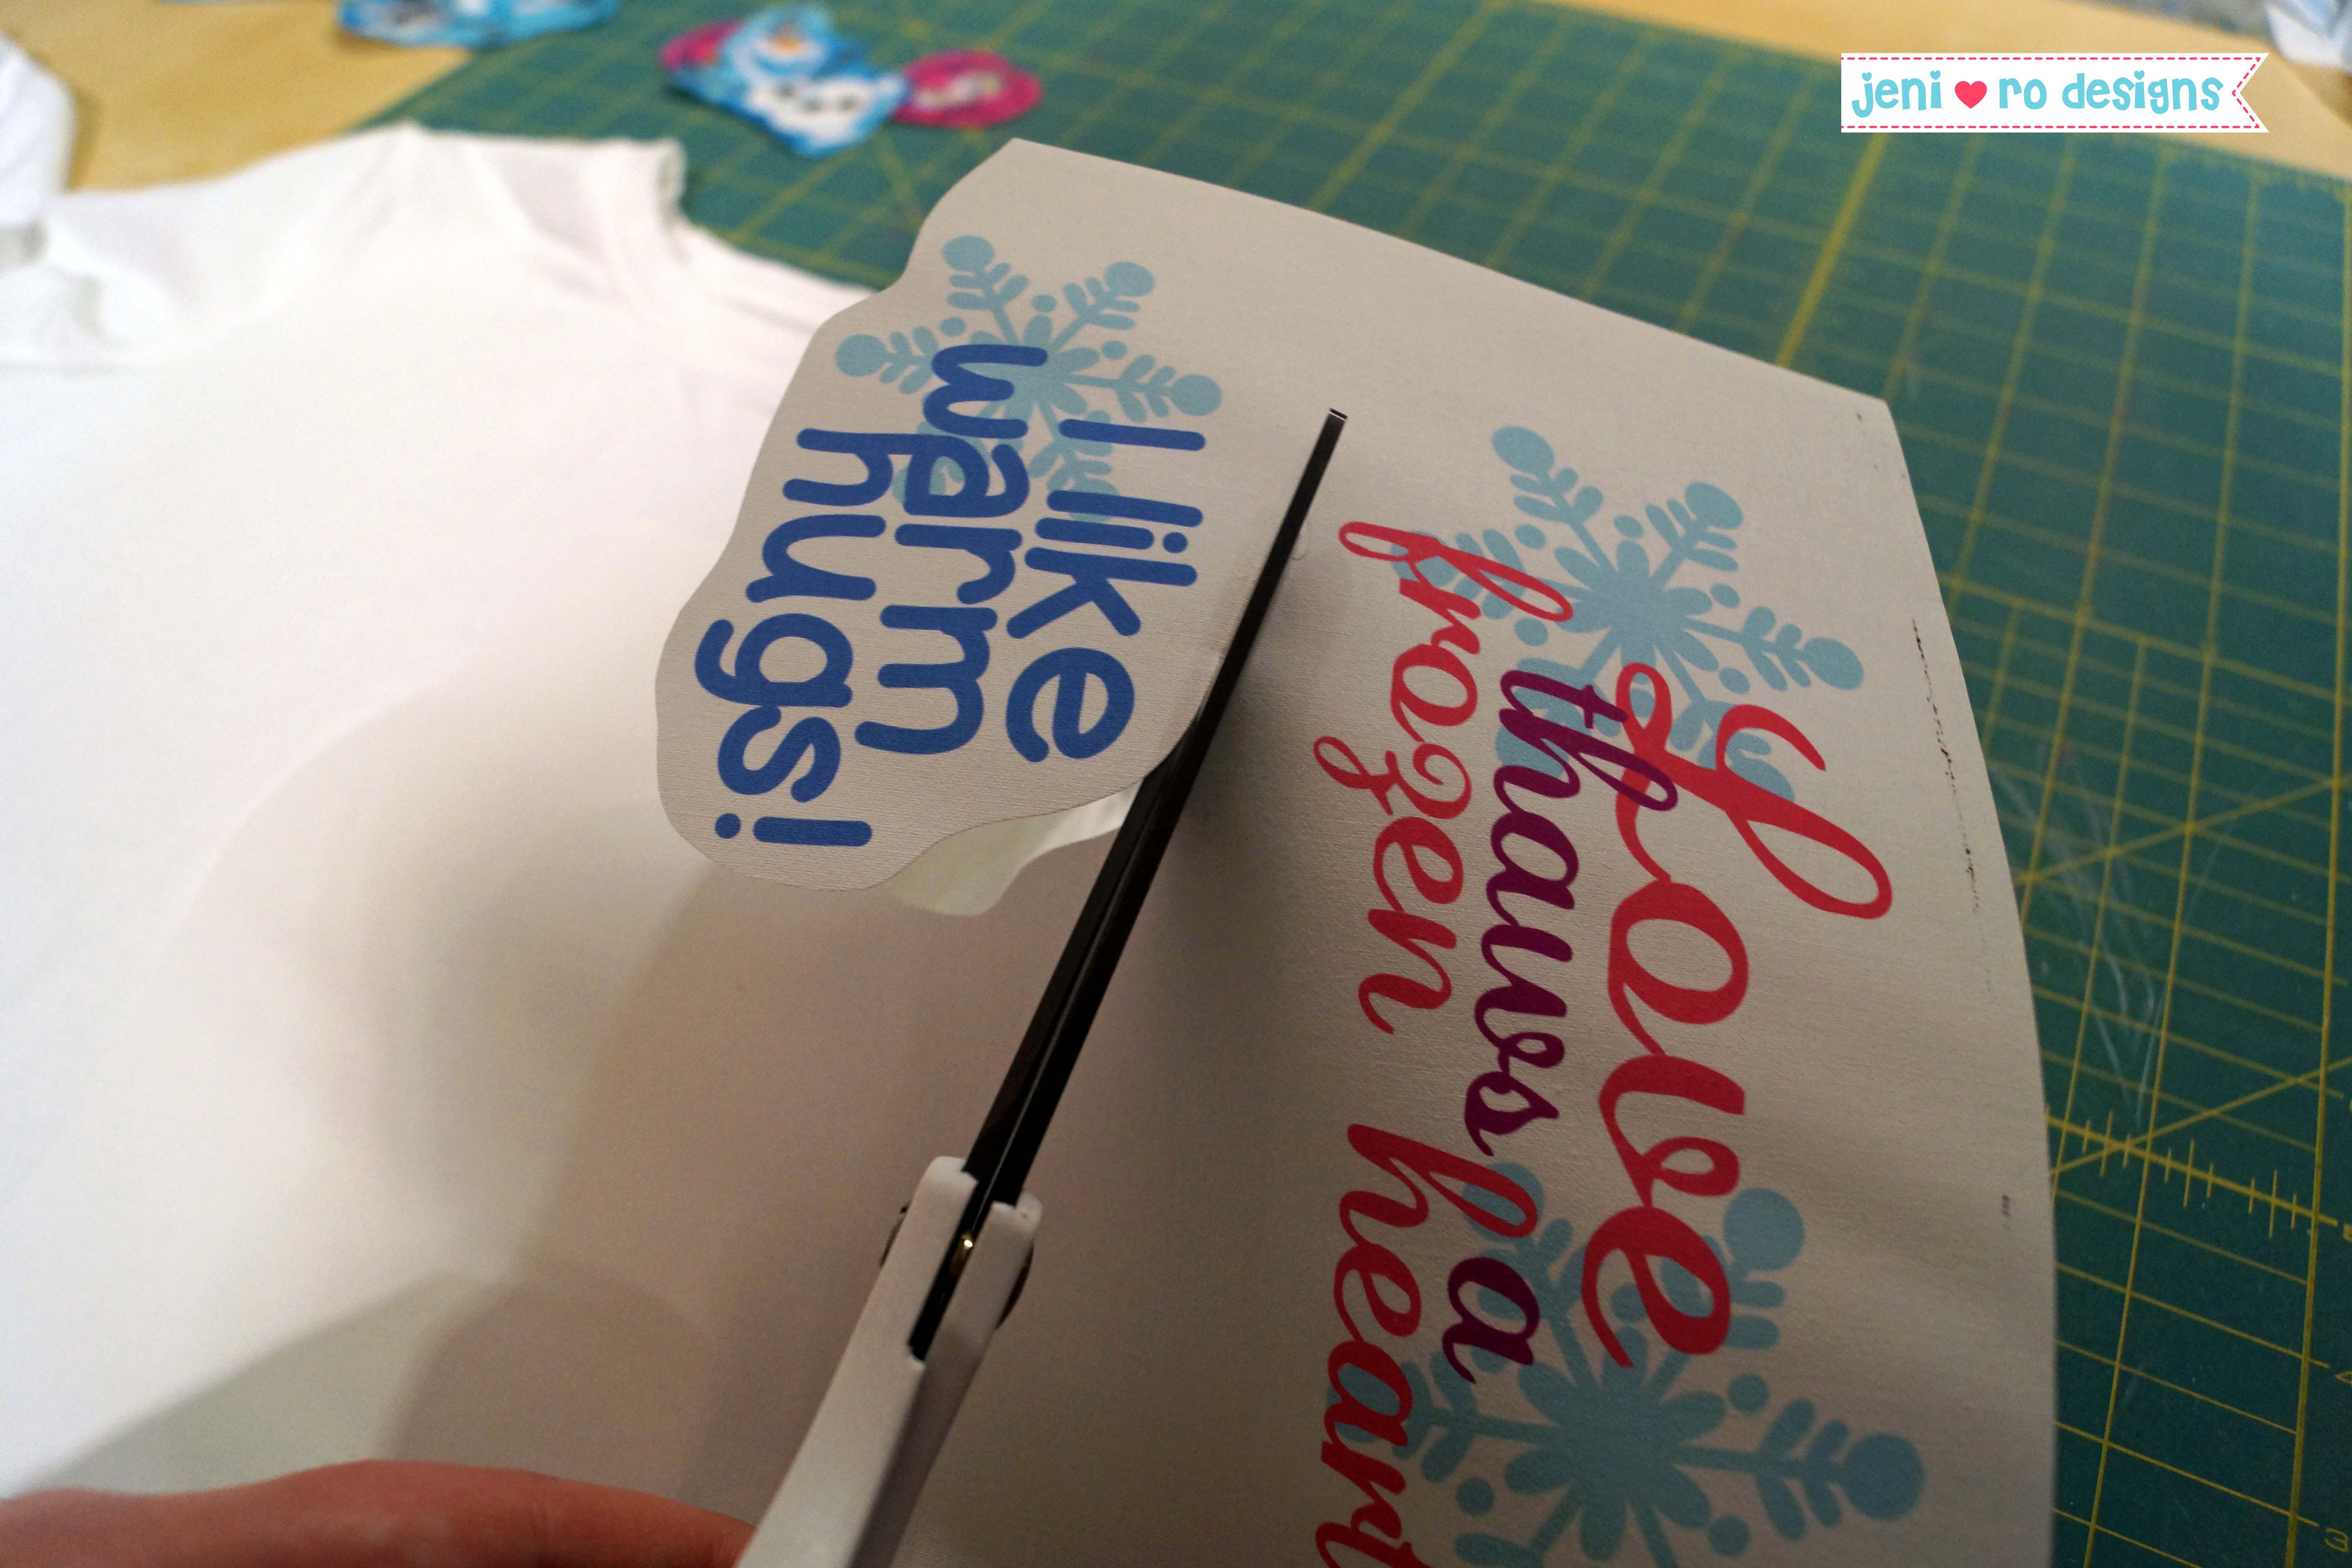
Step 3: Cut out your designs
Cutting out the design is easy – just a good pair of paper scissors does the trick.
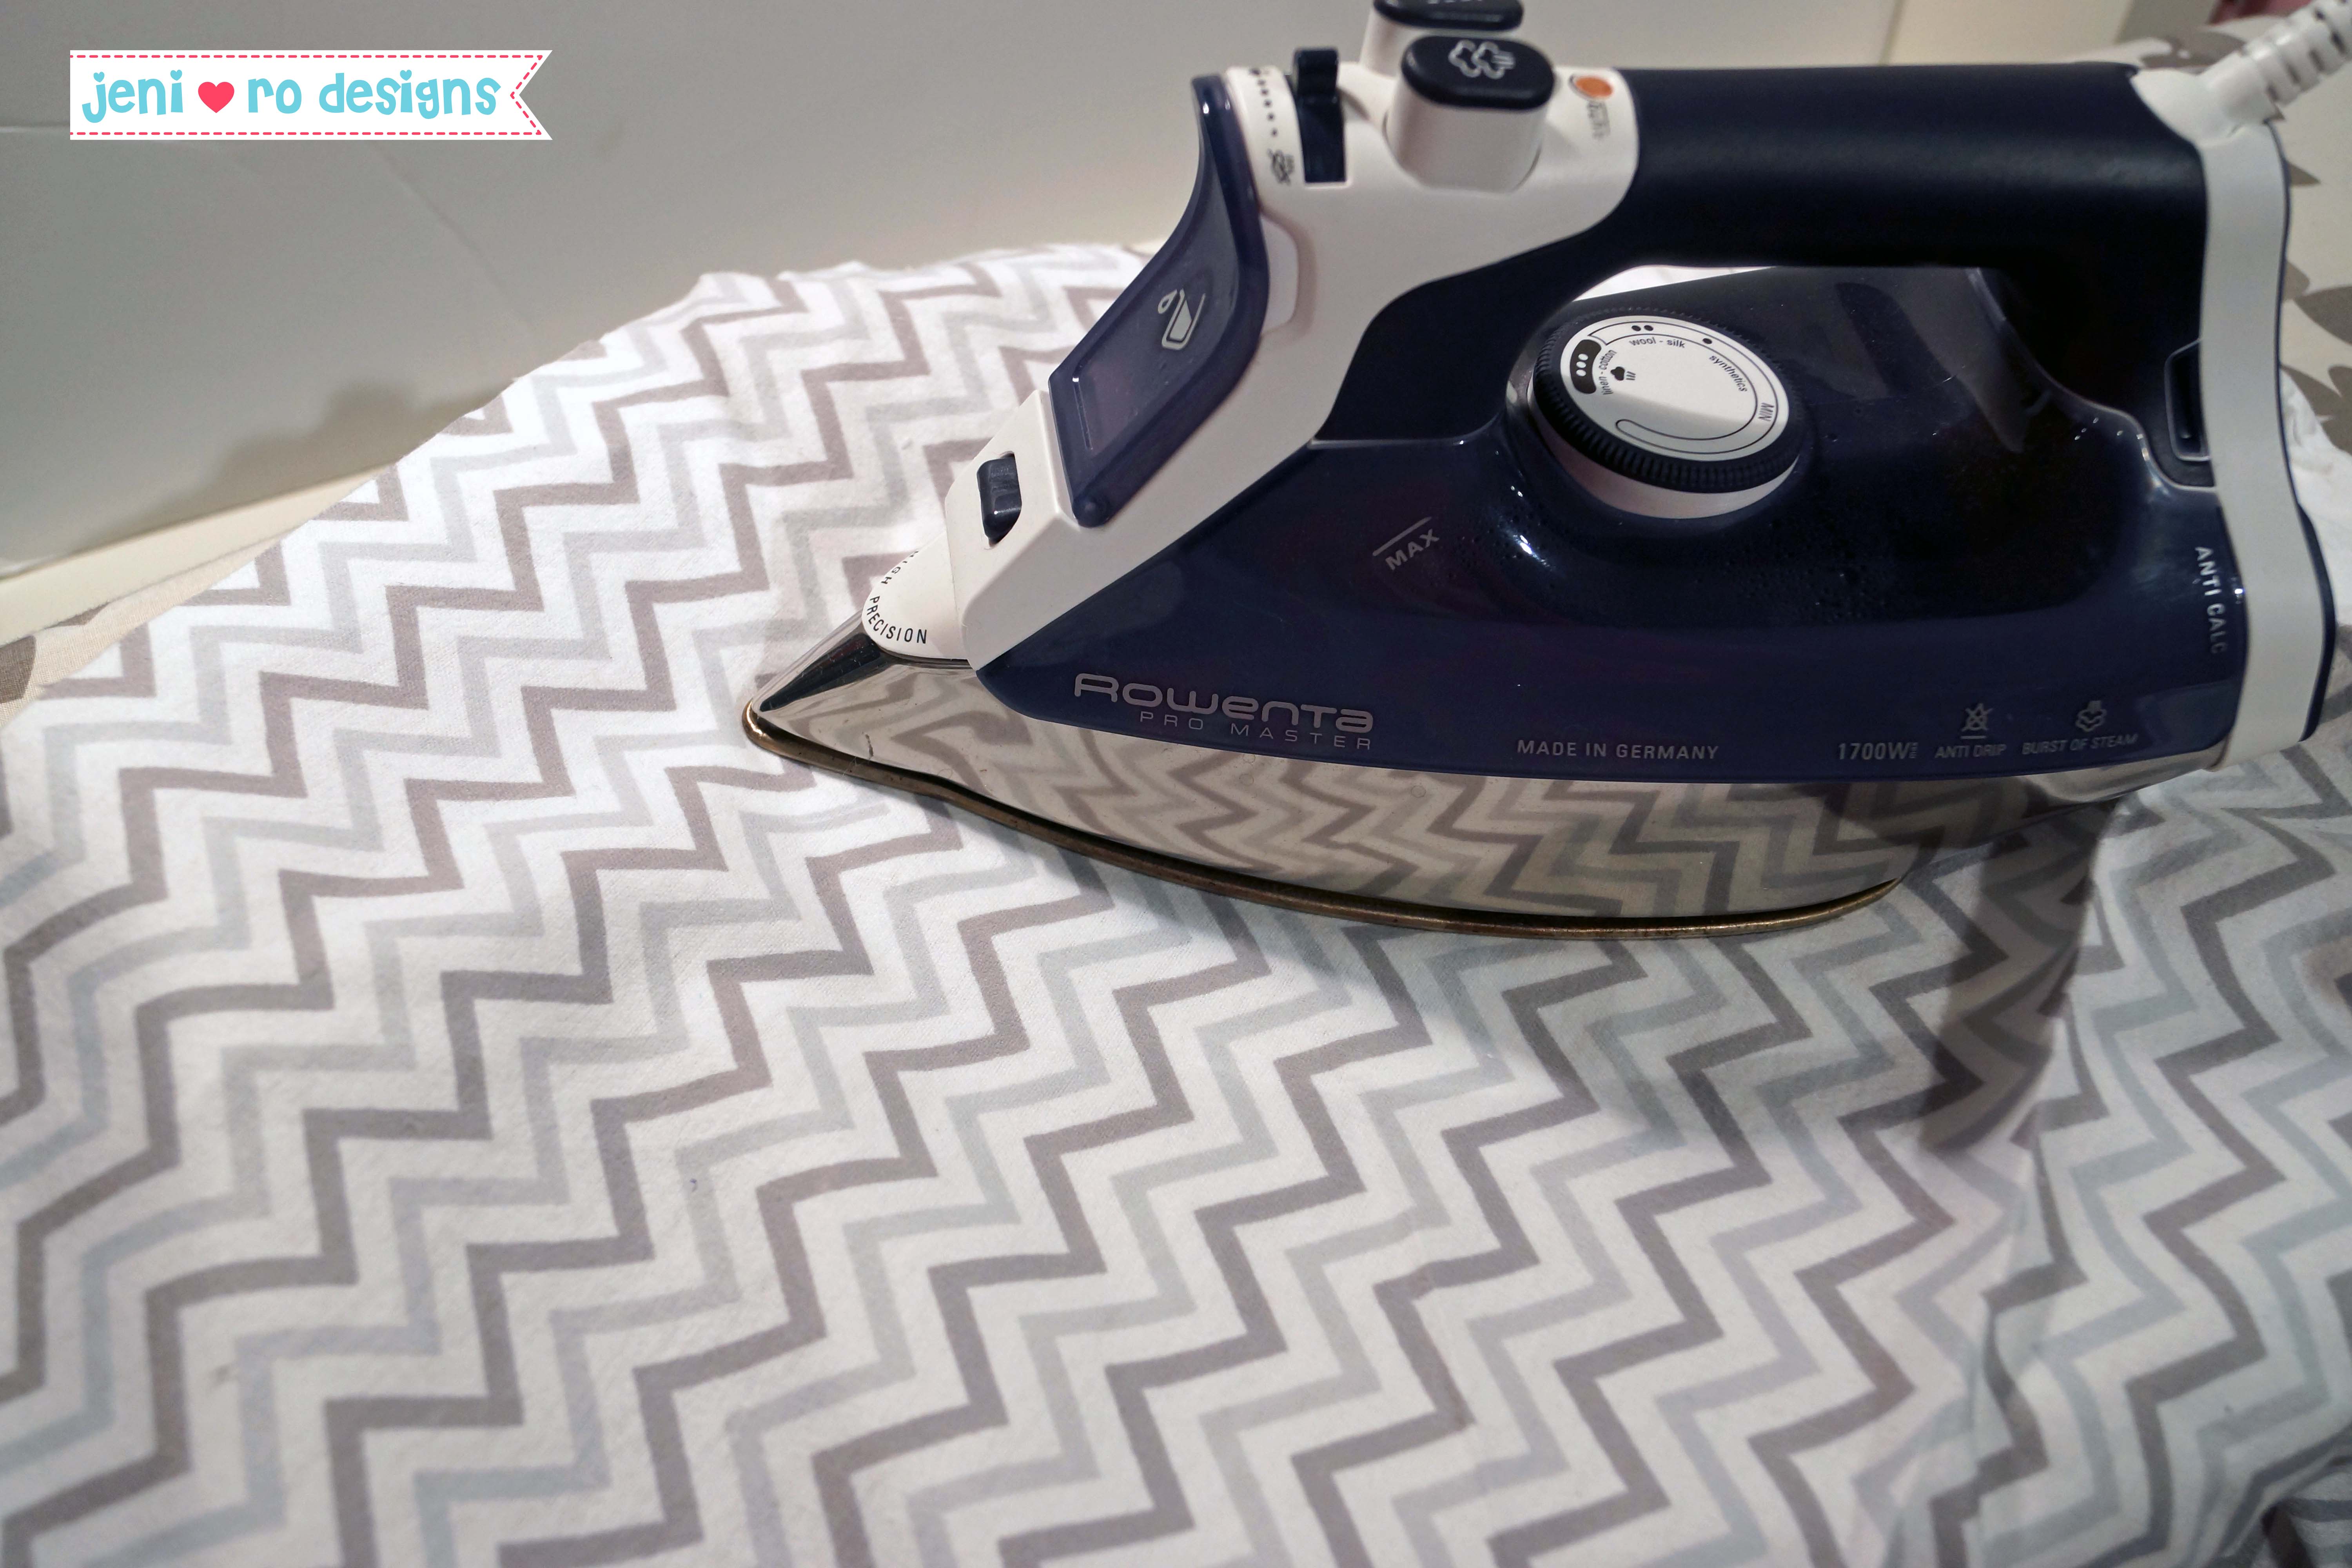
Step 4: Prep the shirt and iron on the design
Heat up your iron to the cotton setting. (or check your printable cotton package for ironing instructions). Lay out your shirt and iron the spot you want your design to be. Arrange your design on the shirt. I also appliqued pieces of the pj pant fabric onto the shirt – using Pellon Wonder Under Fusible Web Heavy Duty, 15 by 3-Yard(affiliate link) as a backing.

Put a thin towel or a scrap piece of fabric over the design, and place your iron over the design. It only takes a few minutes to bond the printable cotton to the shirt.
Now its attached to the shirt!
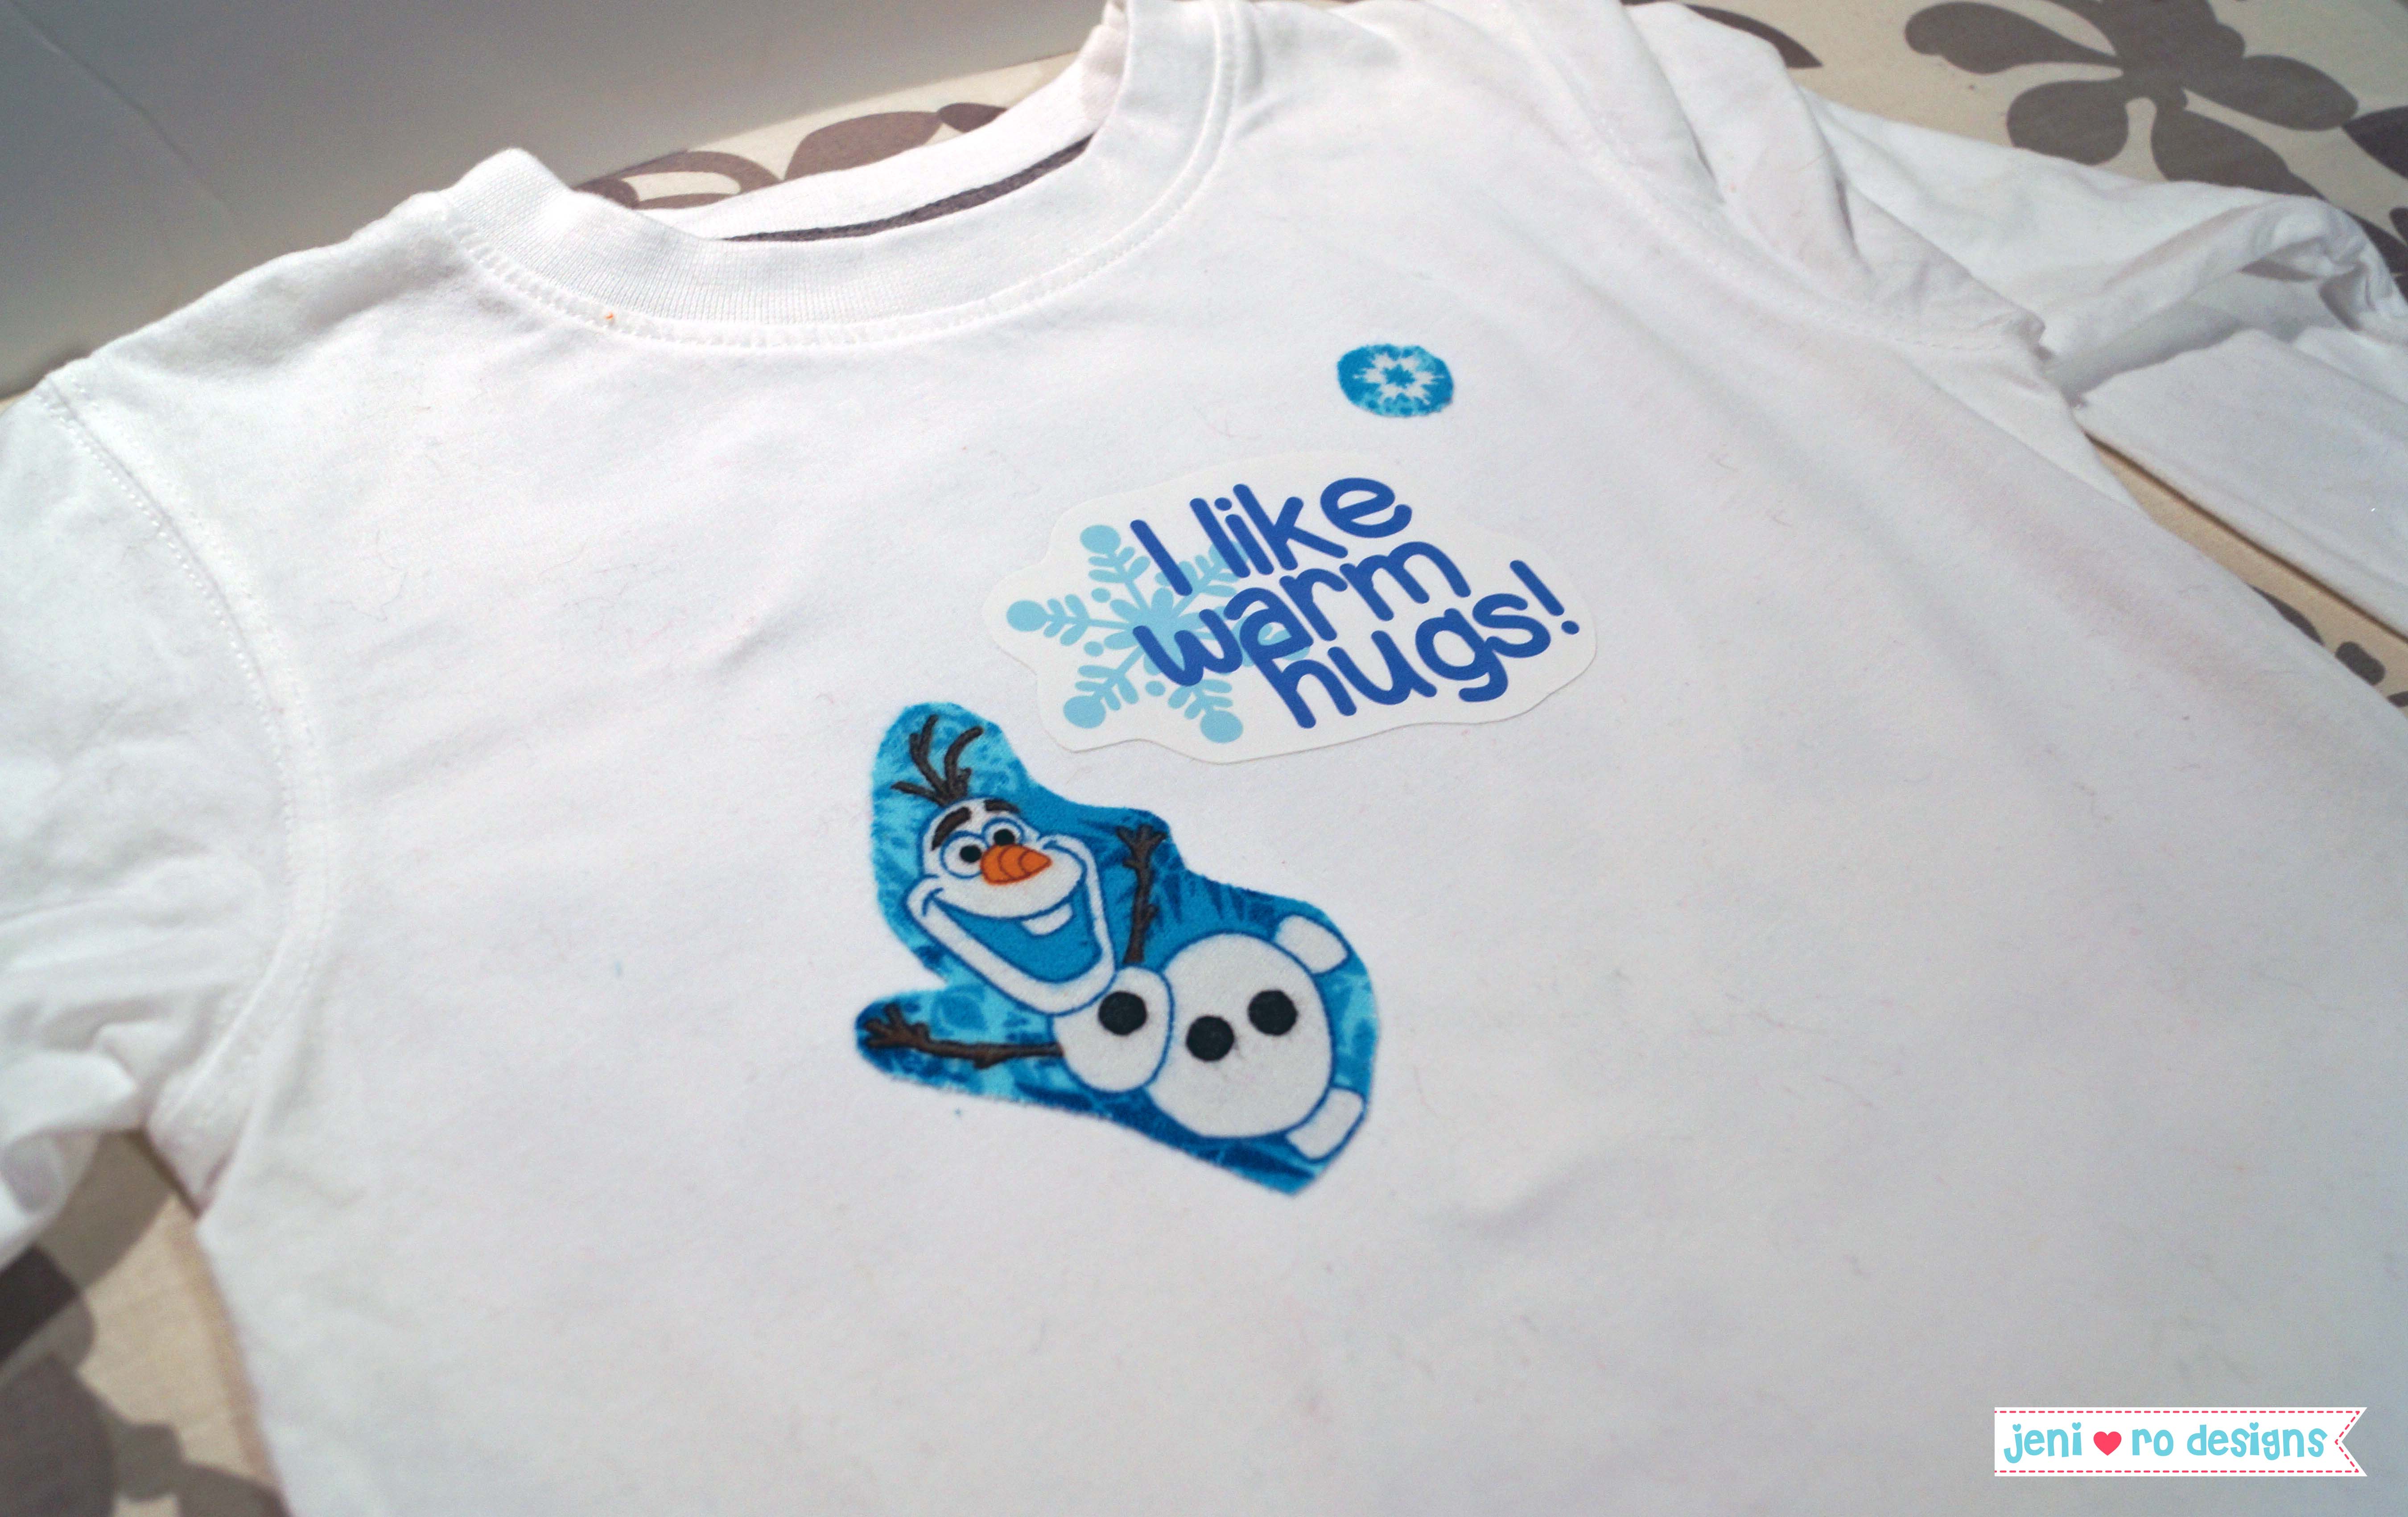
Then take the shirt to your sewing machine and zig zag around the cut edge of the design. I like to use a tighter zig zag so it looks like embroidery. Length set to .5 and width set to 3.5
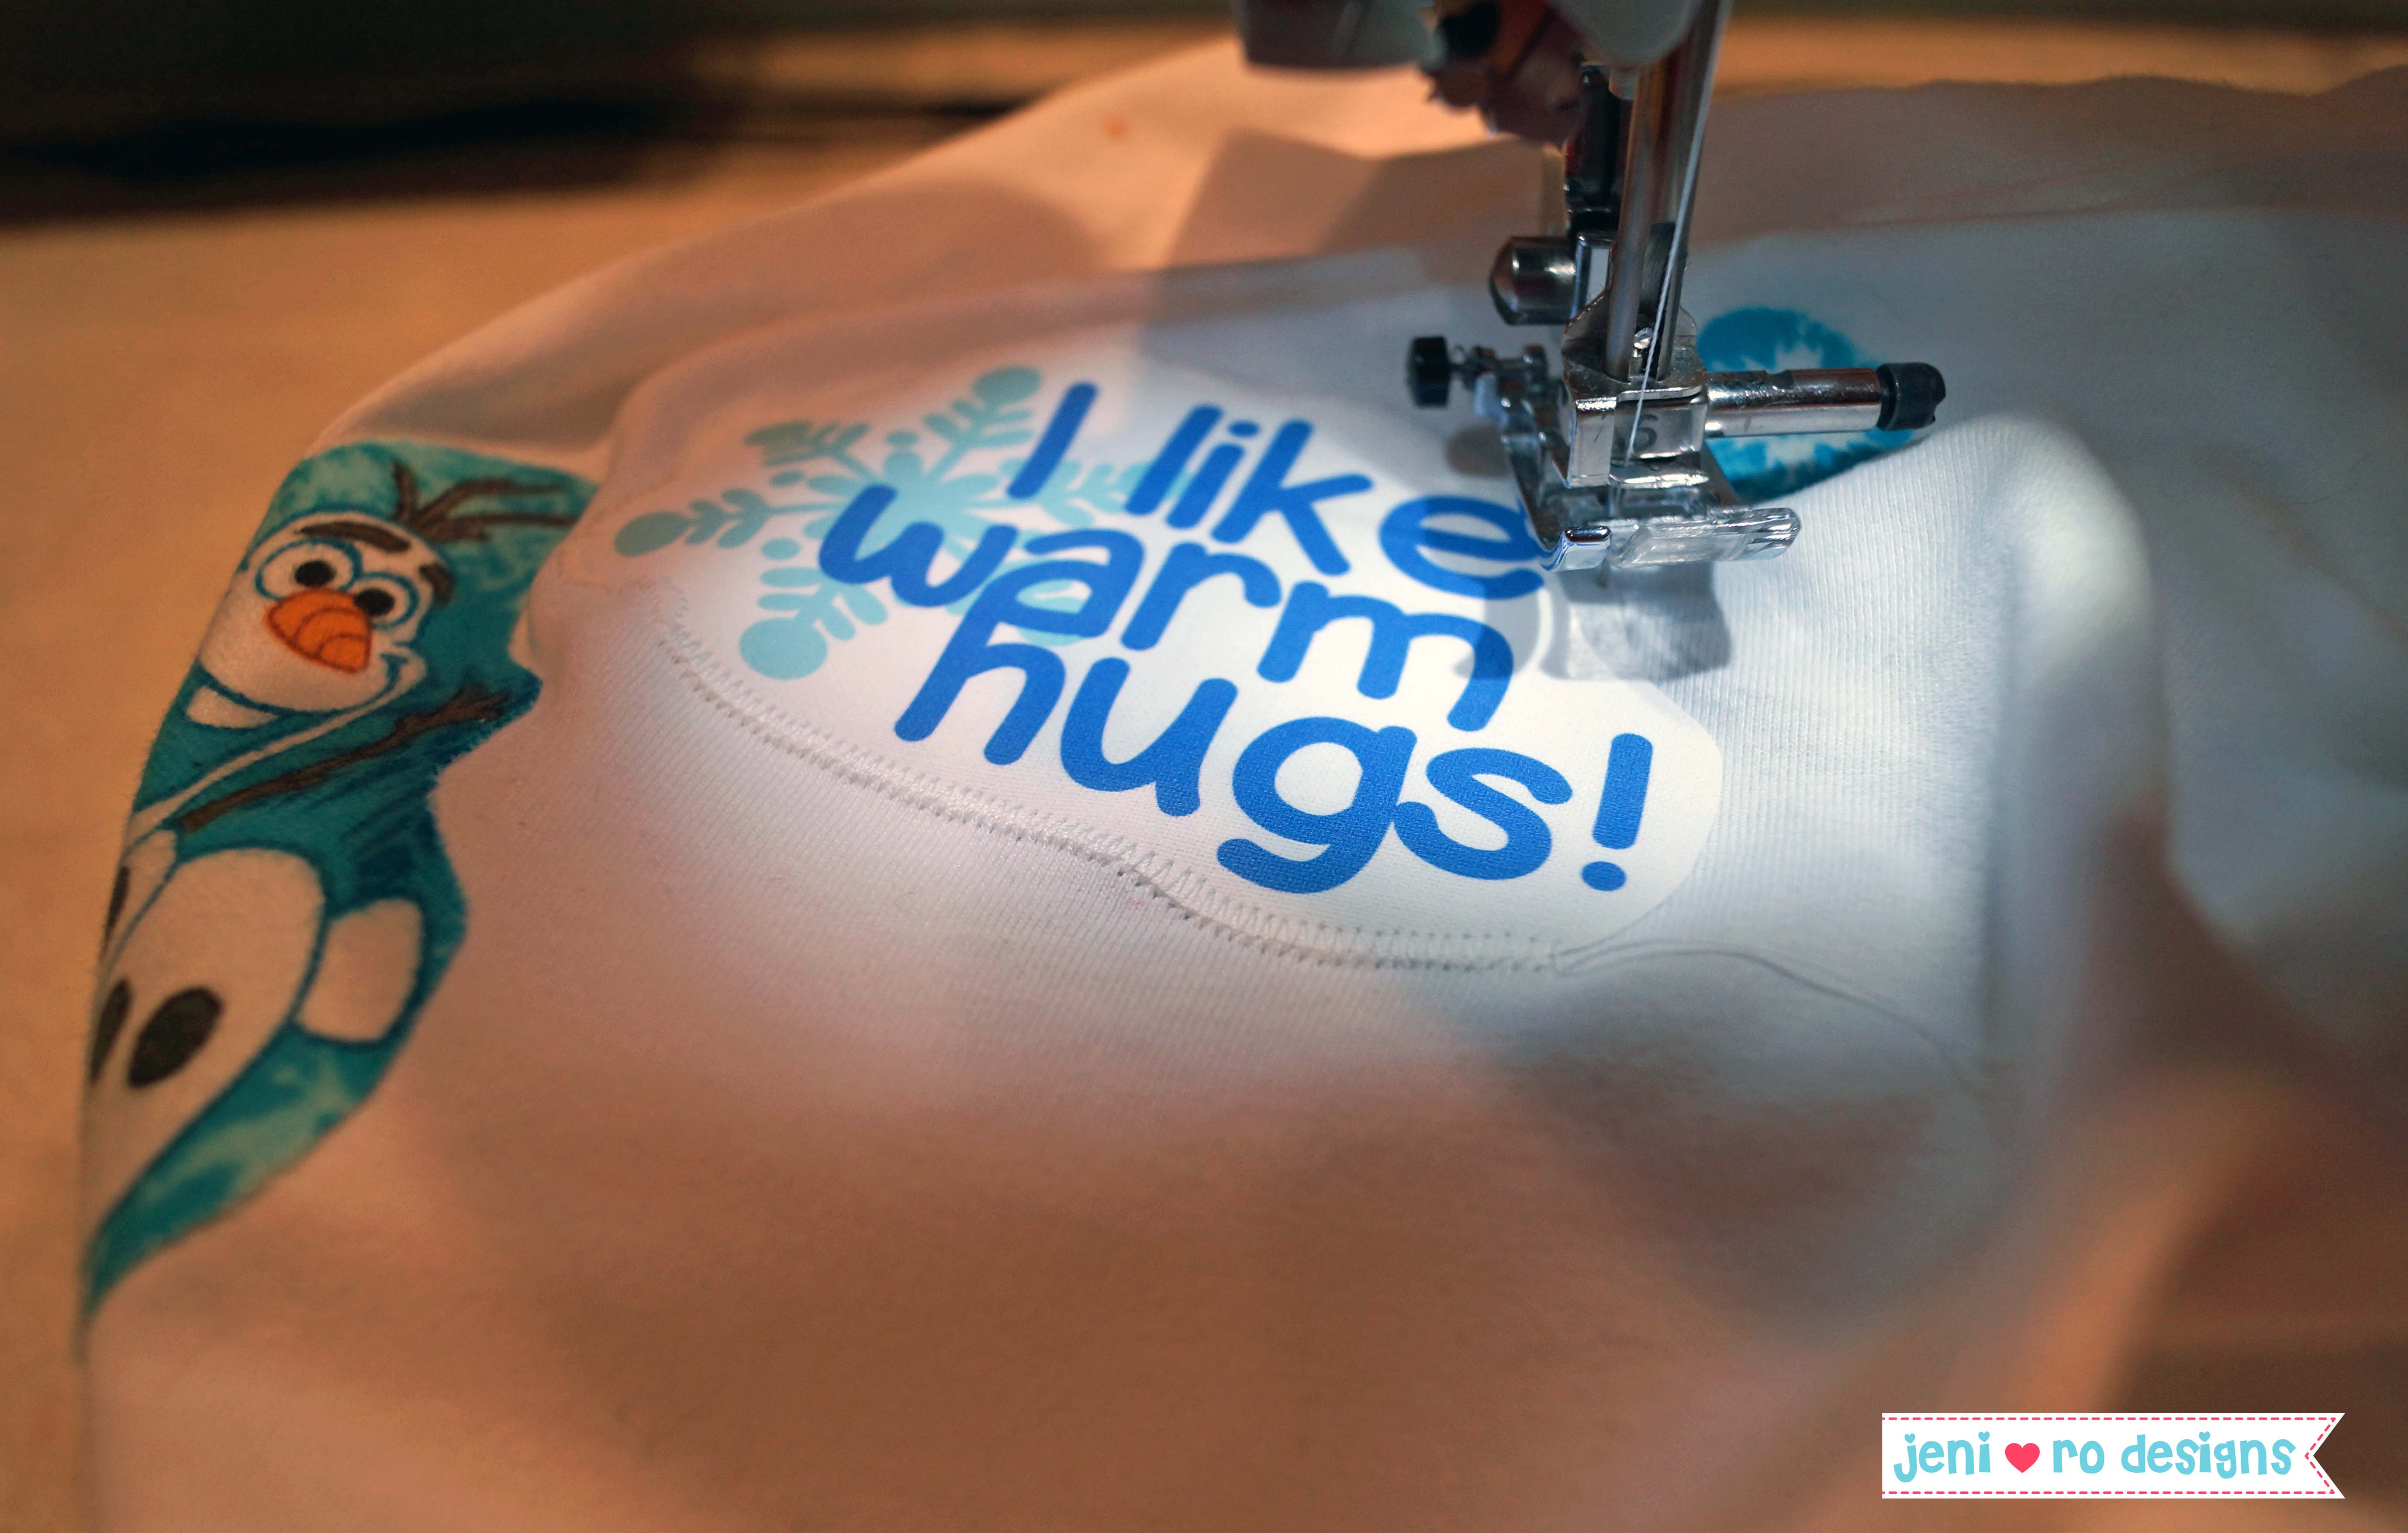
Remember not to sew through both layers of the shirt – only the front with the design! =) And then you are done!!

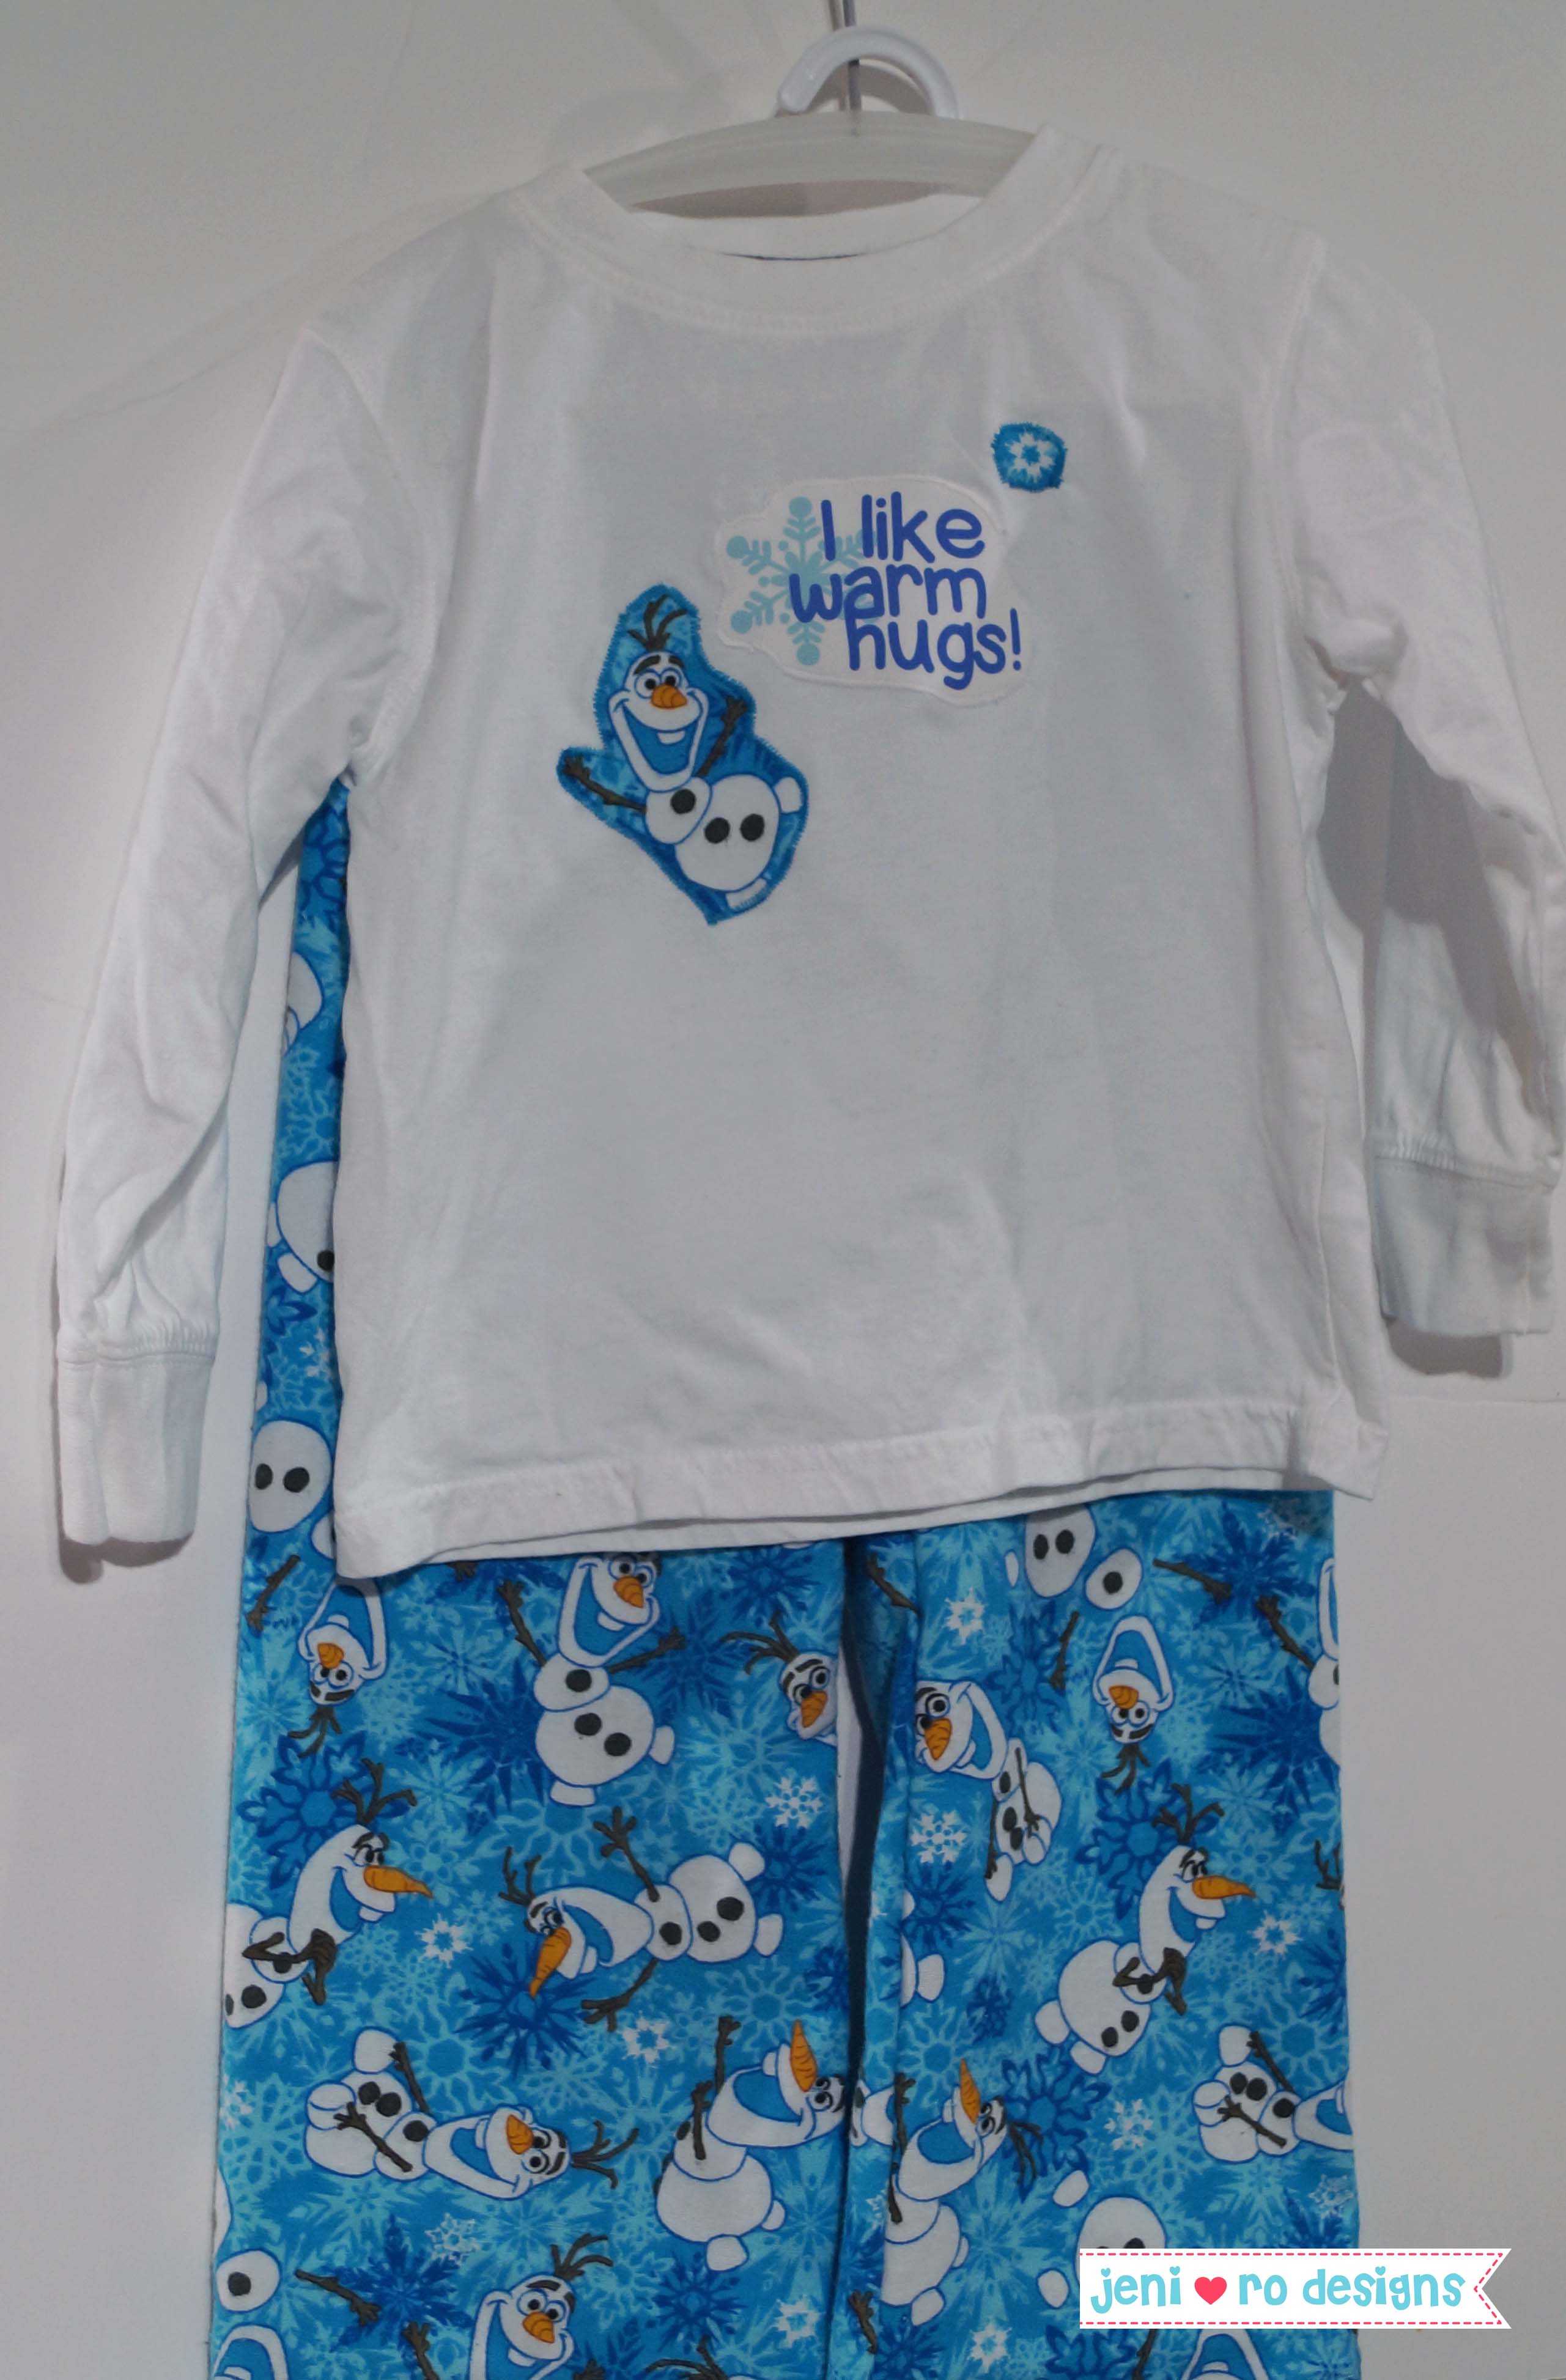
Cute new pjs for Christmas Eve! Olaf shirt and pants for Mr. V. I used Made by Rae’s Parsley Pants pattern for both of the kids pj pants. Seriously it is an awesome pattern – so easy and really cute on!!
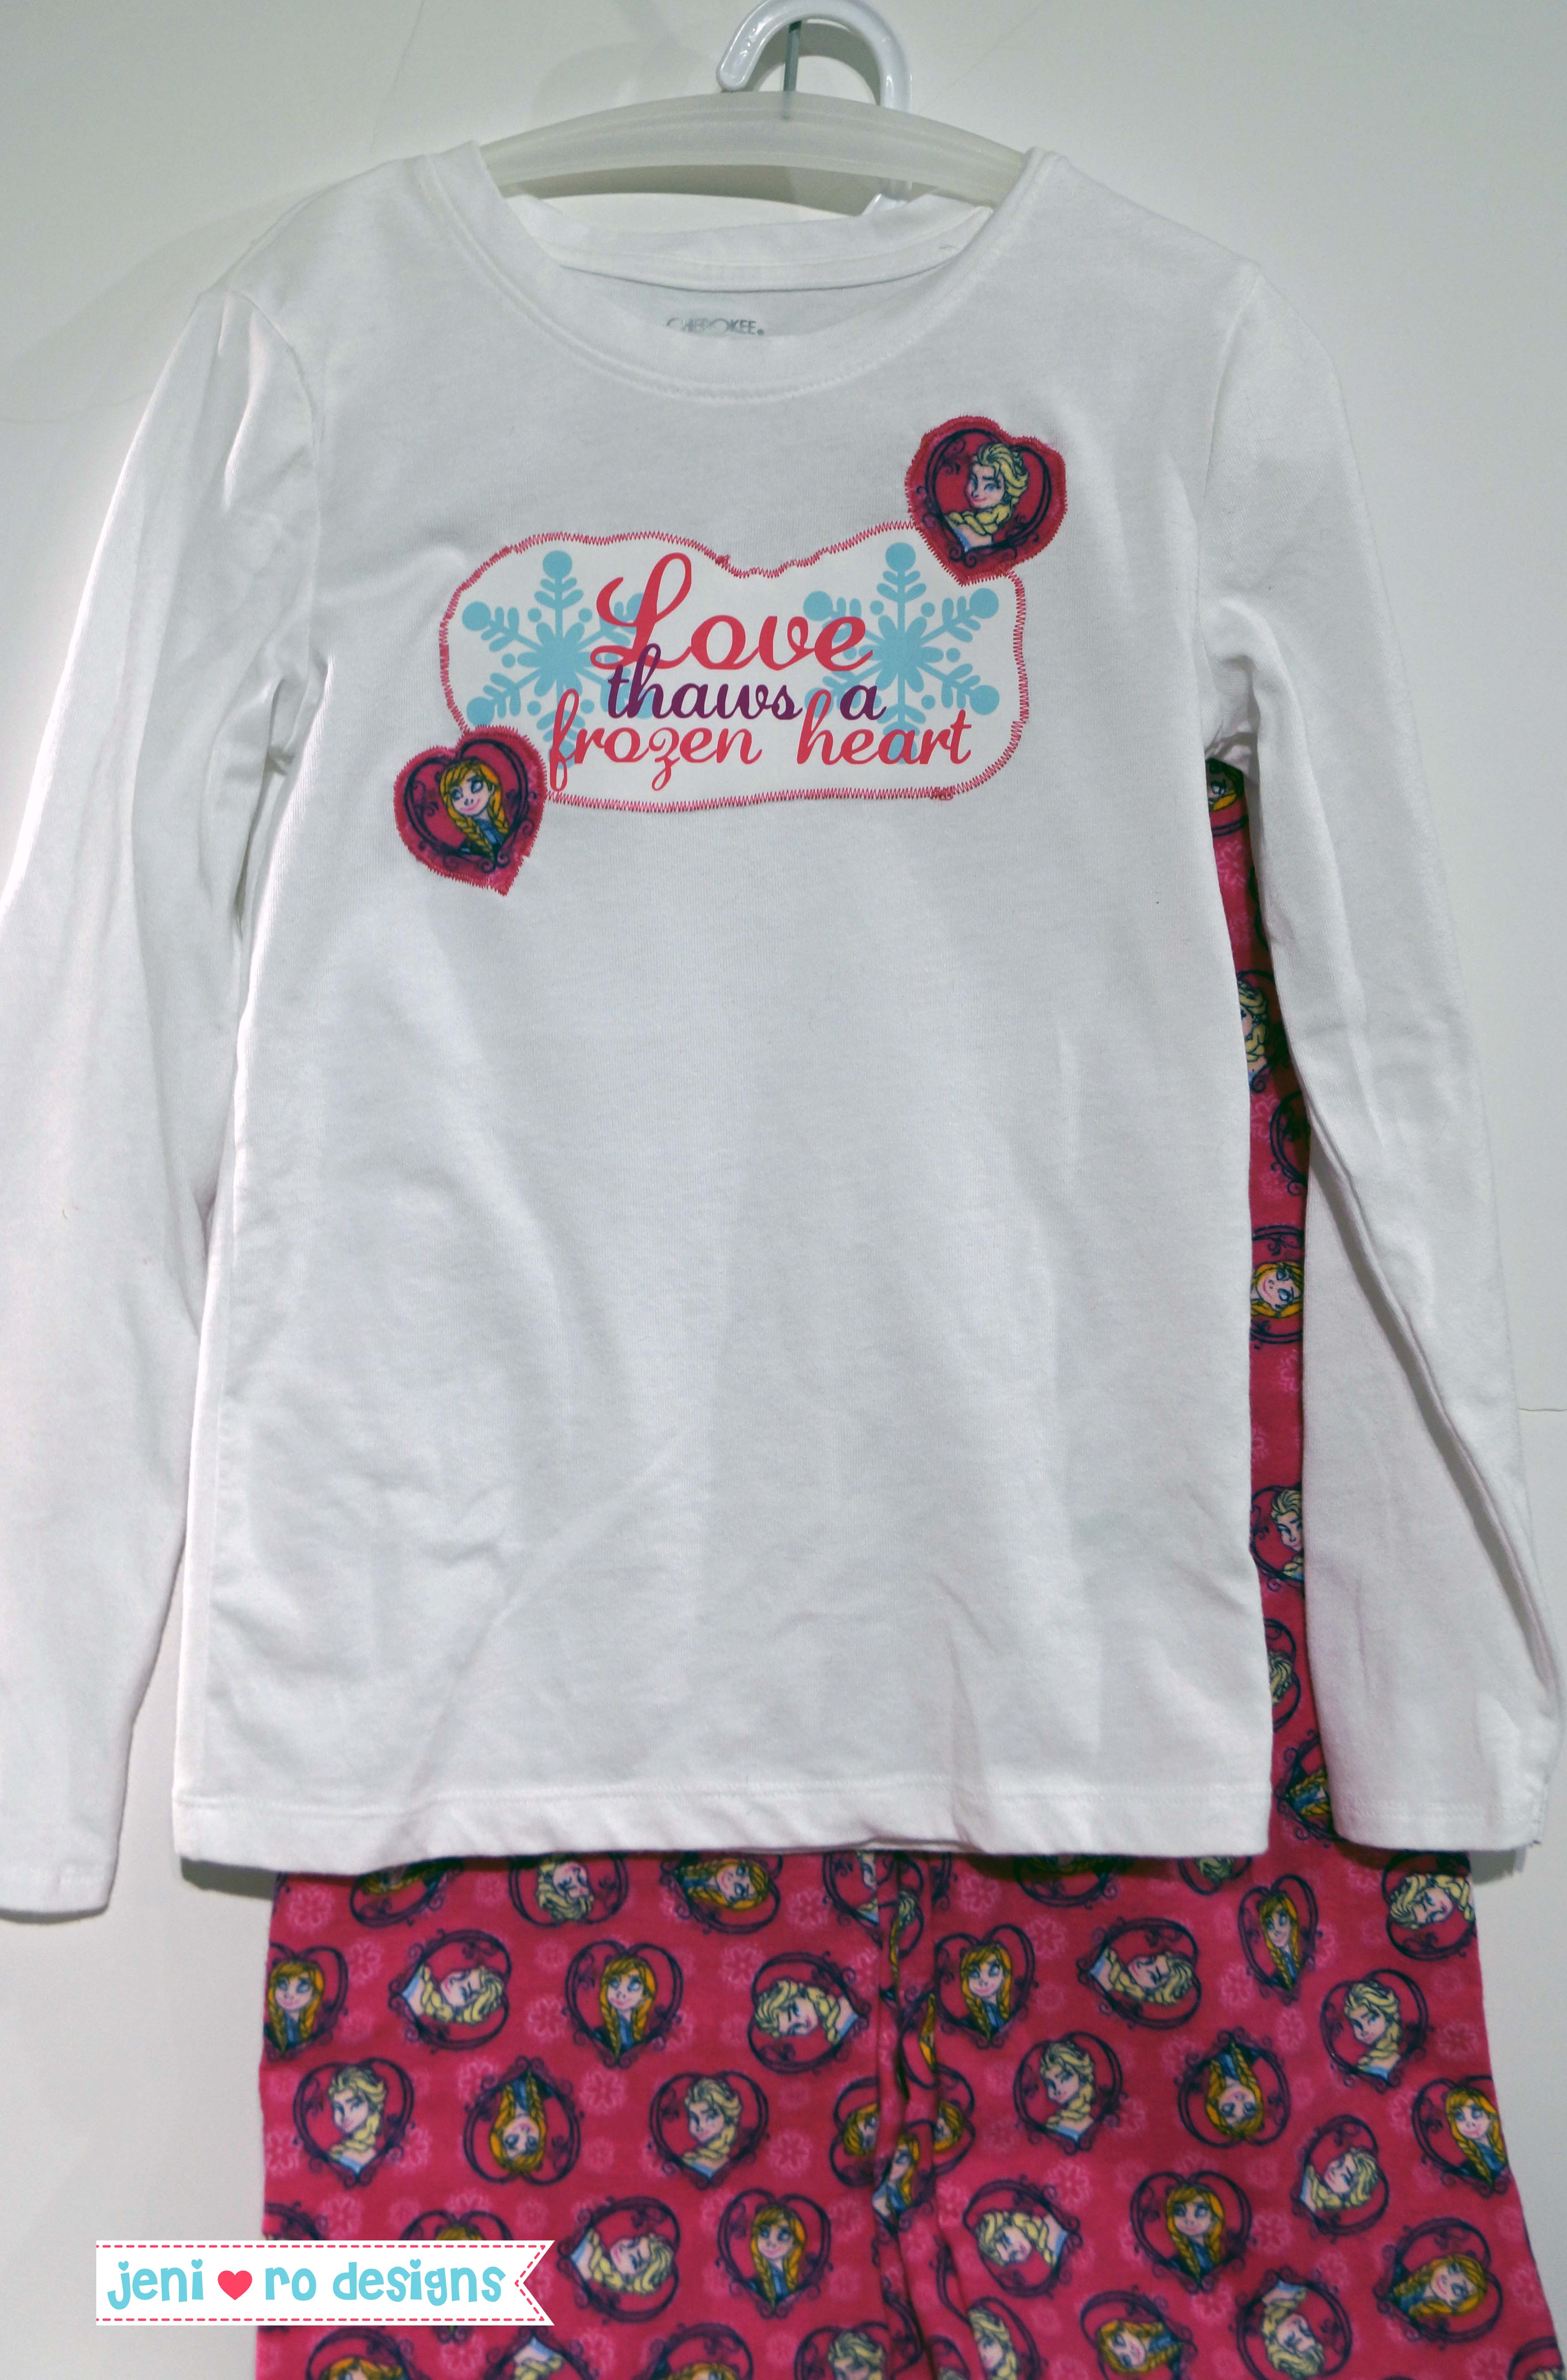
And the Frozen sisters for Miss O.
I hope you enjoyed this little tutorial on how to use Printable Cotton! Now go make something cute!